 Ships USA-wide

Installation guide
Swiss leather floating flooring needs careful acclimation, clean substrate preparation, moisture protection, and expansion planning.
Use this page when
- The product is a Swiss specialty floating floor.
- You need installation and maintenance requirements for the exact product family.
- You are preparing an installer, designer, contractor, or commercial project team.
Before you start
- Confirm the product family and locking system before work starts.
- Review subfloor flatness, moisture, underlayment, expansion, and acclimation requirements.
- Discuss the guide with the installer before scheduling the job.
Important
- Do not assume specialty Swiss floors install like ordinary laminate or vinyl.
- Do not hire only on price if the installer does not understand the locking system.
- Do not skip moisture and expansion checks.
Related resources
Browse flooring
Compare flooring families before selecting full cartons.
Choose the right installer
Review installer experience before scheduling specialty flooring work.
Request project help
Ask for help matching the guide to the exact product and room.
Detailed instructions
General Notes
-
Forna Swiss leather floors use the patented UNICLIC® system, allowing quick, glue-free installation.
-
The planks are durable, slip-resistant, antistatic, and easy to clean.
-
These floors are not suitable for wet rooms.
Subfloor Preparation
-
Install only as a floating floor (do not glue fully to subfloor).
-
Subfloor must be:
-
Clean, dry, flat, and stable (DIN 18365).
-
Level within 3 mm per meter (DIN 18202).
-
-
Remove paint drops, plaster, or uneven spots.
-
Carpeted subfloors are not acceptable.
-
Perform and record moisture test:
-
Cement screed: max. 2.0 % CM (1.8 % CM with heating).
-
Calcium sulfate screed: max. 0.5 % CM (0.3 % CM with heating).
-
-
Subfloor temperature must be at least 15 °C.
Storage and Acclimatization
-
Store unopened packages flat in the installation room for at least 24 hours at 59°-77°F. (15–25 °C) and 40–60 % humidity.
Before Starting
-
Inspect all planks for defects or transport damage in daylight.
-
Mix planks from different boxes for a uniform look.
-
Leave an expansion gap of 10 mm at all walls and fixed objects. For large rooms, allow at least 1 mm gap per meter of width.
Moisture Barrier
-
On mineral subfloors, lay 0.2 mm PE film with 20 cm overlaps, taped joints, and edges pulled up 2–3 cm along walls.
-
Recommended on all subfloors for smooth floating.
Impact Sound Insulation
-
Already integrated cork underlay into Forna Leather flooring. Additional cork underlay is optional, we do not recommend foam underlay, or the underlay must be ≥200 kPa compression strength.
Maximum Room Size
-
Without expansion joints: 15 m x 12 m (49 x39 Ft) maximum.
-
Expansion joints in subfloor must also be carried into flooring.
Installation Steps
-
Layout Planning
-
Measure the room. Adjust the first row so the last row is at least 5 cm (2″) wide.
-
Lay planks parallel to incoming light.
-
-
First Row
-
Start in a right-hand corner, tongue side facing wall.
-
Use spacer wedges for expansion gap.
-
Connect planks end-to-end by inserting tongue into groove.
-
-
Subsequent Rows (choose one method):
-
Angle-to-Angle: Insert the plank’s long side at a 10° angle, then click down. Continue row by row.
-
Angle-Snap: Tap planks gently together with a tapping block and hammer.
-
-
Joint Offsetting
-
Stagger end joints at least 20 cm (8″), ideally 40 cm (16″).
-
-
Special Areas
-
Pipes & Door Stops: Leave 10 mm (4″) clearance. Cut planks to fit and reattach cut piece. Do not screw door stops through flooring.
-
Door Frames: Undercut frames so planks can slide beneath while maintaining free movement.
-
-
Heavy Objects
-
Avoid fixing flooring under immovable heavy objects (kitchen islands, stoves, heaters). Use expansion joints around them.
-
-
Underfloor Heating
-
Suitable if max. surface temperature is 29 °C. (84°F)
-
Use only systems embedded in screed (≥2 mm). Electric foil systems must cover the whole area.
-
Follow heating protocols from screed supplier.
-
 Flooring
 Wall & Ceiling Tiles
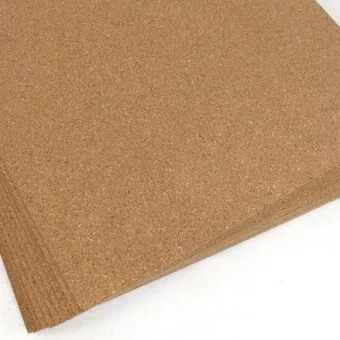 Cork Underlayment
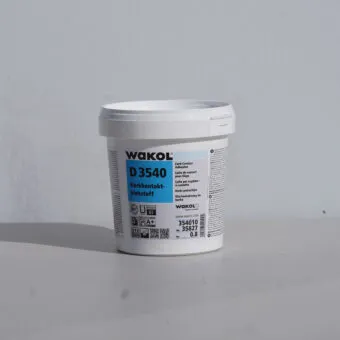 Supplies & Guides