Compare the thickest option with your project’s specified assembly, acoustic requirements and available finished height.
Thickness
12mm
Pack coverage
102 sq. ft.
Role
Specified floor assemblies
Check
Height, acoustic report & approval
Before you chooseMore thickness alone does not guarantee a required acoustic rating. Condo and strata approval depends on the tested complete assembly.
Choose the installation method from the complete floor system
Cork underlayment does not have one universal installation method. The finished floor, underlayment product, adhesive, substrate, moisture conditions, and project specification must all allow the same assembly. When those documents disagree, pause and request written project guidance before installation.
iCork/Forna floating cork planks
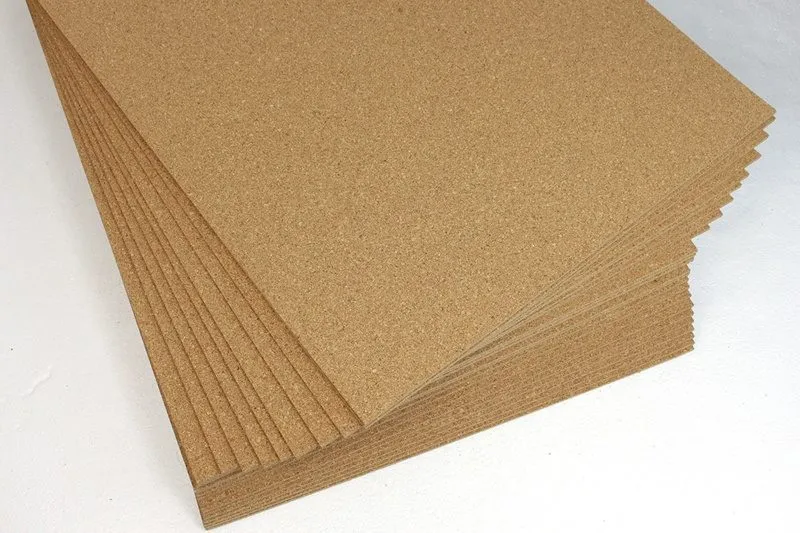
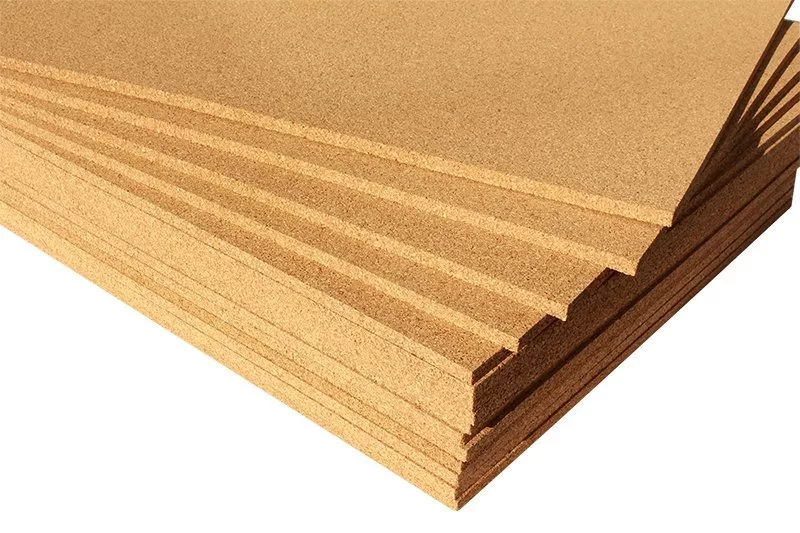
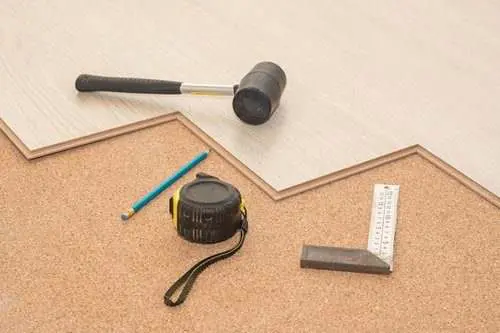
The plank floor itself must remain floating. Use separate cork underlayment only when the plank instructions and project requirements approve the added thickness. When separate cork underlayment is approved, lay the sheets loose, butt the seams without overlap, and stagger seams from the finished floor. Temporary low-tack paper or painter’s tape may be used across underlayment seams if it is compatible with the product; do not tape or glue the underlayment to the substrate and do not fasten through it.
iCork/Forna glue-down cork tiles
For the company-supported glue-down cork-tile system, bond the tiles directly to the approved, prepared substrate with the adhesive specified for that tile. Do not add a cork-underlayment layer unless a qualified designer and every affected manufacturer provide written approval for the complete assembly.
Cork underlayment below other finished floors
Hardwood, laminate, resilient flooring, ceramic tile, and stone systems may have different loose-lay or bonded requirements. Follow the written instructions from the finished-floor, cork-underlayment, adhesive, and substrate manufacturers for the exact product combination. Do not use a blanket “any water-based adhesive” rule: use only an adhesive explicitly approved for the cork product, finished floor, substrate, moisture condition, and application method.
Cork Underlayment Installation
Substrate, moisture, and acoustic requirements
Start with a clean, sound, dry, and flat substrate that meets the finished-floor tolerance.
Test concrete and other moisture-sensitive substrates using the methods and limits required by the floor and adhesive manufacturers. Install the specified vapor-control system where required; underlayment does not correct a moisture problem.
Do not staple, nail, or screw through loose-laid cork underlayment. Any penetrated or bonded acoustic assembly must follow its tested design and written project specification.
For condominiums and code-driven projects, verify the required IIC/STC or impact-sound assembly. Product thickness alone does not guarantee compliance.
Start with coverage. Confirm the final quantity before you order.
Enter your area to estimate packs.
An estimate, not an installation specification. Confirm actual pack coverage, layout and waste. Without JavaScript, divide your area plus cut allowance by the pack coverage above and round up.
Acoustic performance depends on the finished floor, substrate, underlayment, ceiling and other assembly details. Use the report for the assembly relevant to your project.
Is cork underlayment a moisture barrier?
No. Check the floor manufacturer’s moisture-protection requirements and the condition of the substrate. Use the specified barrier where required.
Can I put it beneath any floating floor?
Confirm the manufacturer permits the extra layer and the chosen thickness. Some floors already have a backing or specific support requirements.
How many packs should I buy?
Use the pack estimate above, then confirm pack coverage, cut allowance, layout and your installer’s requirements on the product page.
Will it satisfy my condo or HOA requirements?
Get the building’s requirements first. Compare the tested assembly and submit the relevant documents for approval before ordering.
What does delivery cost?
Delivery depends on products and destination. Free shipping may be available on $2,500+ eligible orders; items and delivery location are confirmed at checkout.
For a US condo or multifamily project, confirm the complete tested assembly with your HOA or project professional before choosing thickness. Cork thickness by itself does not guarantee an IIC or STC result, and an additional layer is not suitable beneath every floating floor.
Prices are shown in US dollars. Delivery options and charges depend on your products and destination; enter your address at checkout before committing to an order. Our Normandy Park office is a mailing address and does not accept walk-ins or returns.
Choose whether we may use analytics and advertising data to improve the store and measure campaigns. Necessary store functions always remain available.
 Ships USA-wide

 Flooring
 Wall & Ceiling Tiles
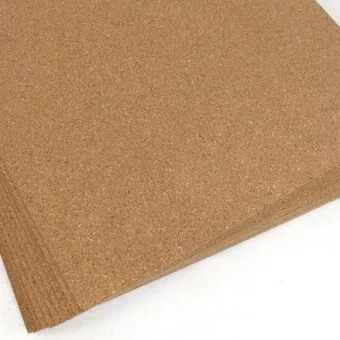 Cork Underlayment
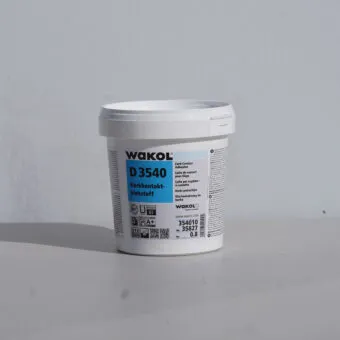 Supplies & Guides