Ask before installing on unusual substrates or large feature walls.
Detailed instructions
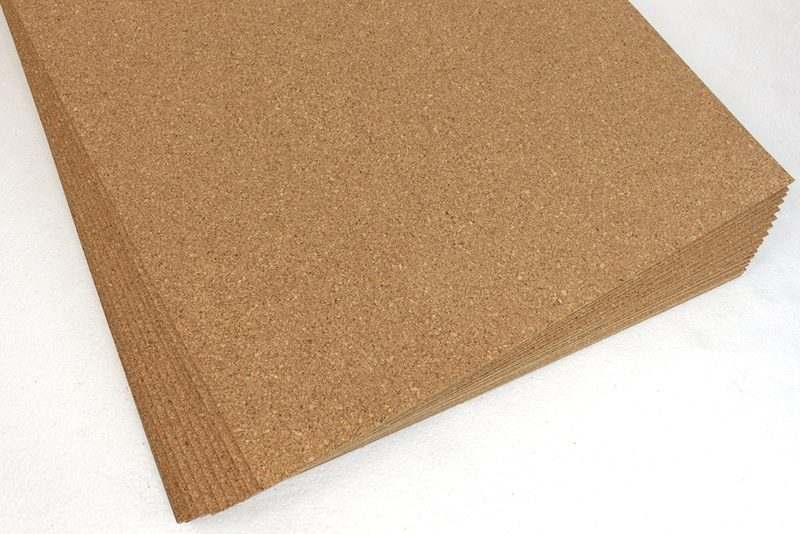
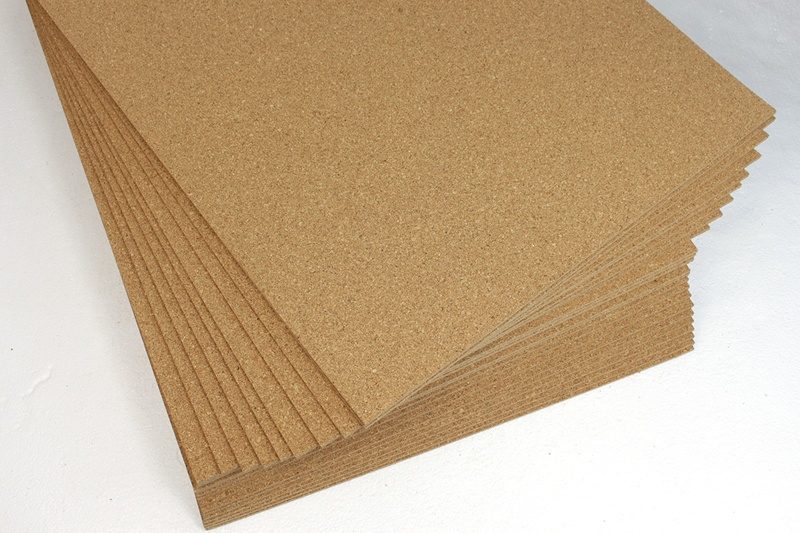
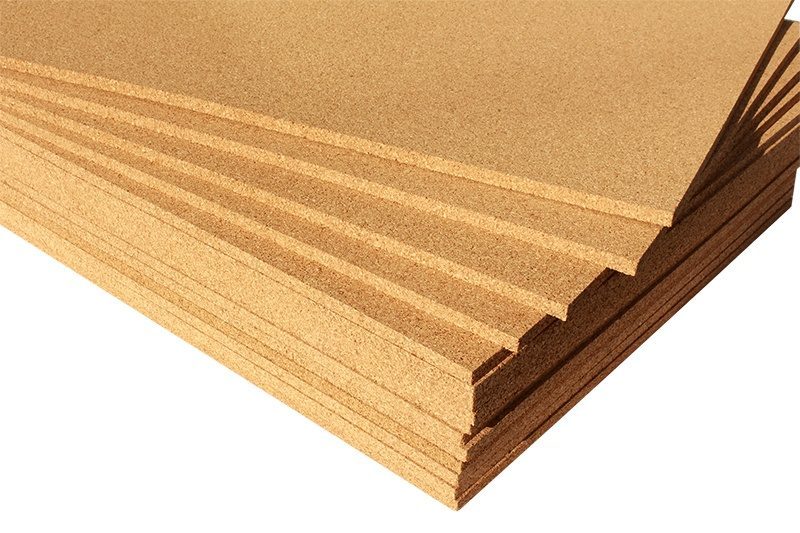
Installation Instructions for 3D Cork Decorative Wall Panels
Required Tools:
Spirit level
Pencil
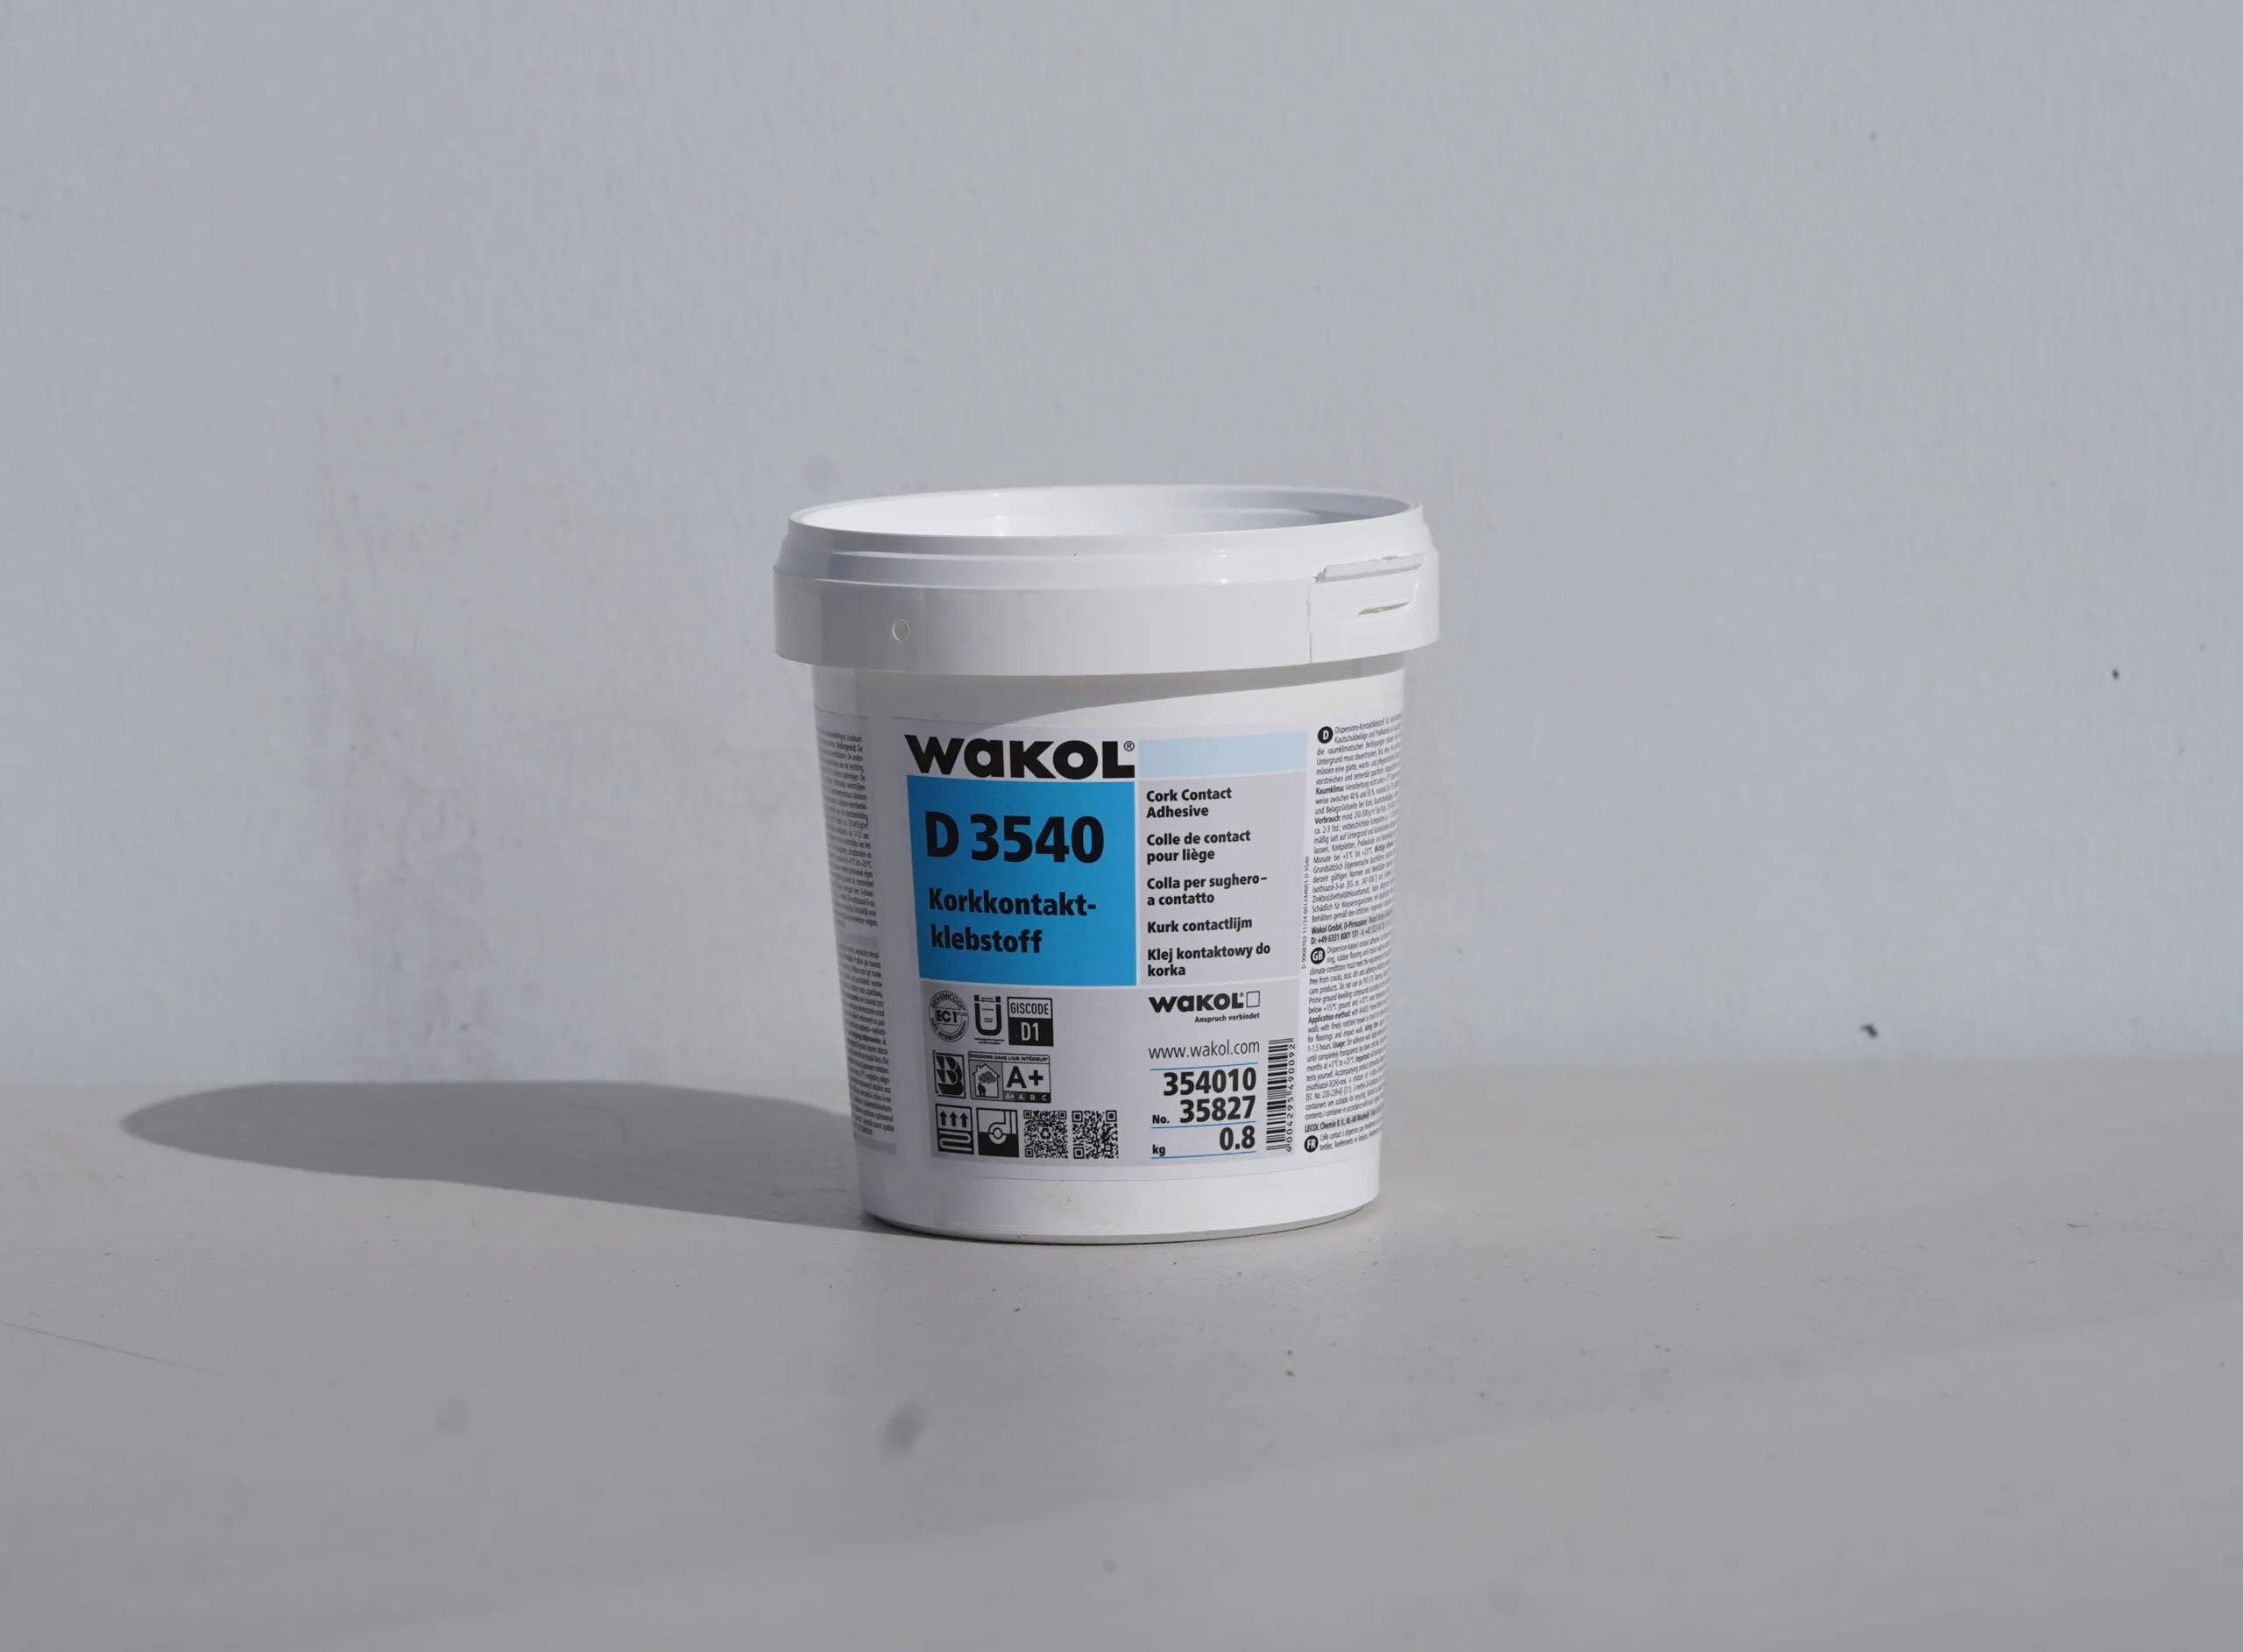
Construction adhesive (must be strong and quick-setting).Examples include:
Loctite PL Premium Fast Grab
Gorilla 8010001 Heavy Duty Construction Adhesive
Bostik Mounting glue
Snap-off blade knife
Step-by-Step Instructions:
Prepare the Wall: Ensure the wall is clean and primed before installing the panels to allow proper adhesion.
Measure and Plan: Measure the dimensions of the wall where the panels will be installed and plan the arrangement of the panels.
Mark the Starting Line: Using the spirit level, mark a vertical line at the center of the wall. This will serve as the reference point for the first panel.
Screenshot
Consider Wall Alignment: If you are starting installation away from the center, be aware that the wall may not have a perfect right angle. This could result in gaps between the panels that may increase as you move away from the starting point.
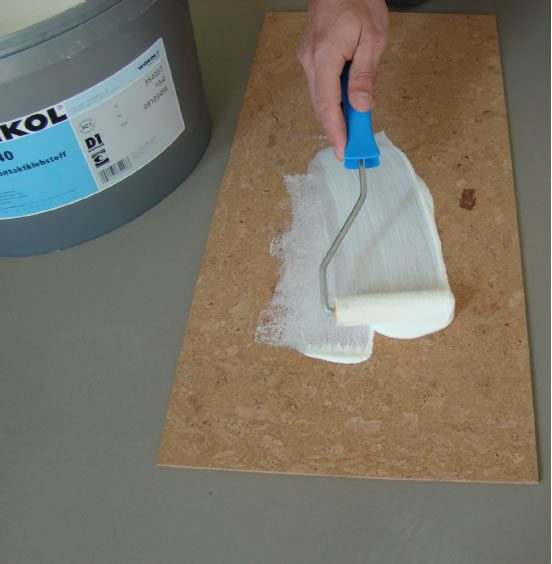
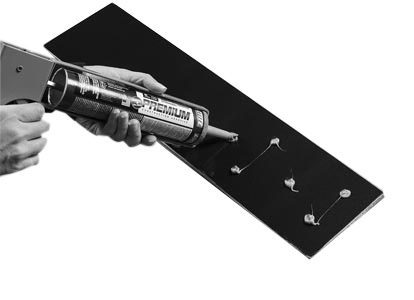
Apply Mounting Glue: Apply mounting glue in spots on the back of each panel. Ensure the glue is strong and fast-setting.
Important Notes:
Natural Material Tolerance: Cork panels are made from cork granules, a natural material that may expand and contract. Allow for a tolerance of +/- 1 mm.
Panel Alignment: Before installing a panel, check that it aligns evenly with the previous one. If necessary, adjust the panel or select another one that fits better.
Use Spirit Level for Precision: Continuously monitor both the vertical and horizontal alignment of the panels using a spirit level.
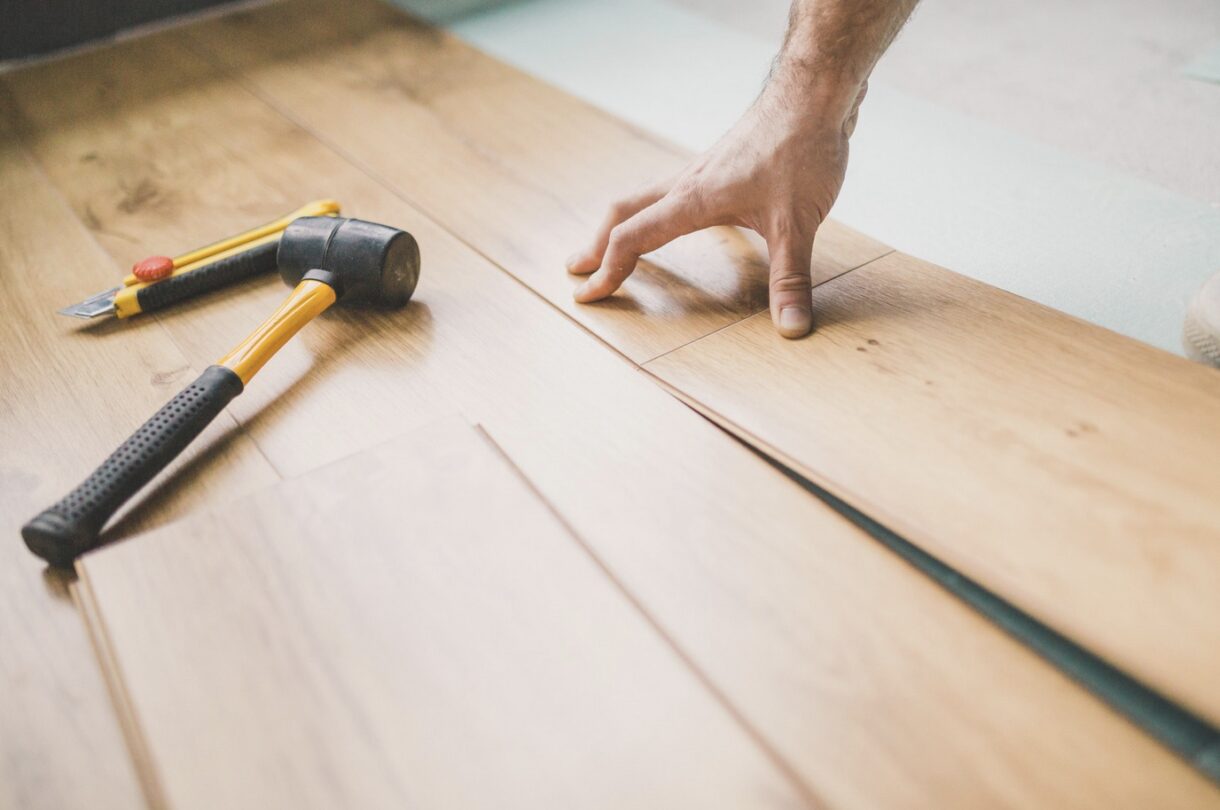
Cutting Panels: If needed, use a snap-off blade knife to trim the panels to size.
Panel Support: To prevent panels from sliding before the glue sets, use nails or spikes until the glue is completely dry.
Ensure Proper Temperature and Acclimatization:
Temperature: Install the panels at temperatures above 15°C. Ensure that the room temperature is consistent before and during installation.
Acclimatization: Allow the cork panels to acclimatize for at least 48 hours prior to installation. This ensures the panels adapt to the room’s humidity level. Installing without proper acclimatization may cause gaps or expansion after installation.
Final Check: Once the installation is complete, double-check that all panels are properly aligned and securely attached.
By following these steps, you will ensure that your 3D cork wall panels are installed correctly and provide long-lasting beauty and functionality.