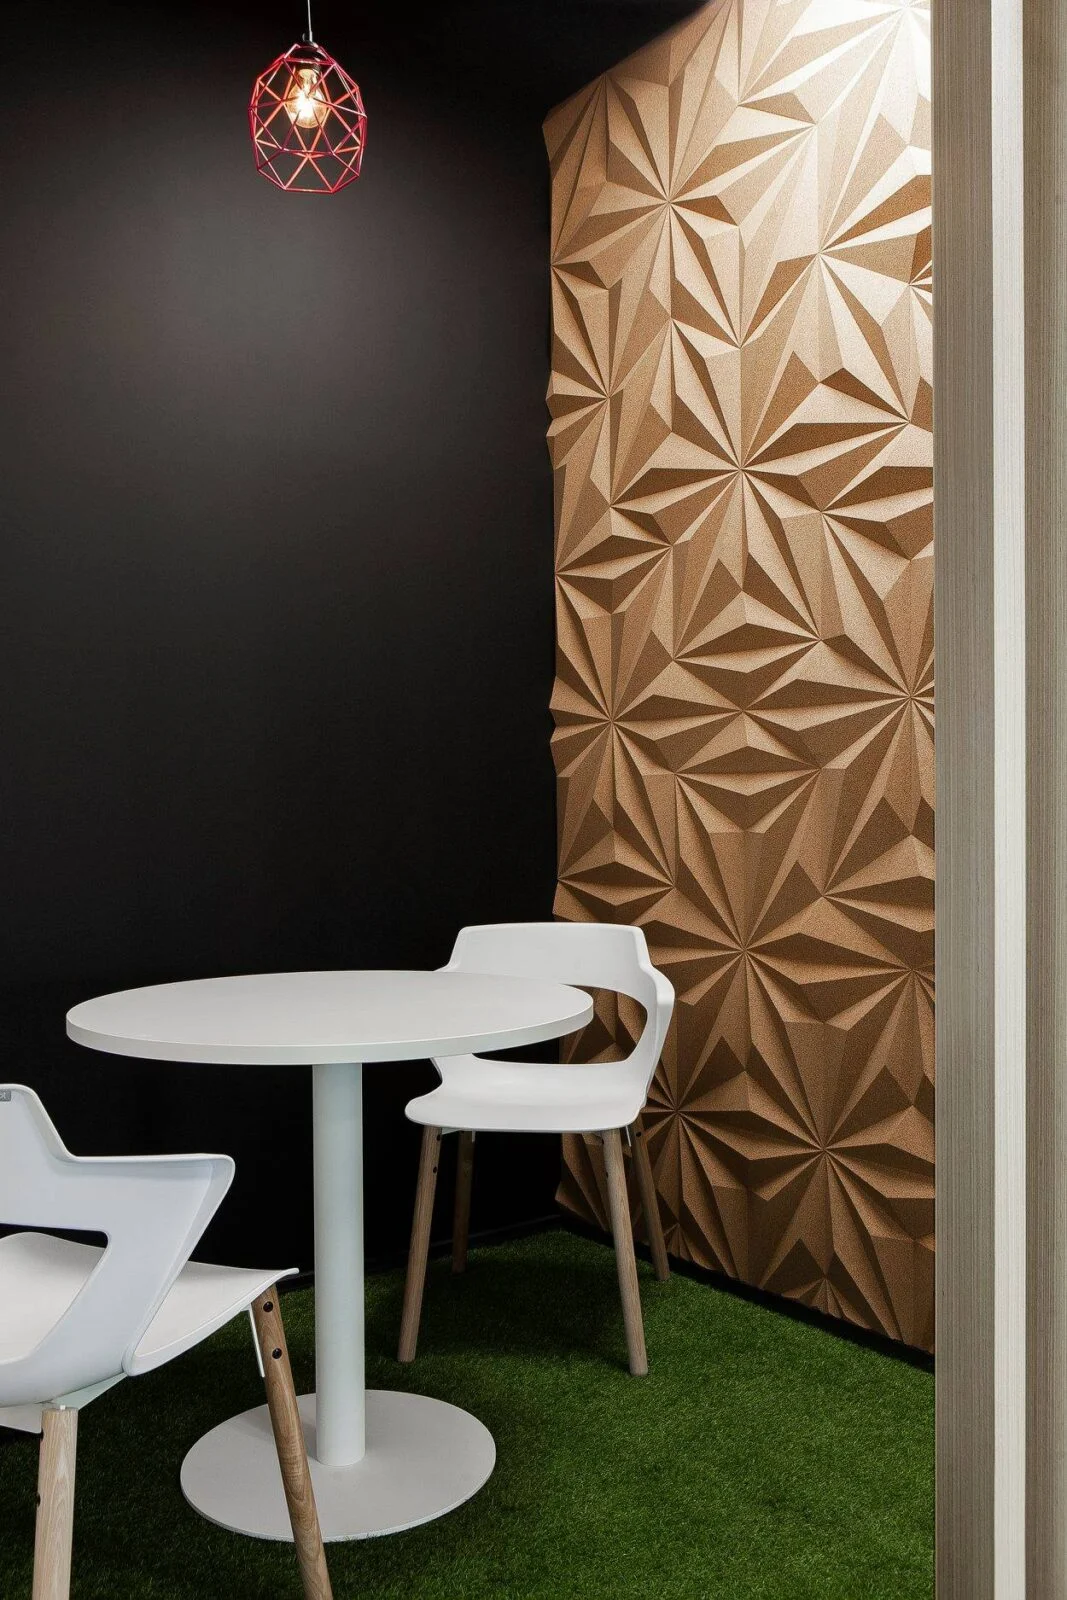
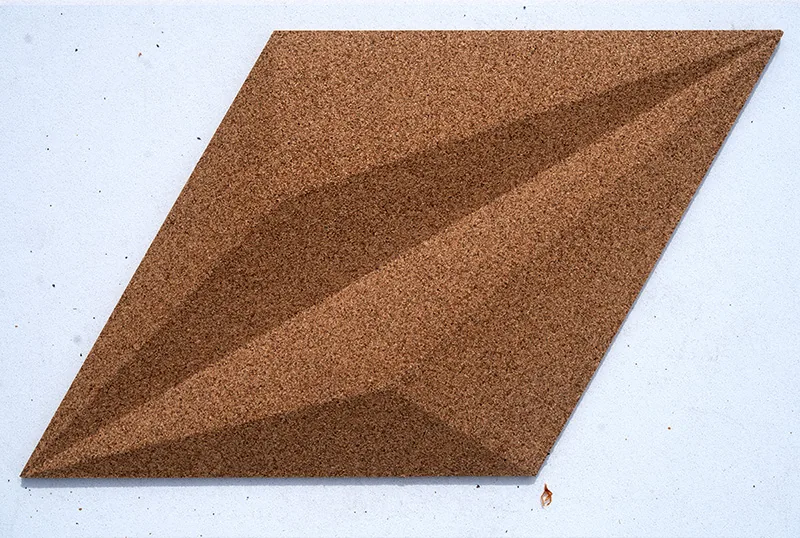
Sculpted cork shapes bring depth to a wall. Start with the room’s sound goals, then check the exact panel data and installation.
Surface
Sculpted cork
Construction
Moulded panel; product-specific
Application
Feature walls & acoustic projects
Plan for
Layout, adhesive & panel depth
Before you chooseReducing reflected sound is different from blocking sound between rooms. Acoustic performance depends on the complete room and assembly.
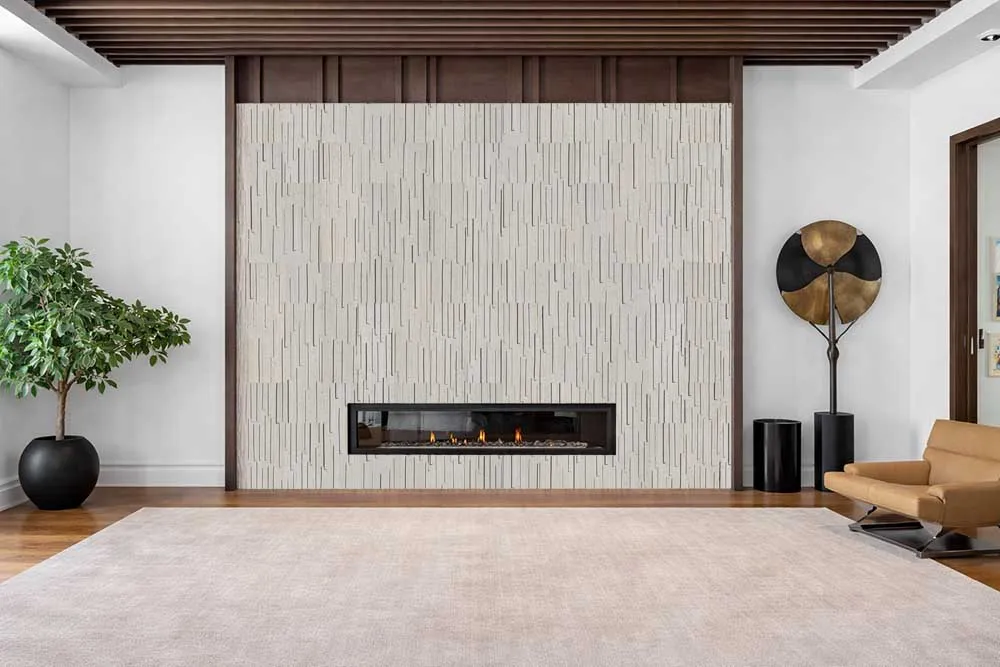
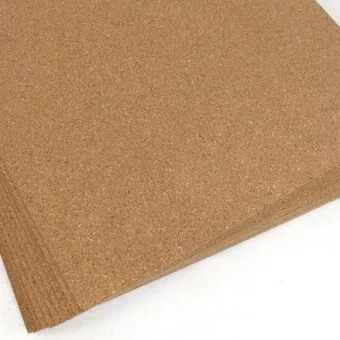
Flat natural cork tiles for suitable walls and pinboard projects. Check the tile thickness and intended use.
Surface
Flat natural cork
Construction
Product-specific cork tile
Application
Suitable walls & pinboard projects
Plan for
Tile thickness, adhesive & finish
Before you chooseConfirm the selected tile is suitable for your wall and intended use. Flooring finish instructions do not automatically apply to every wall project.
Compare wall, MDF, 3D, and peel-and-stick instructions.
Detailed instructions
Ensuring proper installation of cork wall tiles; it is important for cork to acclimatize inside the boxes 48-72 hours prior to installation. Please do not remove them from their plastic packages until installation time. During storage and installation, maintain temperature and relative humidity to a level that is consistent to the conditions that will prevail when the building is occupied. Heating or air conditioning should be used for an appropriate length of time prior and during installation. With improper acclimation, tiles could expand or contract excessively after installation.
Wall Tile Installation Forna Cork Wall Tiles
Cork is a natural product. Just like wood, cork tile will vary in shade or pattern definition. Cork is subject to the normal behavior of expansion during period s of high humidity and contraction during periods of low humidity (usually the heating season). With cork, visible signs of expansion and contraction can be kept to a minimum by stabilizing the building through temperature and humidity control. This will allow for proper acclimatization of the product prior to installation.
1. Examine the surface of the cork wall tiles or ceiling where you plan to install cork tiles. They can go onto drywall or smooth sided plywood. Never put cork tiles on top of wallpaper or any paint, please primer surfaces with 2 coats of water or latex based primer before tile installation. Existing wallpaper must be removed. You will have to ensure that there is no left over residues on the wall. You may have to sand down the wall to remove any old adhesive or paint very carefully. You may wish to take the time to shuffle the tiles to get an even distribution of colors and pattern. Please pull tiles from at least 2 different packages if possible.Allow the wall cork to acclimate in the room it will be installed in for 48-72 hours before installing.
2. Lay out the cork wall tile as cork wall tiles will be installed on the wall. Adjust the tiles until you are pleased with the layout, remembering tiles are never square. Draw lines on the cork wall tiles with chalk to indicate where the tiles will be placed. Draw a line to mark every third row of tiles. The chalk lines will guide you during installation.
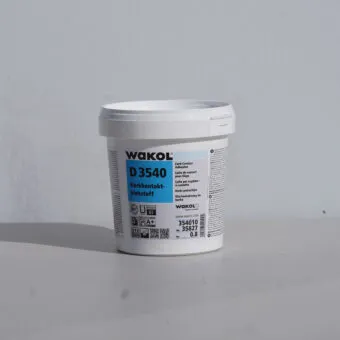
3. Apply adhesive with a brand new 3/8 inch or less with a high quality microfiber roller. Pour the adhesive into a new clean, new paint pan. Saturate your brand new microfiber roller with Wakol D 3540 adhesive, and roll the glue onto the wall and back of tiles. Allow the glue to become tacky. Wait until both adhesive films are dried and completely transparent, this will take approximately 25-45 minutes depending upon humidity of the environment.
4. Start at the center of the wall to mark a grid that helps you install cork tiles. Mark the center axis of the wall after measuring from side to side and top to bottom. Work outward from the center axis by measuring and marking set lines for several tiles in all directions. This gives you the lines you need to follow for the rest of the wall. Press the tiles tightly together. Hit the tiles firmly with a rubber mallet to set into place. Continue setting rows of tiles until you have installed all of the whole tiles. Keep in mind you will not be able to move a tile again once down.
5. Mark along the back of the tiles where they need to be cut. Slice the tile with a sharp utility knife. Press the tile in place on the wall.
6. Trim corner tiles to fit as needed. This is much like fitting in the pieces of a puzzle as you get to the sides of the walls. A carpet cutter or similar tool works well.
7. Pour water - based Loba 2K Supra AT Polyurethane into your new, clean paint pan. Roll the water - based polyurethane onto the tiles with a brand new 3/8 inch or less with a high quality microfiber roller. Roll in one direction, Apply one coat of Loba 2k Supra AT water - based polyurethane. This process seals the cork wall tiles and the tile joints against possible water and dirt penetration and also keeps the tiles from shrinking.
Cork can help soften reflected sound. Sound isolation between rooms depends on the wall assembly, gaps and other construction details; a decorative panel alone is not a soundproofing specification.
Can I use the panels on a ceiling?
Check the exact product and installation guide. Confirm the substrate, panel weight, adhesive or fixing system, and support during curing with your installer.
Can they go in a kitchen or bathroom?
Confirm the selected product’s humidity, splash, heat and finish limits. Cork panels and MDF-backed panels have different construction; check suitability for the actual location.
How should I choose a sample?
Use the sample options on an eligible product. Compare colour, texture, depth and tile edges in your room’s light before ordering full packs.
How much should I order?
Measure the wall or ceiling, review the chosen product’s pack coverage and allow for cuts and the planned pattern. Confirm openings, corners and waste with your installer.
What does delivery cost?
Delivery depends on products and destination. Free shipping may be available on $2,500+ eligible orders; items and delivery location are confirmed at checkout.
Order samples to compare texture and color in your own lighting. Measure openings and panel layout before calculating coverage, and confirm the substrate and adhesive for your exact tile. Check the product instructions for ceiling use; wall suitability alone is not approval for overhead installation.
Prices are shown in US dollars. Delivery options and charges depend on your products and destination; enter your address at checkout before committing to an order. Our Normandy Park office is a mailing address and does not accept walk-ins or returns.
Choose whether we may use analytics and advertising data to improve the store and measure campaigns. Necessary store functions always remain available.
 Ships USA-wide

 Flooring
 Wall & Ceiling Tiles
 Cork Underlayment
 Supplies & Guides