

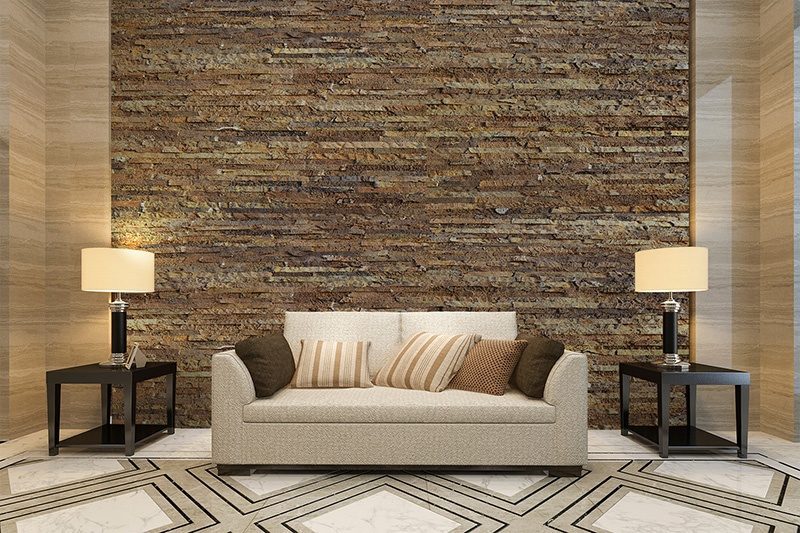


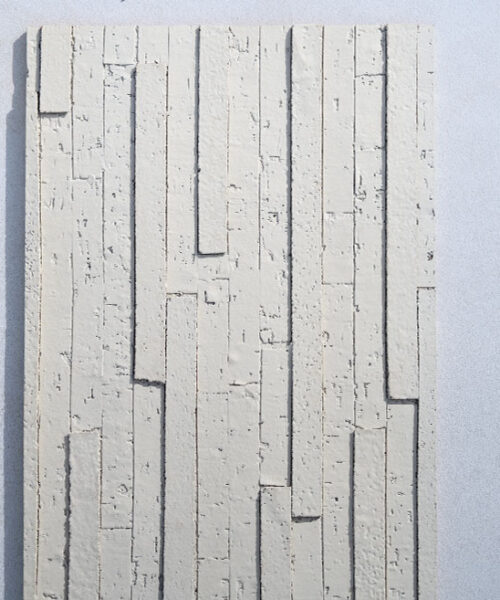
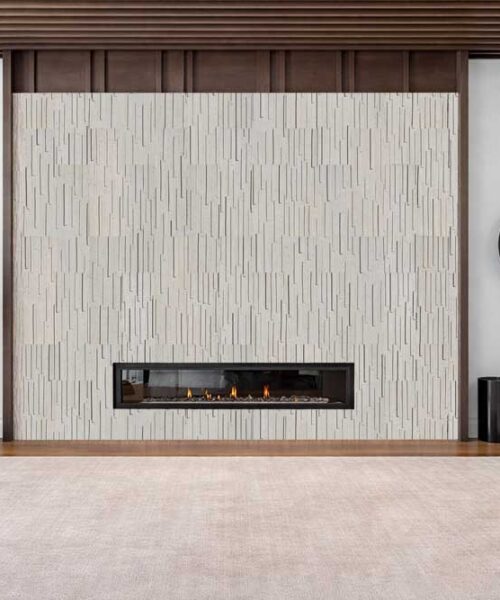
Textured Wall Tiles
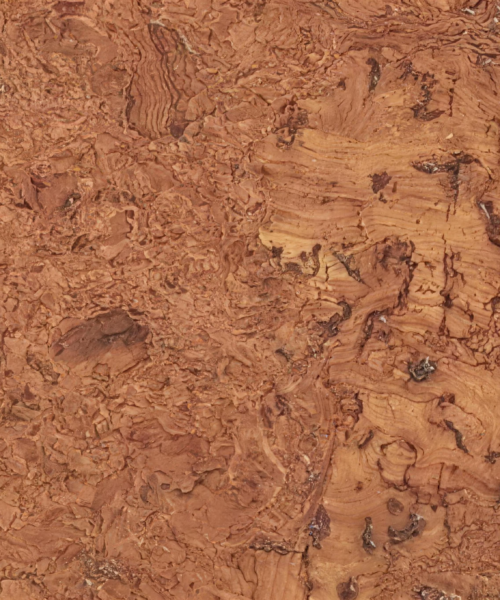
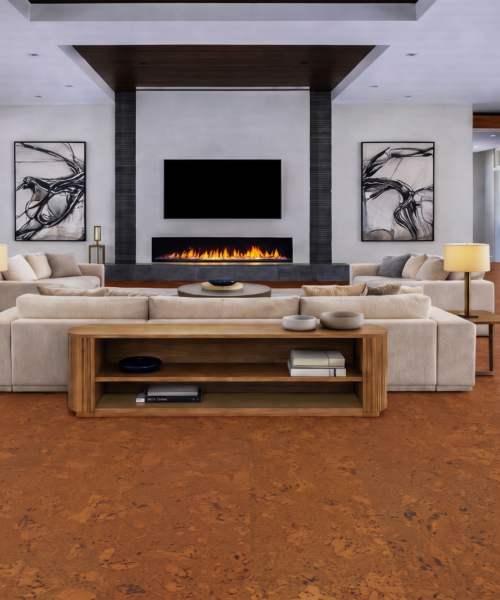
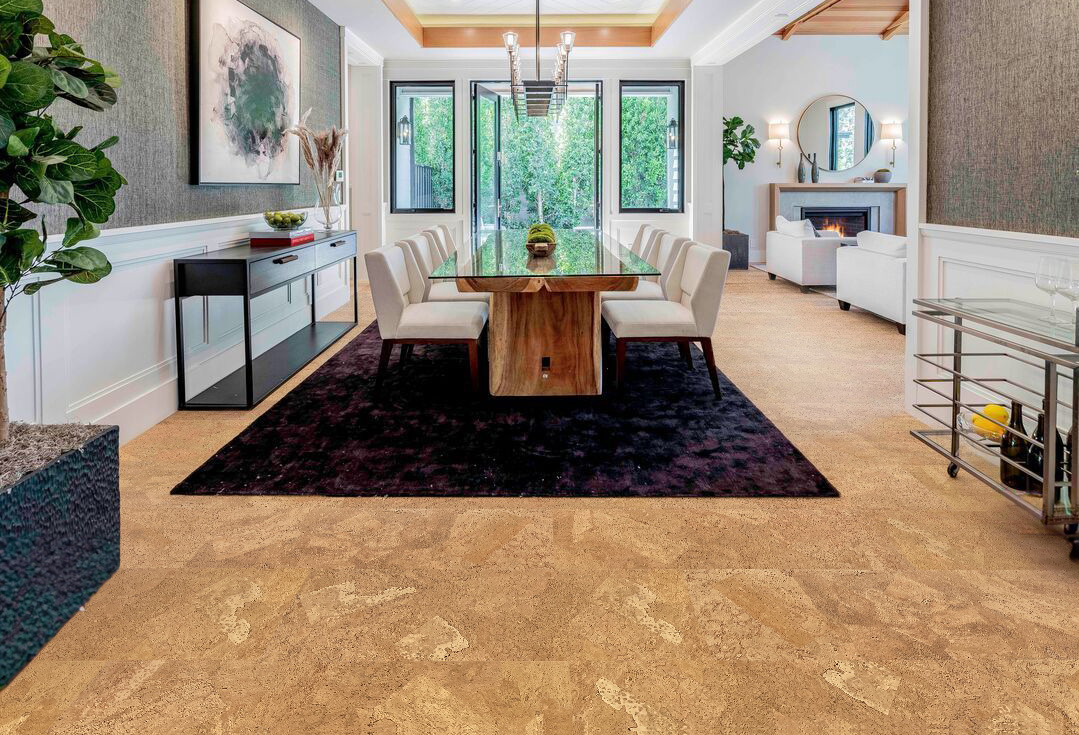
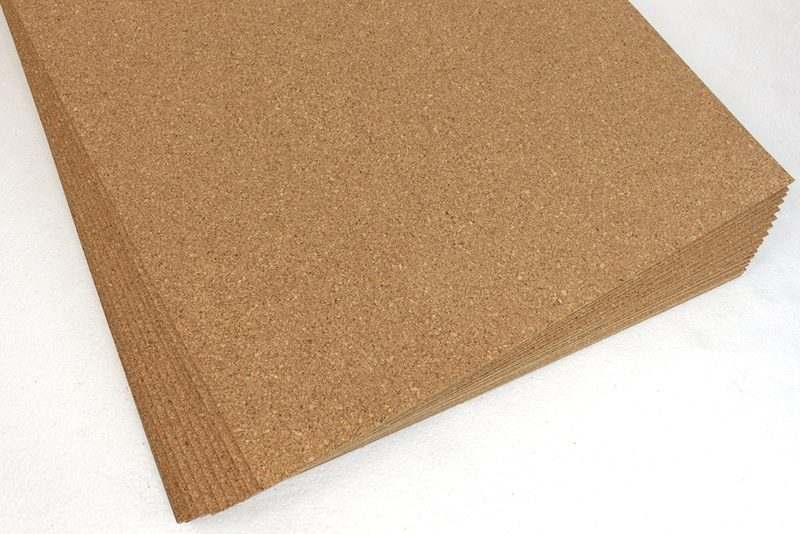
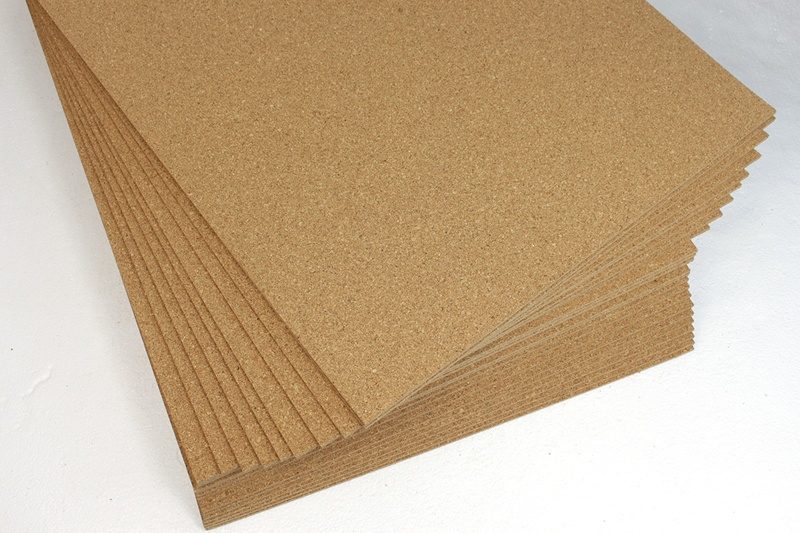
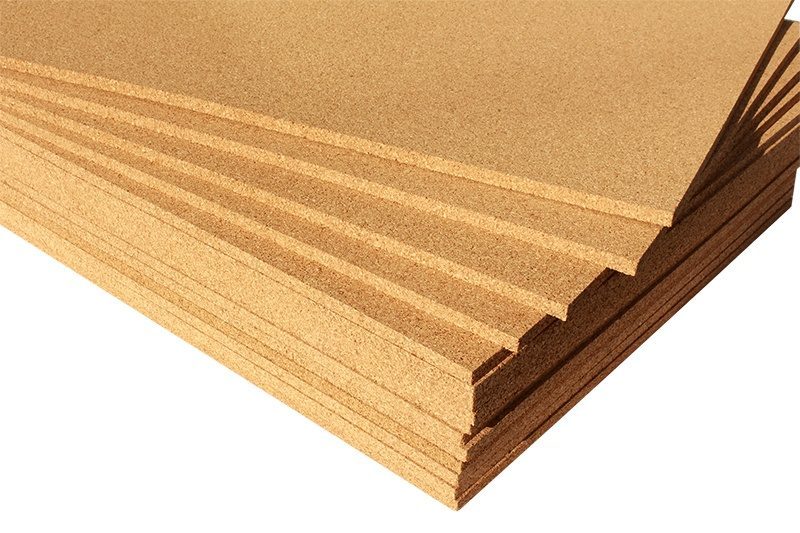
Cork Glue Down Tiles
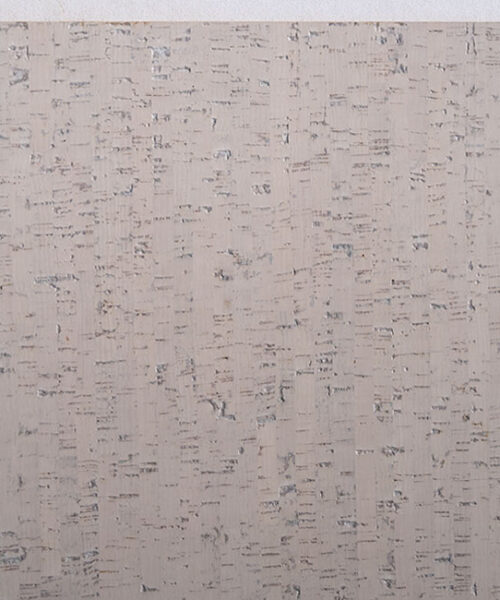
Cork Glue Down Tiles
Cork Glue Down Tiles
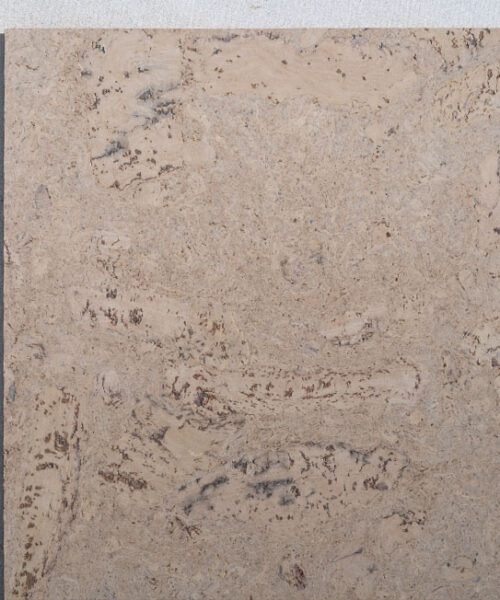
Cork Glue Down Tiles


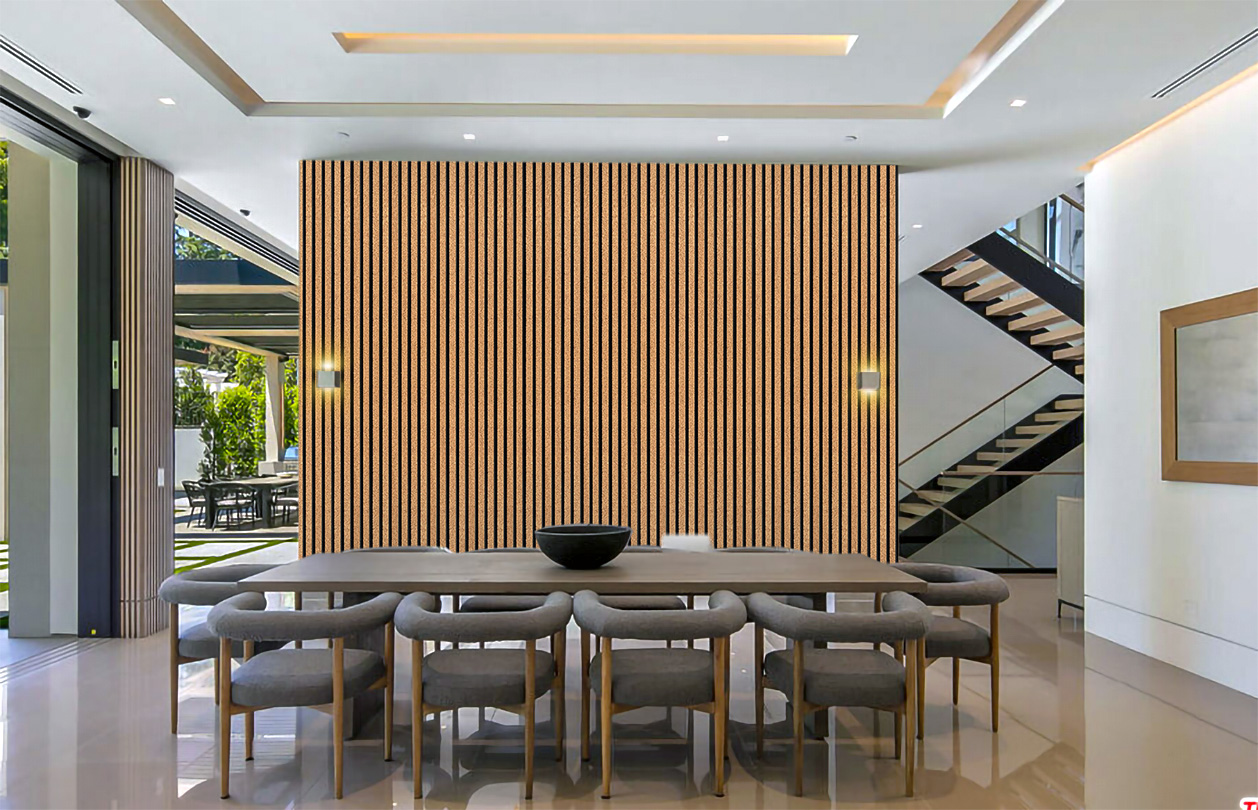
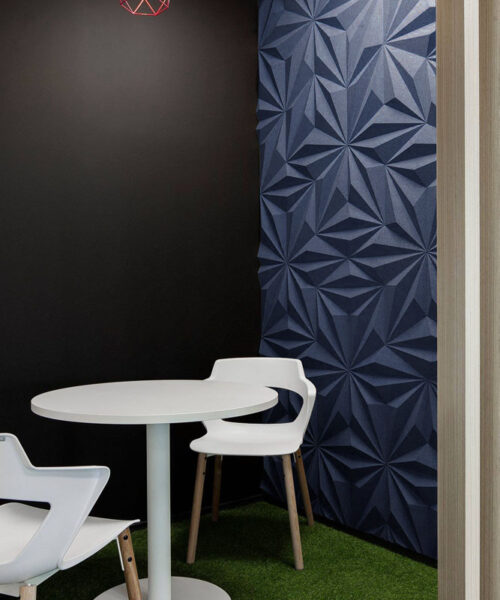
3D Wall and Ceiling with MDF
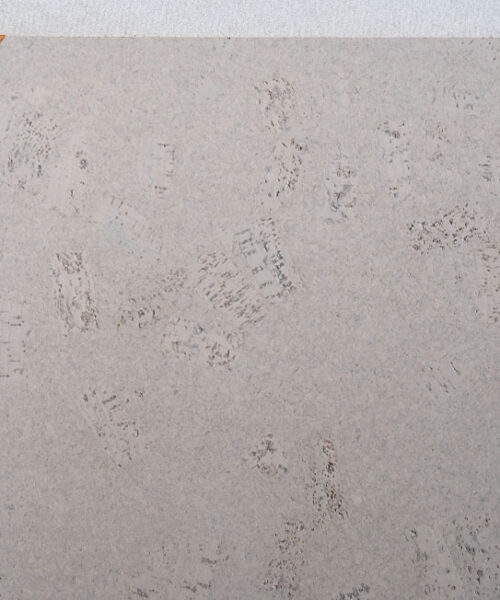
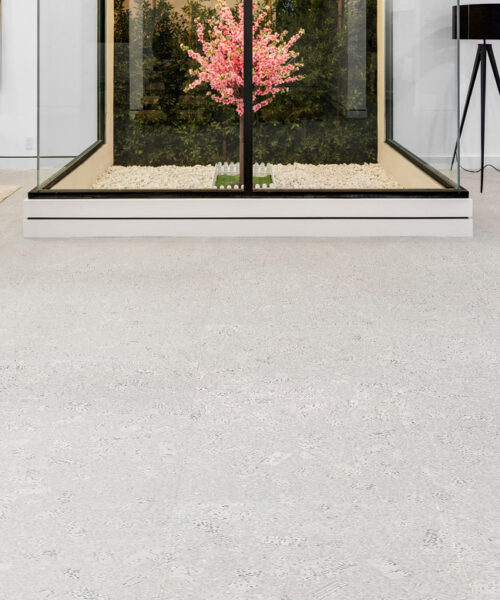
Cork Glue Down Tiles
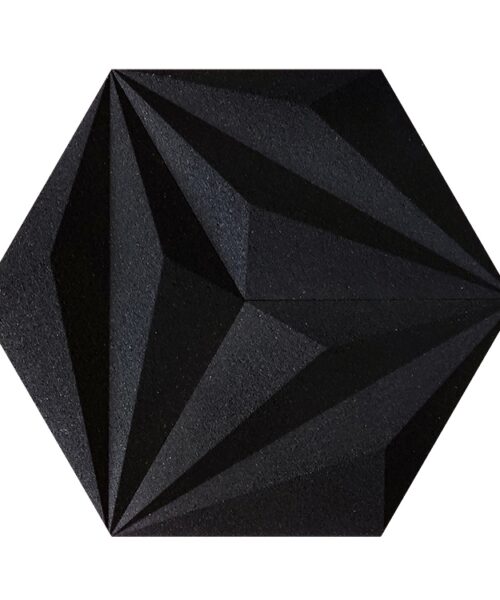
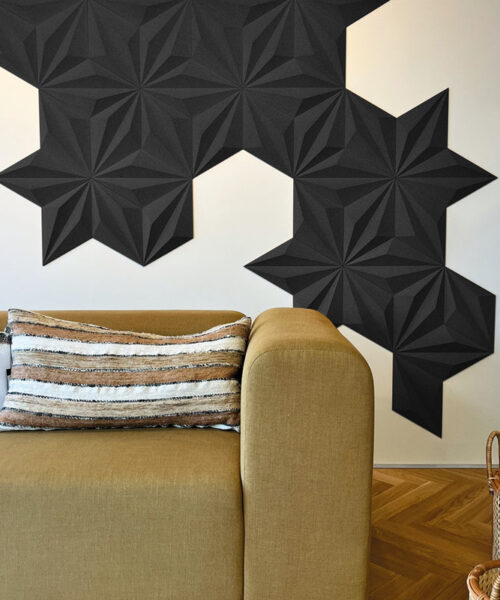
3D CompMold Cork Wall & Ceiling
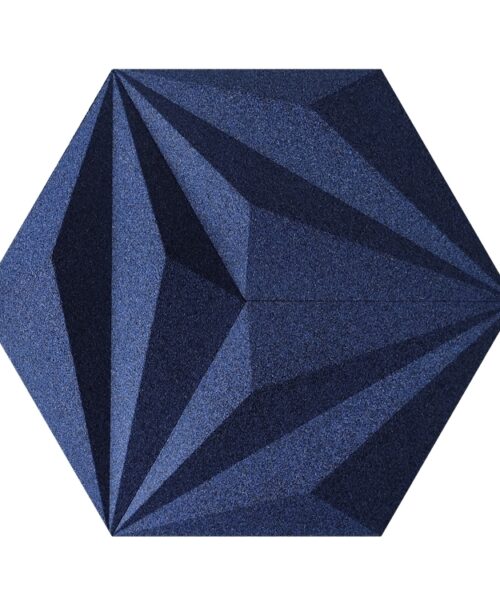
3D CompMold Cork Wall & Ceiling
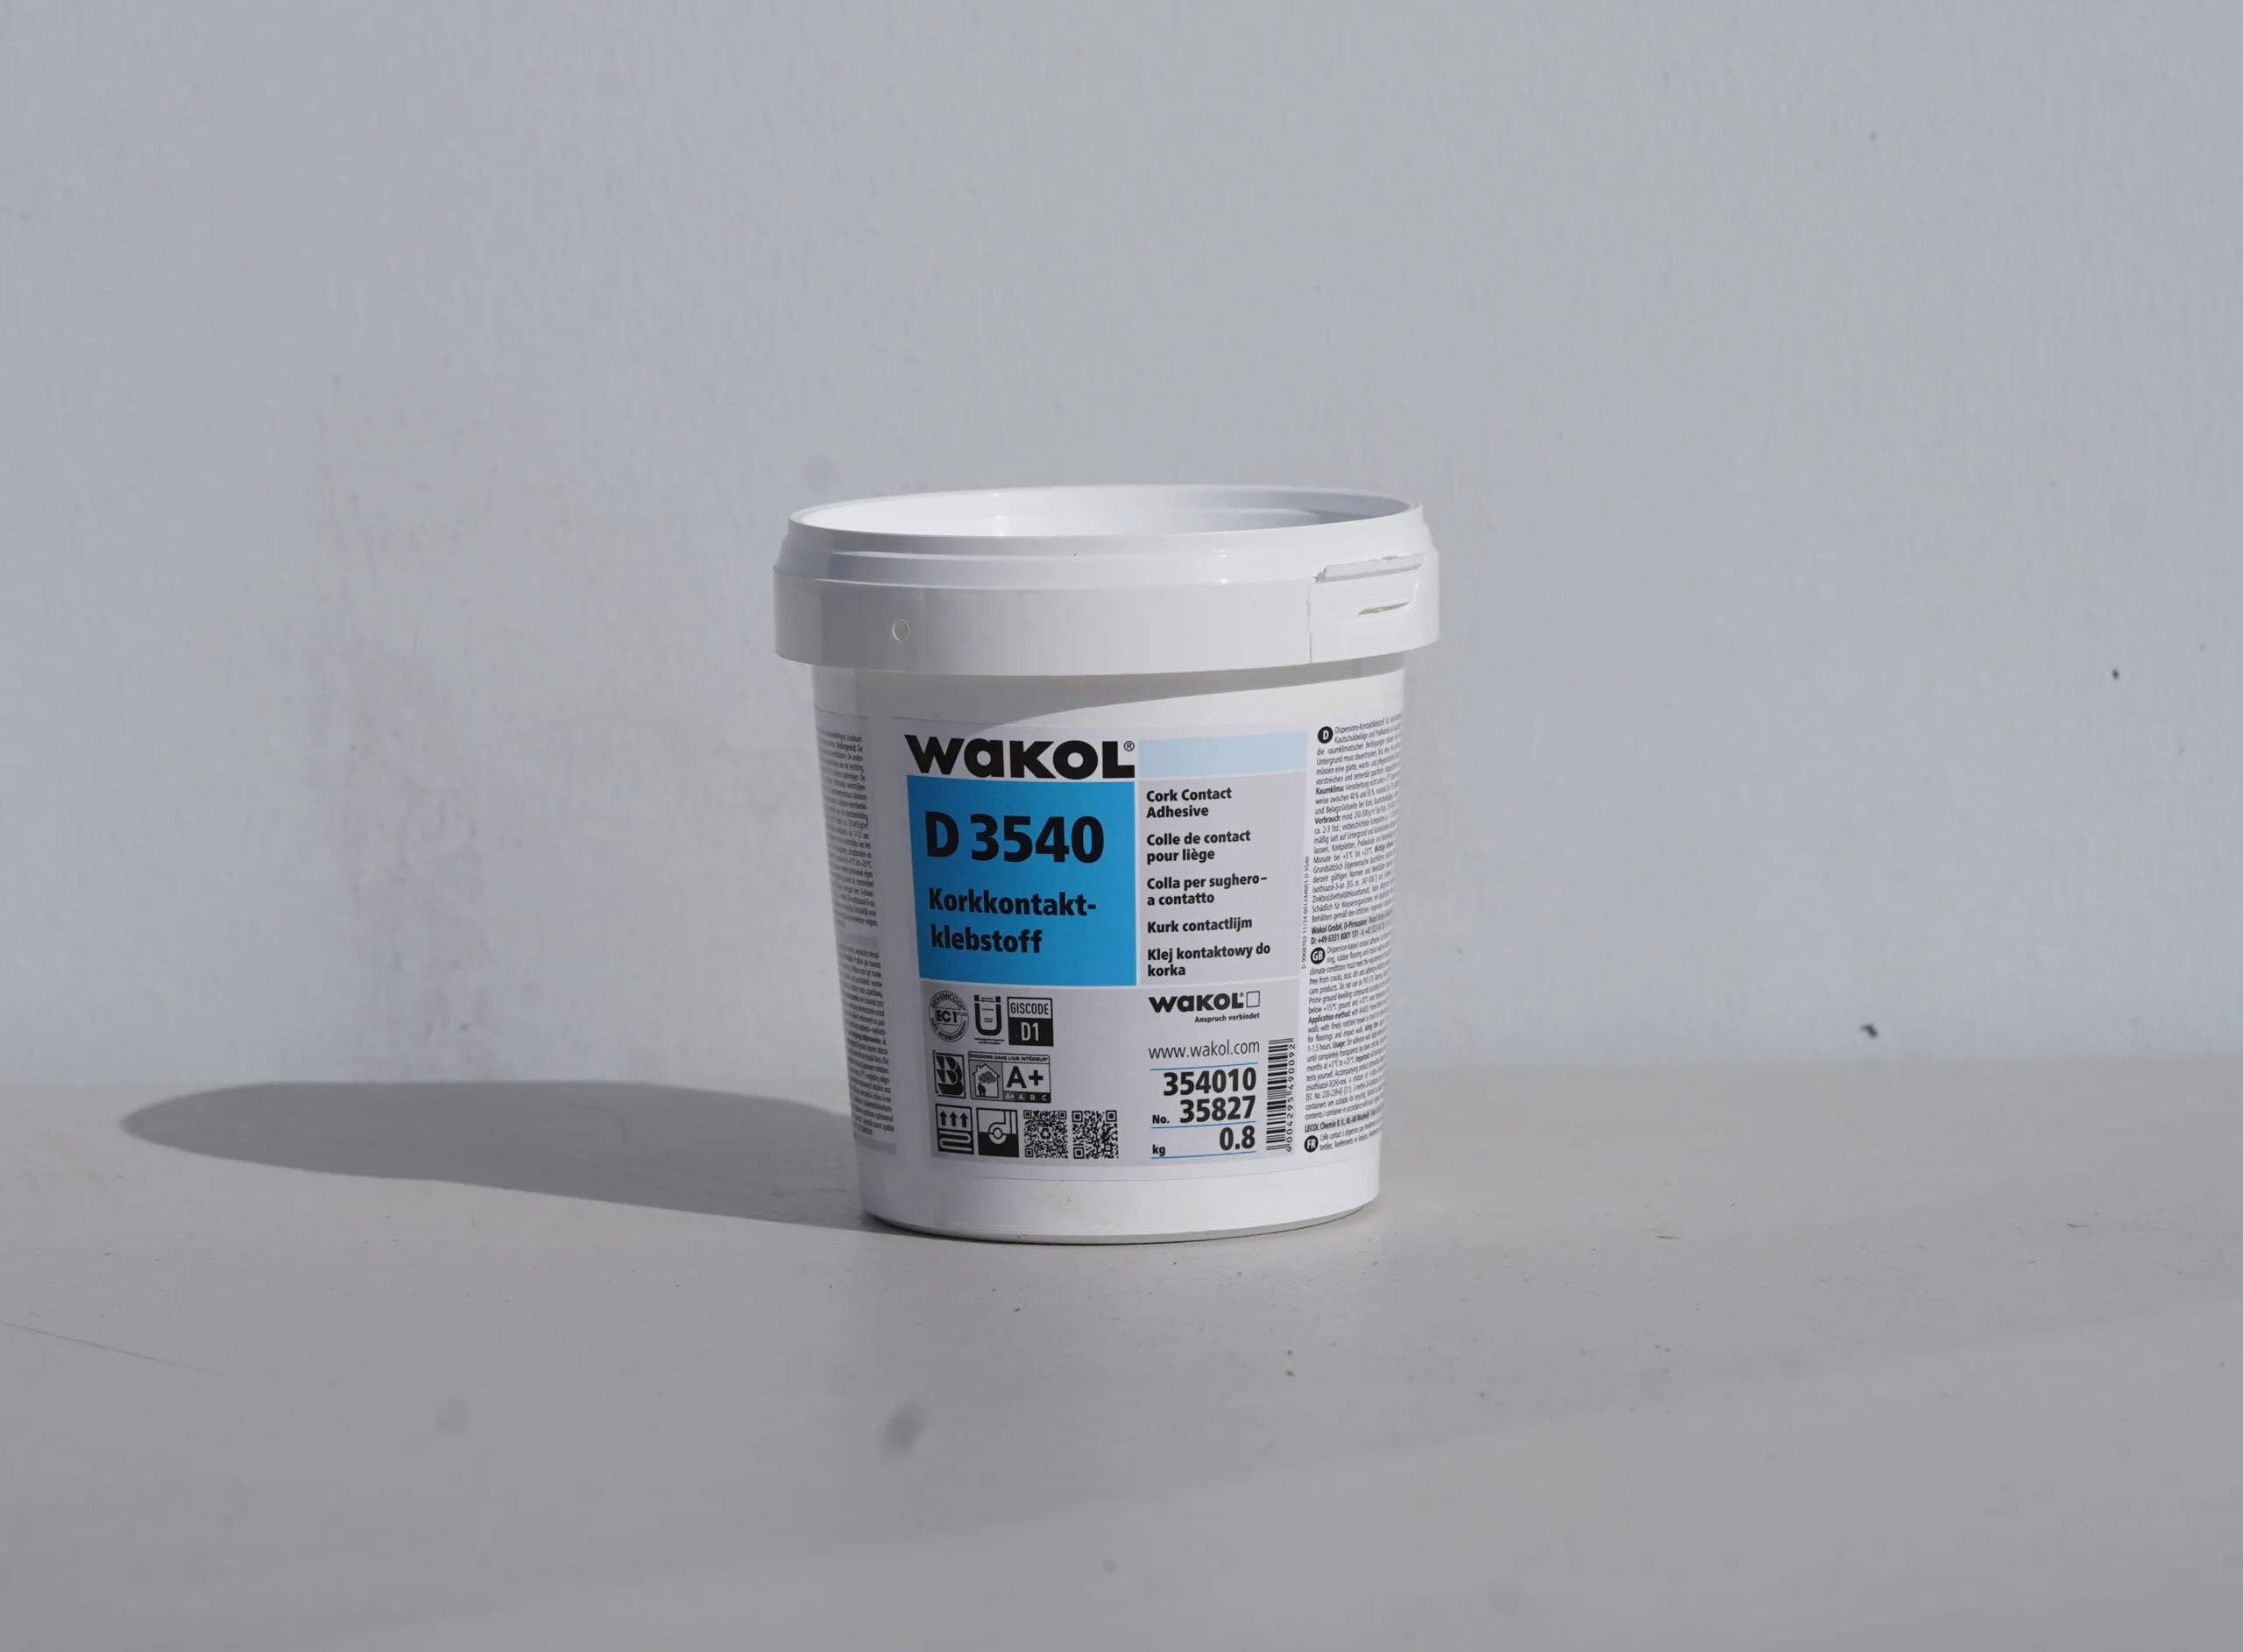
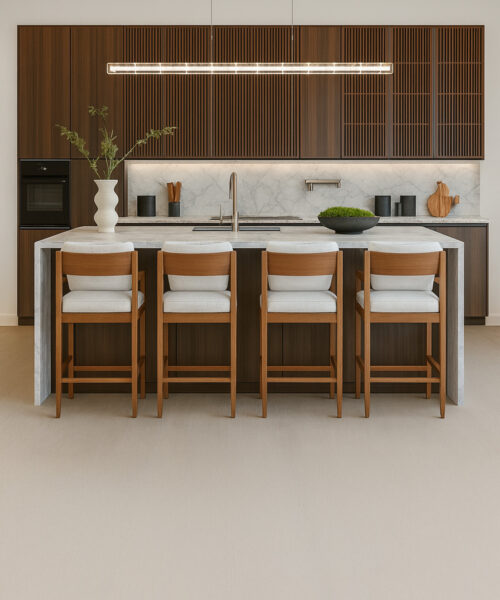
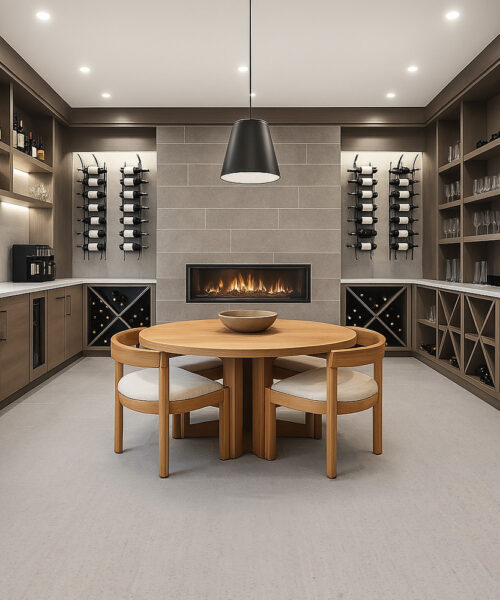
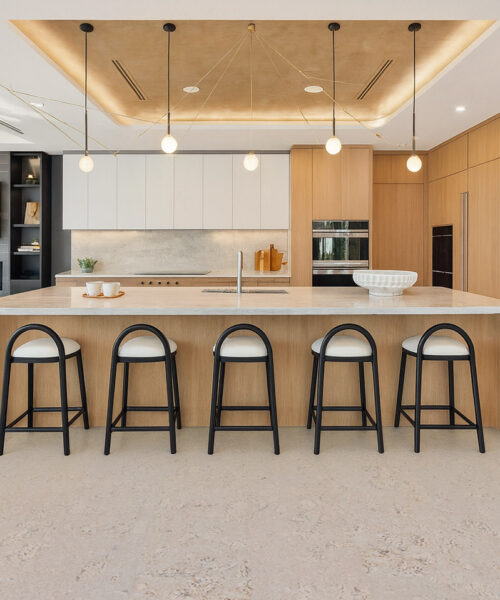
Cork wall panels and ceiling cork tiles add natural texture while helping soften room echo in offices, studios, restaurants, bedrooms, home theaters, retail spaces, and feature-wall projects. Compare flat cork tiles, textured cork, 3D acoustic cork panels, MDF-backed panels, colors, thicknesses, samples, and installation guides before ordering. For adhesive planning, follow the wall tile guide and use the recommended glue for the selected panel type.
Cork wall panels help turn organic traffic into projects by making the product choice clearer: decorative cork tiles, 3D acoustic panels, textured wall cork, and ceiling cork for rooms that need natural texture and sound comfort.
Compare colors, thicknesses, surface textures, sample options, and installation guides before choosing panels for offices, studios, bedrooms, restaurants, retail walls, home theaters, and feature ceilings.
Plan a cork wall or ceiling project
Compare cork wall panels by texture, acoustic goals, room use, ceiling fit, adhesive needs, project scope, sample color, and installation surface before ordering.
Estimate a cork wall or ceiling project
- Wall or ceiling square footage plus 10% overage: calculate panel coverage, cuts, corners, outlet openings, ceiling waste, and extra material before ordering.
- Surface, adhesive, and acoustic goals: confirm drywall, concrete, wood, ceiling use, adhesive compatibility, sound comfort, and design priorities.
- Samples, trim, and installation timing: choose sample textures, plan edge details, delivery timing, surface prep, and installer questions before checkout.
Popular cork wall project paths
Best-fit cork wall and ceiling paths
Help wall traffic choose by acoustic need, decorative look, texture, samples, installation surface, and quote support before buying panels.
Cork board tile and pinboard wall paths
Route cork board tile searches toward cork wall tiles that can support bulletin boards, pinboard walls, office walls, studios, classrooms, samples, and project help.
Match wall panel goals before samples
Wall and ceiling visitors need the acoustic goal, decorative style, surface, adhesive, room lighting, and sample path clarified before ordering panels.
Wholesale cork wall panels and trade project support
Route bulk cork wall panel, ceiling tile, acoustic panel, designer, and commercial wall searches into samples, surface planning, adhesive needs, and quote support. USA buyers should start with samples, project quantities, delivery region, timing, and product-fit questions before checkout.
Frequently asked questions
What are cork wall panels used for?
Cork wall panels are used for feature walls, offices, studios, bedrooms, restaurants, retail interiors, ceilings, and rooms where natural texture and softer acoustics are useful.
Do cork wall panels help with acoustics?
Cork can help soften room echo and improve comfort by adding a textured, resilient surface that absorbs some reflected sound.
Can cork panels be installed on ceilings?
Many cork wall products can be installed on ceilings when the surface, adhesive, layout, and product instructions are followed correctly.
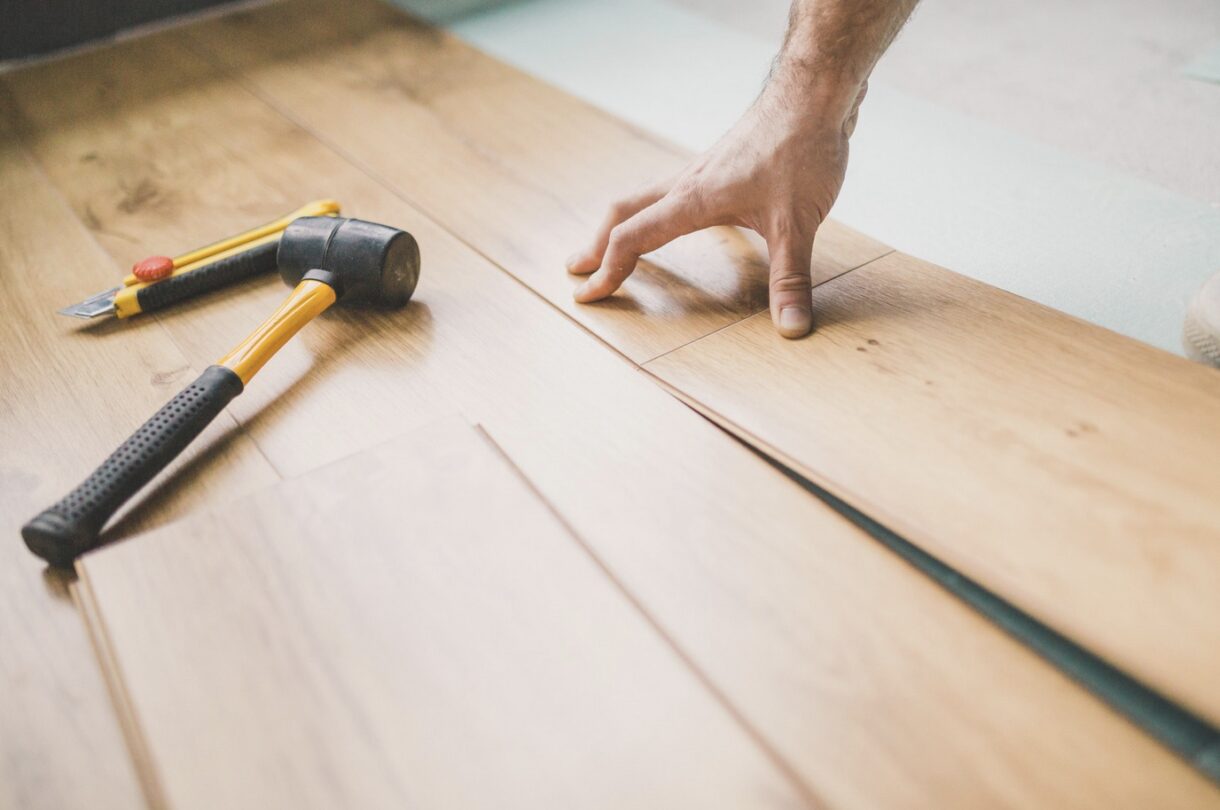
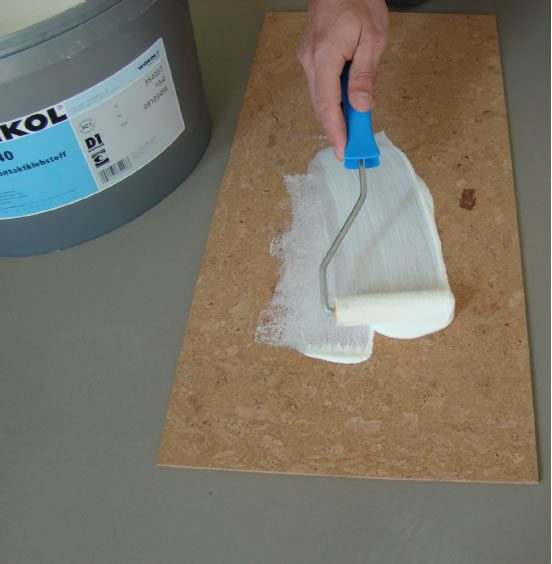
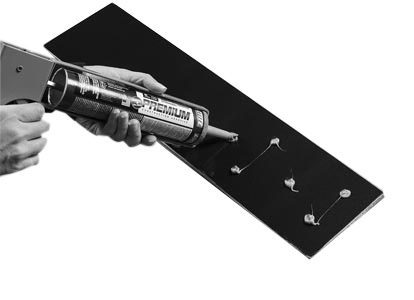
All of our wall tiles require glue on both the surface and the tile itself to adhere properly to the wall. For optimal results, we recommend our Wakol D 3540 Glue.