 Ships USA-wide






Repair answer
Repair cork flooring before replacing
Cork floor repair starts by identifying whether the damage is isolated, whether matching material is available, and whether the finish, adhesive, or subfloor problem needs attention before replacing a tile or plank.
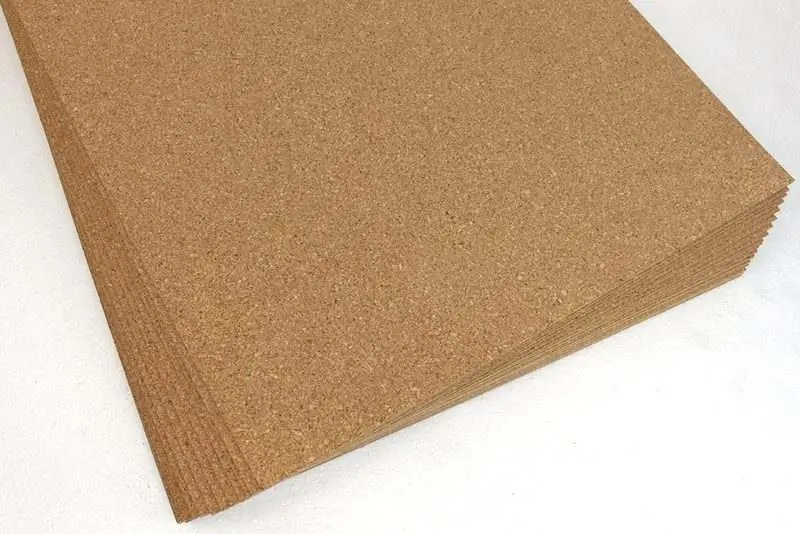
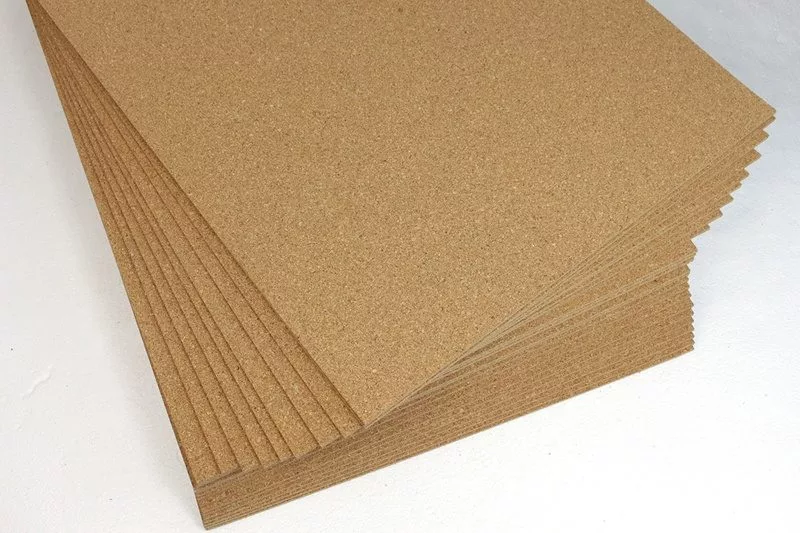
- Order samples to compare color, thickness, texture, and pattern before patching.
- Check whether the floor needs cleaning, recoating, tile replacement, or full replacement.
- Ask a specialist before using harsh cleaners, incompatible adhesive, or the wrong finish.
Cork Floor Repair
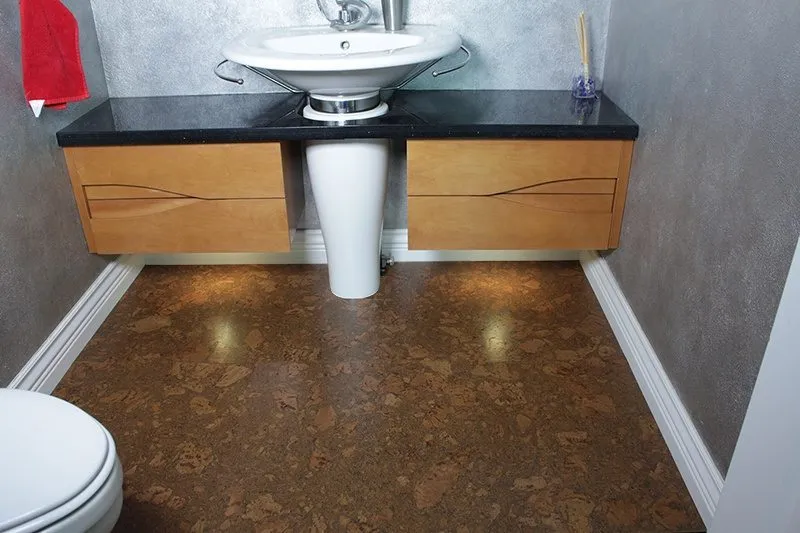
Cork flooring is known for its comfort, durability, and natural beauty. While it stands up well to everyday use, accidents can happen. Heavy impacts, water damage, deep scratches, or other localized issues may occasionally require replacing a damaged tile or plank.
Fortunately, most cork floors can be repaired without replacing the entire floor. The repair method depends on whether you have a floating cork floor or a glue-down cork tile installation.
Step 1: Identify Your Cork Flooring Type
Before starting any repair, determine which type of cork flooring you have:
Floating Cork Flooring
Floating floors use a click-lock system that connects planks together without being glued to the subfloor.
Glue-Down Cork Tiles
Individual cork tiles are glued directly to the subfloor using a contact adhesive.
The repair process is different for each type.
Repairing Floating Cork Flooring
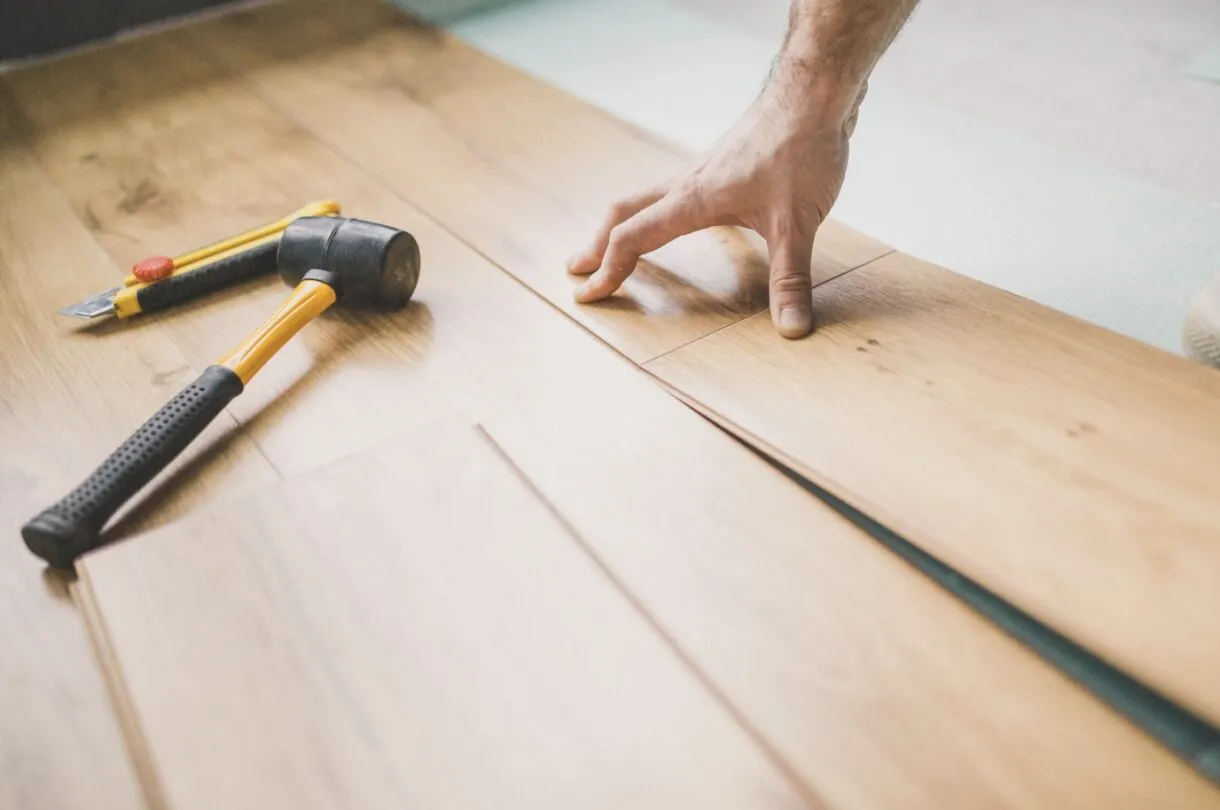
Replacing a damaged floating cork plank is usually the easiest type of repair, especially if you have spare flooring from the original installation.
What You’ll Need
-
Replacement cork plank
-
Pry bar or trim removal tool
-
Tapping block
-
Rubber mallet
-
Utility knife (if needed)
Step 1: Assess the Damaged Area
Determine whether the damaged plank is located:
-
Near a wall
-
In the middle of the room
Planks located near a wall are generally easier to replace because fewer boards need to be removed.
Step 2: Remove Baseboards or Trim
Carefully remove any baseboards, quarter-round molding, or transition strips leading to the damaged area.
Step 3: Uninstall the Floor Back to the Damaged Plank
Starting at the nearest wall, carefully disconnect and remove the planks leading to the damaged board.
Take care not to damage the tongue-and-groove locking system during removal.
Step 4: Remove the Damaged Plank
Once exposed, disconnect the damaged plank from the surrounding flooring.
Step 5: Install the Replacement Plank
Snap the new plank into place using the same locking mechanism as the original floor.
Use a tapping block and rubber mallet if necessary to ensure the joints close tightly.
Step 6: Reinstall the Remaining Flooring
Reconnect all previously removed planks and reinstall the wall trim and moldings.
Your floor should now look as good as new.
Repairing Glue-Down Cork Tiles
Replacing a glued-down cork tile requires a bit more effort but can still be completed by most homeowners with basic tools.
Tools and Materials Needed
-
Utility knife or razor knife
-
Chisel
-
Rubber mallet
-
Floor scraper
-
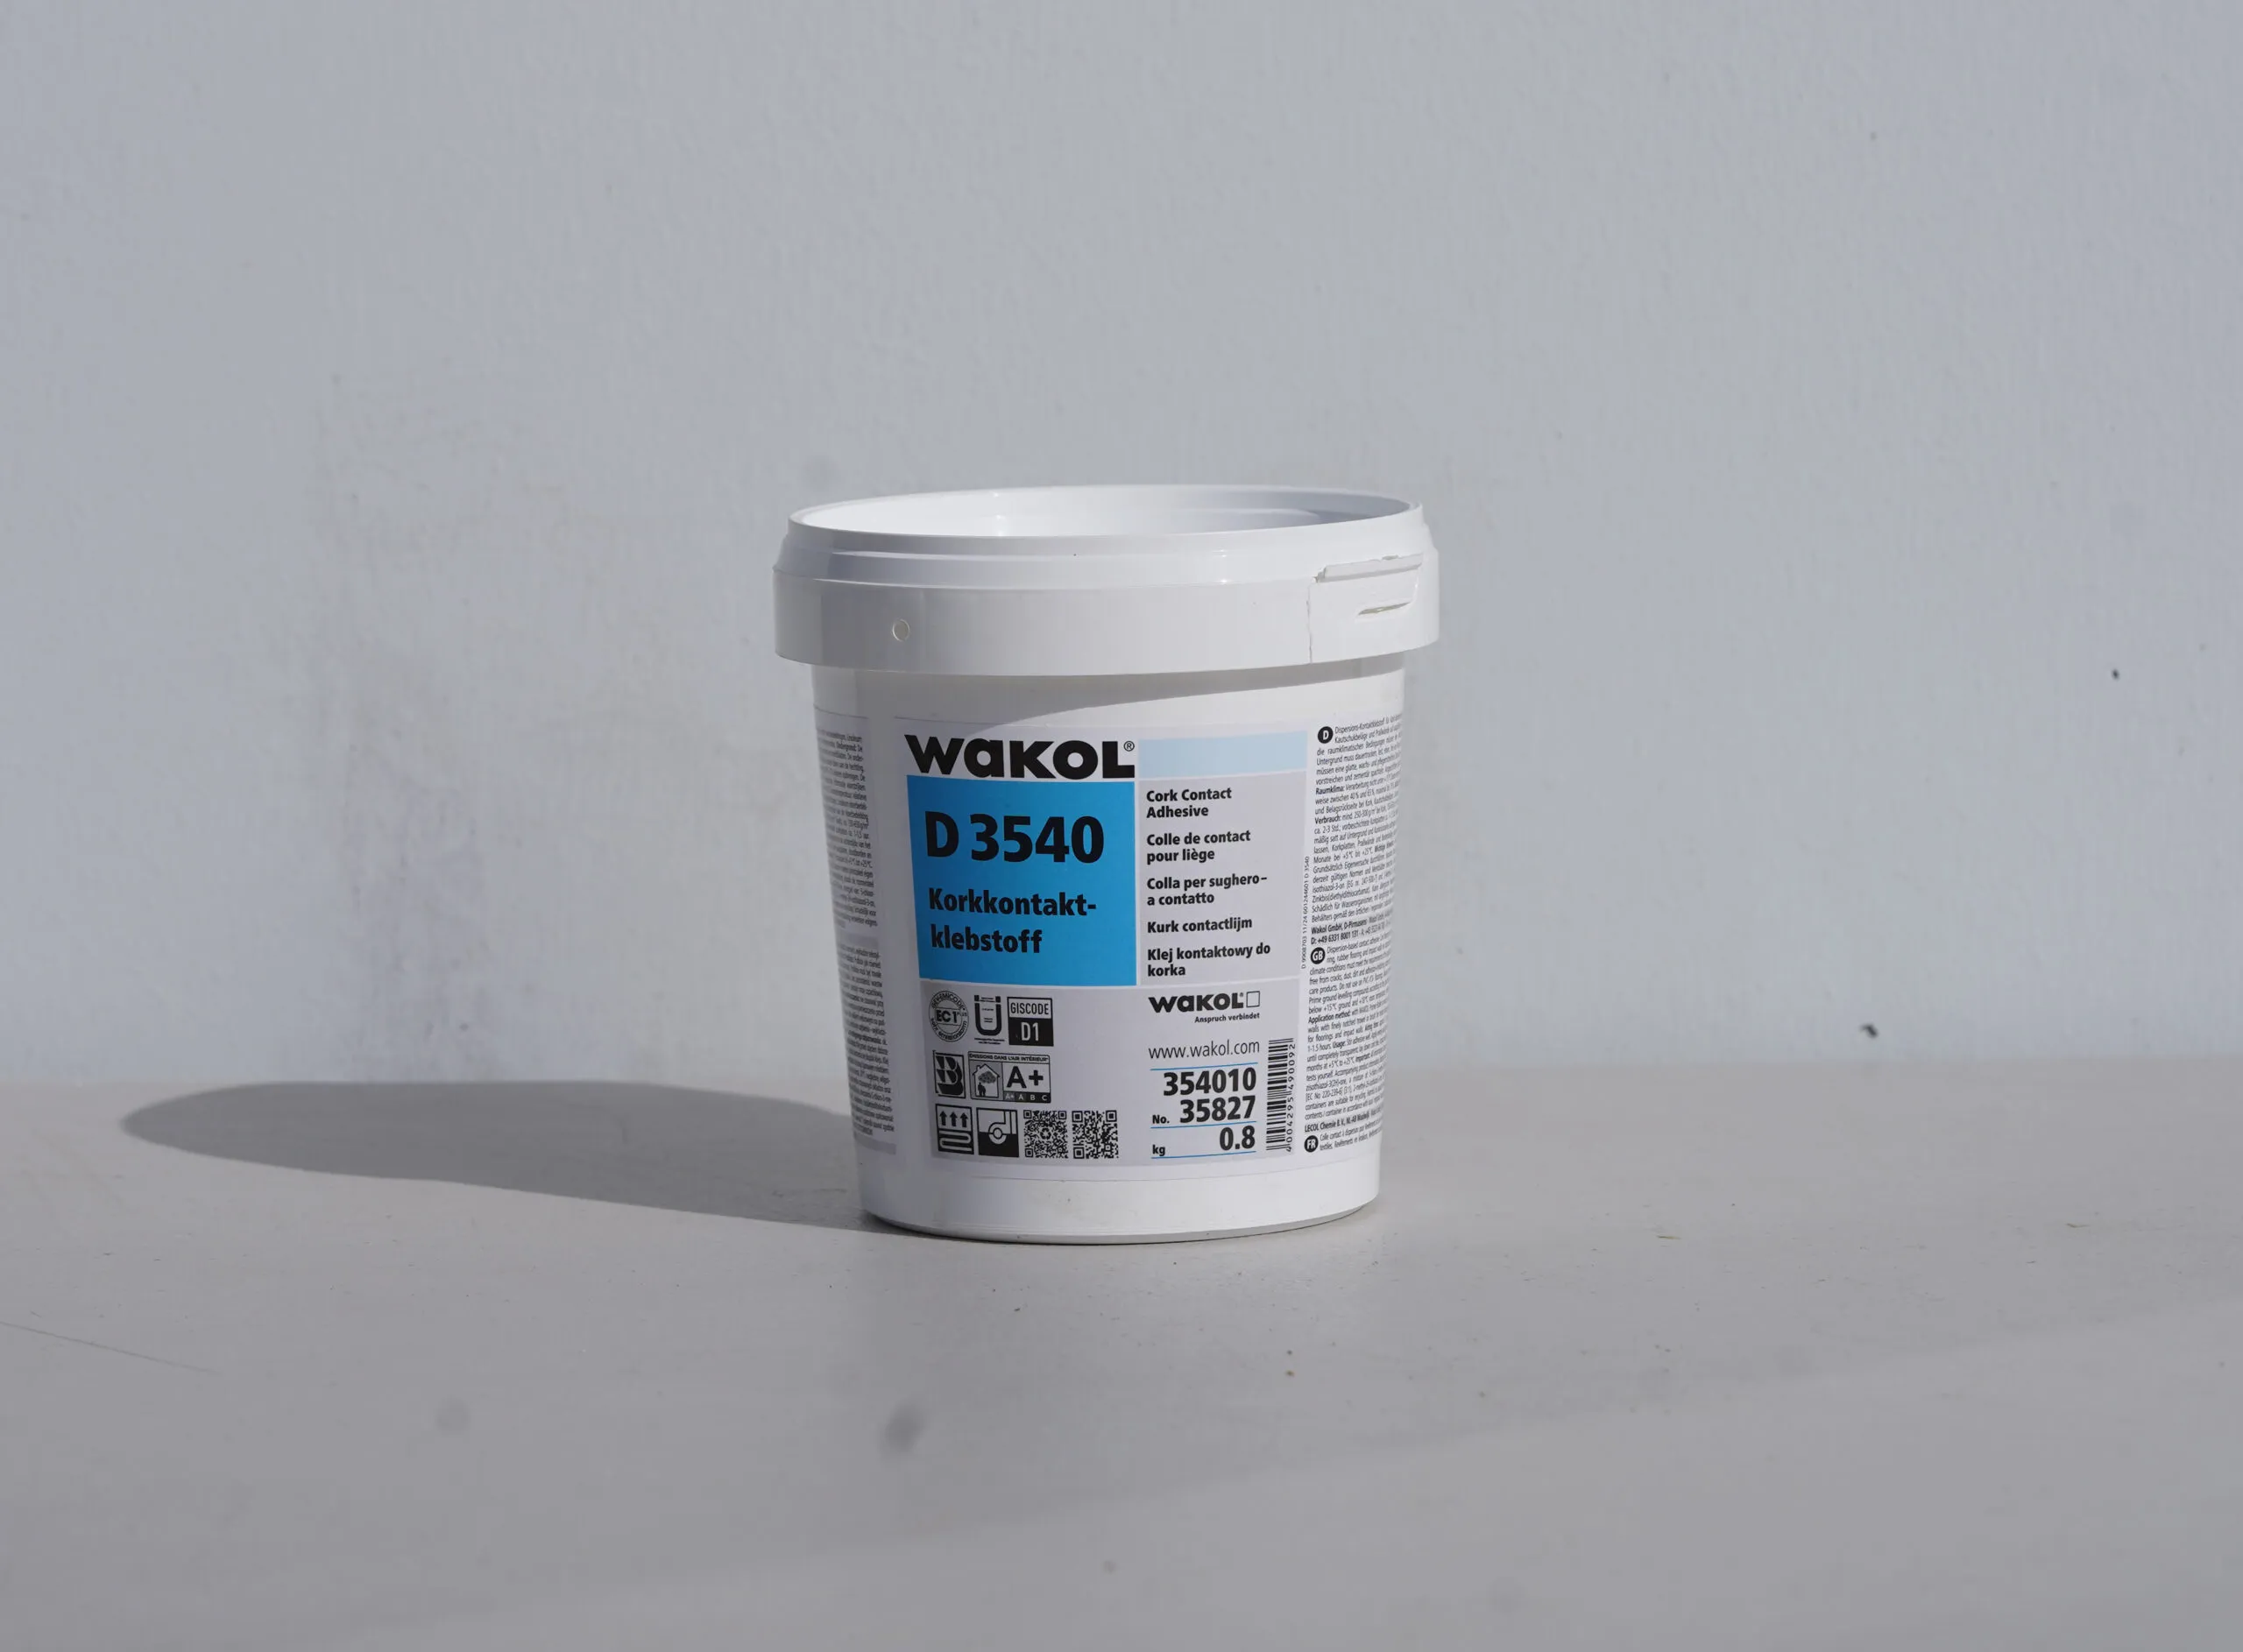
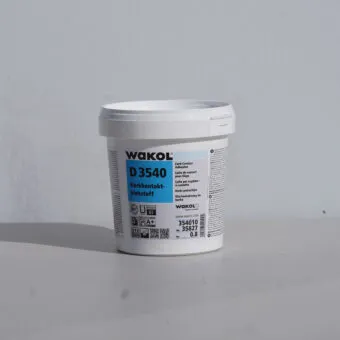
Cork adhesive or contact cement
-
Paintbrush or adhesive spreader
-
Fine-grit sandpaper
-
Replacement cork tile
-
Vacuum or broom
Step 1: Obtain a Matching Replacement Tile
For the best repair, use:
-
Spare tiles saved from the original installation
-
Extra attic stock
-
Matching tiles from the manufacturer
Because cork is a natural product, colors may vary between production runs. Whenever possible, use material from the same lot.
Step 2: Cut Around the Damaged Tile
Using a sharp utility knife, carefully score along the edges of the damaged tile.
This helps protect the surrounding tiles during removal.
Step 3: Remove the Damaged Tile
Using a chisel and rubber mallet, break the tile into smaller sections.
Carefully lift and remove the pieces while avoiding damage to neighboring tiles.
Use a floor scraper to remove any remaining cork or adhesive residue.
Step 4: Prepare the Subfloor
After removing the old tile:
-
Scrape away remaining adhesive
-
Remove debris and dust
-
Ensure the subfloor is smooth and level
A clean, flat surface is essential for a successful repair.
Step 5: Apply Adhesive
Using the manufacturer’s recommended adhesive, apply a thin, even coat to the repair area.
Follow the adhesive manufacturer’s instructions regarding coverage and open time.
Step 6: Install the New Tile
Carefully position the replacement tile and press it firmly into place.
Make sure all edges align with the surrounding tiles.
Roll or firmly press the tile to ensure full contact with the adhesive.
Step 7: Finish the Repair
Allow the adhesive to cure fully before walking on the floor.
If the repaired tile requires refinishing:
-
Lightly sand the repaired area with fine-grit sandpaper.
-
Remove all dust.
-
Apply a matching stain if necessary.
-
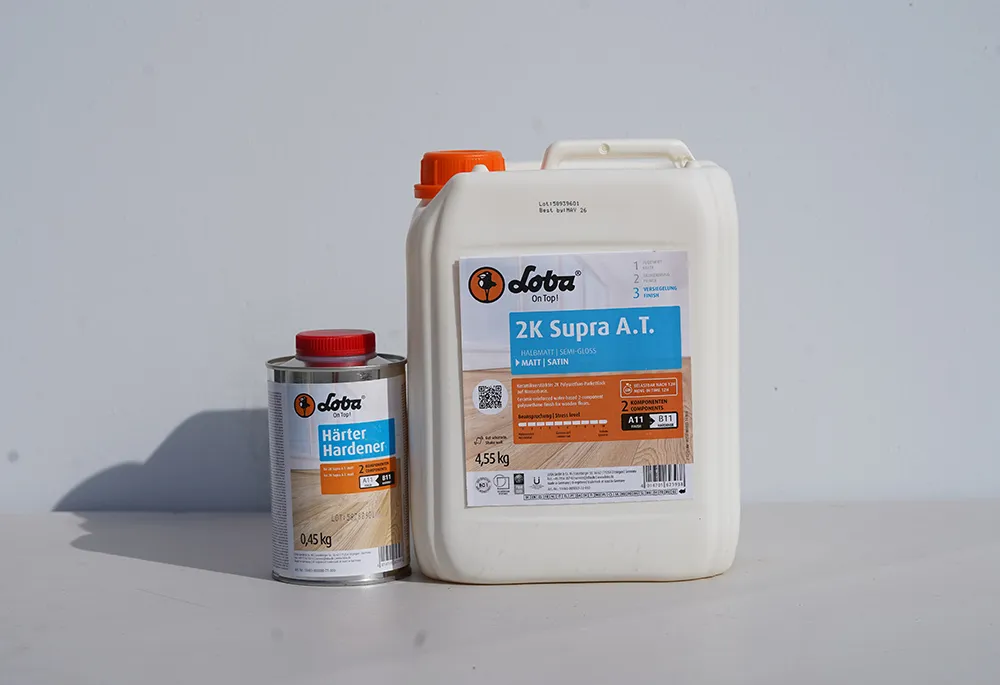
Apply the appropriate polyurethane finish to blend the repair with the surrounding floor.
What If You Don’t Have Spare Tiles?
If you don’t have leftover flooring from the original installation, contact the manufacturer or flooring supplier.
Some manufacturers can provide individual replacement tiles or planks, while others may require purchasing a full carton.
Keep in mind that natural cork flooring can vary slightly in color and pattern, so an exact match may not always be possible.
Tips for Future Repairs
-
Save at least one unopened carton from every flooring installation.
-
Store extra material indoors in a dry location.
-
Label the cartons with the product name and purchase date.
-
Keep a record of the flooring manufacturer and color name.
Having spare material on hand makes future repairs faster, easier, and more cost-effective.
Final Thoughts
Most cork floor damage can be repaired without replacing the entire floor. Floating cork floors typically allow for straightforward plank replacement, while glue-down cork tiles require more careful removal and installation.
With matching replacement material and the proper tools, a well-executed repair can restore the appearance of your cork floor and extend its life for many years.
Repair cork flooring before replacing the whole room
Repair decisions need matching samples, the right finish, compatible adhesive, and a clear decision on whether isolated patching or replacement is the better path.
Match repair scope before ordering replacement samples
Repair visitors need to decide whether the floor needs cleaning, finish renewal, isolated patching, matching samples, adhesive, or full replacement before buying.
Frequently asked questions
Can cork flooring be repaired?
Many cork floor issues can be repaired when the damage is isolated, the product type is known, replacement material can be matched, and adhesive or finish steps are handled correctly.
Should I repair or replace a cork floor?
Repair can make sense for isolated damage. Replacement may be better when the floor has widespread wear, moisture damage, failed adhesive, or no matching material available.
Should I order samples before repairing cork flooring?
iCorkfloor recommends samples so buyers can compare color, pattern, thickness, texture, and finish before replacing damaged cork planks or tiles.
 Flooring
 Wall & Ceiling Tiles
 Cork Underlayment
 Supplies & Guides