 Ships USA-wide



How to Replace a Damaged Floating Floor Plank Without Removing the Entire Floor
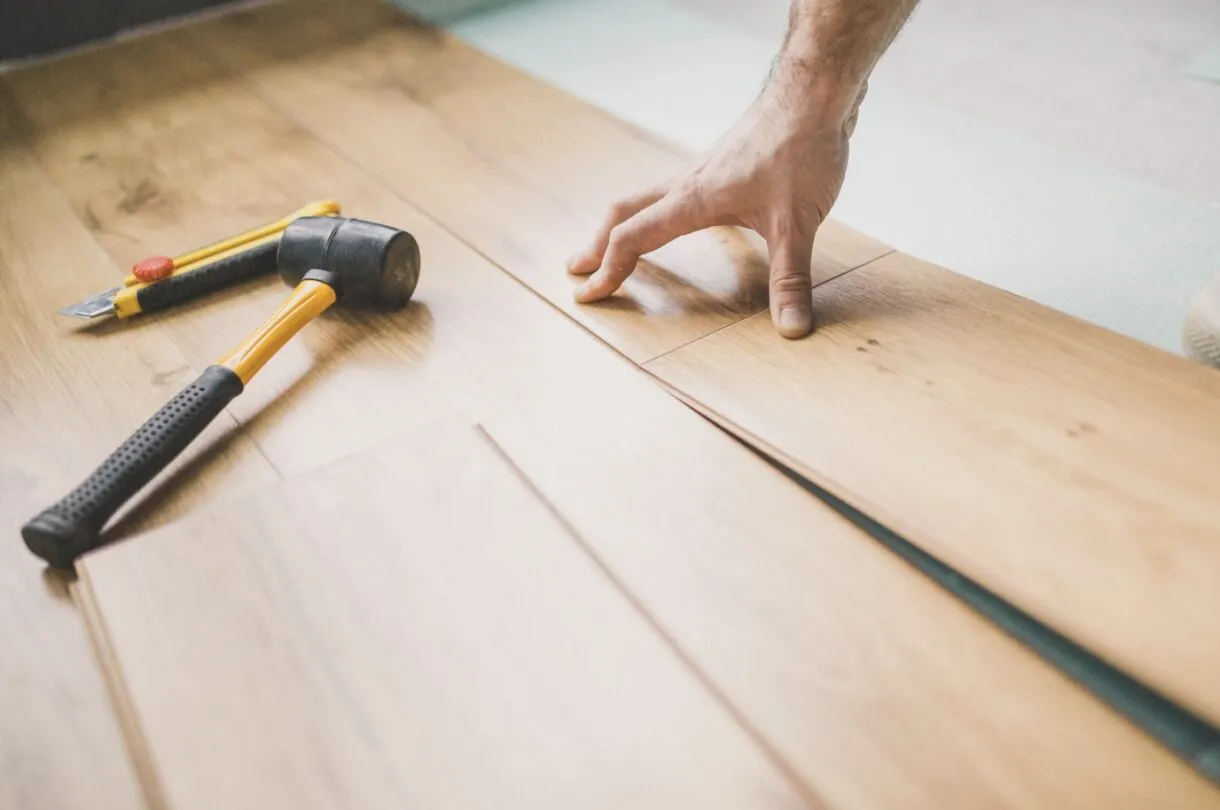
A damaged plank in the middle of your floor can seem like a major problem. Many homeowners assume the entire floor must be disassembled to replace a single board. Fortunately, modern click-lock floating flooring allows individual planks to be replaced using a professional repair technique known as the Envelope Cut Method.
This method is commonly used by flooring installers to repair scratches, dents, water damage, or other isolated plank damage without disturbing the surrounding floor.
When Should You Replace a Single Plank?
Replacing a single plank is often the best solution when the damage is limited to one area, such as:
- Deep scratches
- Gouges from dropped objects
- Water-damaged planks
- Burn marks
- Pet damage
- Staining that cannot be cleaned
If the surrounding floor remains in good condition, replacing only the damaged plank can restore the floor’s appearance while saving time and money.
Tools Needed
Before beginning the repair, gather the following tools:
- Circular saw
- Hammer or rubber mallet
- Tapping block
- Chisel
- White wood glue (PVA glue)
- Suction cup (optional)
- Vacuum cleaner
- Replacement flooring plank
Step 1: Cut the Damaged Plank
Using a circular saw, make two diagonal cuts across the damaged plank, creating an “X” pattern.
Important:
- Set the saw blade approximately 0.5 mm shallower than the plank thickness.
- Avoid cutting into the subfloor.
- Stop short of the corners to prevent damaging adjacent planks.
This creates four separate sections that can be removed individually.
Step 2: Remove the Corners
Using a sharp chisel, carefully finish the cuts in each corner.
Once the corners are released, the triangular sections can be lifted out without affecting neighboring planks.
Take your time during this step. Protecting the surrounding floor is critical for a successful repair.
Step 3: Remove the Damaged Pieces
After the corners have been loosened, remove all four sections of the damaged plank.
Vacuum the opening thoroughly to remove dust, debris, and wood fragments.
A clean opening ensures the replacement plank sits flat and properly aligned.
Step 4: Prepare the Replacement Plank
To fit the replacement plank into the opening, some of the click-lock profile must be removed.
Trim:
- The tongue on the short side
- The lower groove lip on the long side
- The lower groove lip on the short side
Leave the tongue on the long side intact. This side will still lock into the existing flooring.
Step 5: Test Fit the New Plank
Before applying glue, place the replacement plank into the opening to confirm it fits properly.
Check:
- Joint alignment
- Surface height
- Edge fit
If necessary, make minor adjustments before proceeding.
Step 6: Apply White Wood Glue
Apply a thin bead of PVA wood glue (commonly called white wood glue) to the locking profiles of the surrounding planks.
Do not use:
- Construction adhesive
- Silicone
- Polyurethane expanding glue
- Super glue
A quality PVA wood glue provides the proper bond while allowing the replacement plank to sit correctly within the repair area.
Step 7: Install the New Plank
Insert the replacement plank by engaging the remaining long-side tongue into the groove of the existing floor.
Lower the plank carefully into position.
Ensure all seams align with the surrounding flooring.
Step 8: Tighten the Joints
Using a tapping block and hammer, gently tap the joints closed until the seams are tight and even.
The tapping block distributes force evenly and helps prevent damage to the flooring edges.
Do not strike the flooring directly with a hammer.
Avoid excessive force, as the goal is simply to close any small gaps and ensure full contact between the glued surfaces.
Step 9: Weight the Repair
After the plank is installed, place weight over the repaired area for approximately 20 minutes.
This helps maintain pressure on the glued joints while the adhesive begins to set.
The Finished Result
When completed correctly, the repaired plank blends seamlessly into the surrounding floor.
Most homeowners will be unable to identify which plank was replaced.
The Envelope Cut Method is one of the most effective ways to repair click-lock floating flooring and can significantly extend the life of your floor without requiring a complete reinstallation.
Final Tips
- Always keep a few extra planks from your original installation for future repairs.
- Match lot numbers whenever possible for the best color consistency.
- Work carefully around surrounding planks to avoid creating additional damage.
- If you are uncomfortable using power tools, consider hiring a professional flooring installer.
With the proper tools and a little patience, replacing a damaged floating floor plank can be a straightforward repair that restores your floor to like-new condition.
 Flooring
 Wall & Ceiling Tiles
 Cork Underlayment
 Supplies & Guides