 Ships USA-wide







Underlayment installation answer
Cork underlayment installation
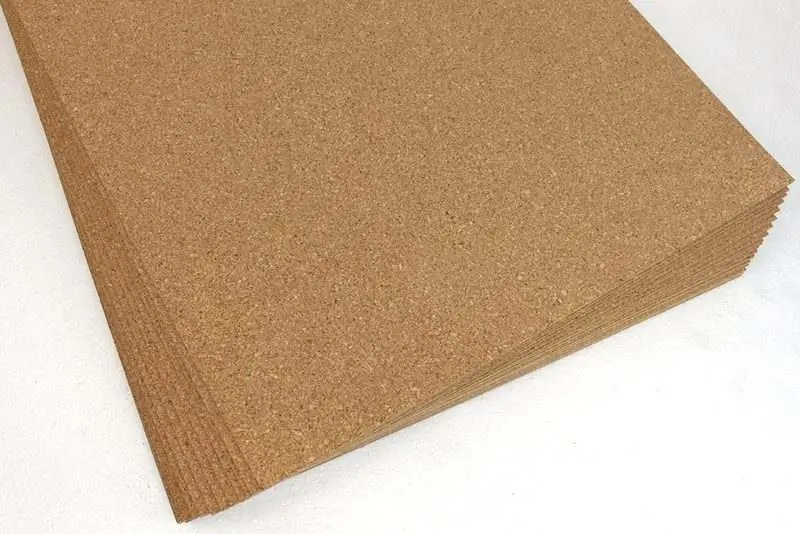
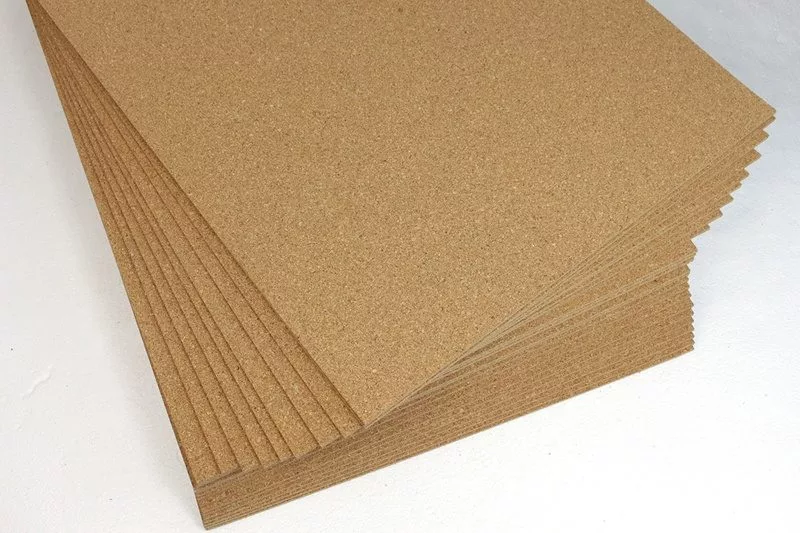
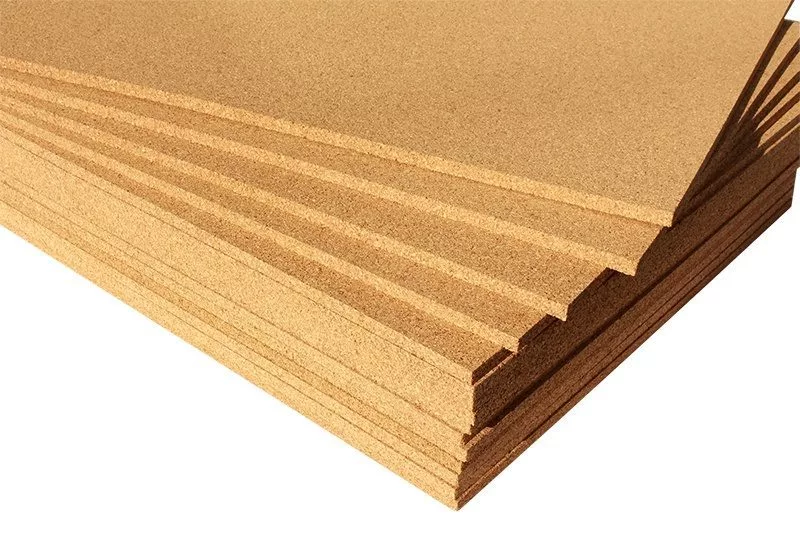
Cork underlayment installation starts with a clean, flat, dry substrate, then matching the 3mm, 6mm, or 12mm cork layer to the finished floor, sound goal, moisture limits, and approved installation method.
- Compare 3mm, 6mm, and 12mm cork underlayment before choosing the full project layer.
- Confirm the finished floor allows cork underlay under hardwood, laminate, vinyl, tile, or cork.
- Use samples and specialist help to confirm thickness, finished height, and acoustic expectations.
Cork Underlayment Installation
Please remember that cork cannot/should not be pierced by metal (no nails/staples/cleats/screws/etc). Once cork is pierced it does TWO things:

- It loses as much as 50% of it’s acoustic insulation (noise travels through the metal fasteners into the space below)
- It crumbles as it slowly scrapes against the metal fasteners and brakes down over time (cork expands and contracts throughout its life like solid hardwood).

Cork Underlayment Installation
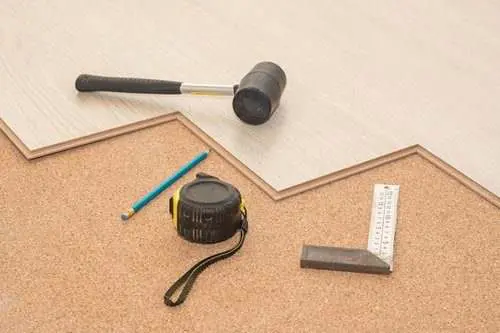
For the two reasons given above, we recommend that cork is used under floating or glue down hardwood only. The other forms of installation are not appropriate with cork underlay.
You can contact an acoustic expert to come in and discuss this concern. We know that metal transmit noise (telephone wires are made of metal). Screws/nails through cork will do the same thing. A nailed in place floor or screwed in place subfloor can have HUNDREDS of metal piercings through the cork. We assume that a certain amount of noise will be transmitted through metal. The loss of acoustic insulation is the least of our concerns. The physical deterioration of the underlay is of the utmost concern.

Every time cork is pierced (by nails/etc) it has a chance of crumbling. If we assume there to be hundreds to thousands of nails piercing the cork underlay, we can assume there to be hundreds to thousands of points of failure (crumbling to a dust underneath the floor). This is our BIGGEST concern.

There are very few acoustic underlayments that are allowed to be pierced. Cork is not one of them. Even the one’s that are allowed to be pierce will have the same noise transfer issues as a cork underlay that has been pierced. The metal will transfer noise from one space to another – just like telephone wires.
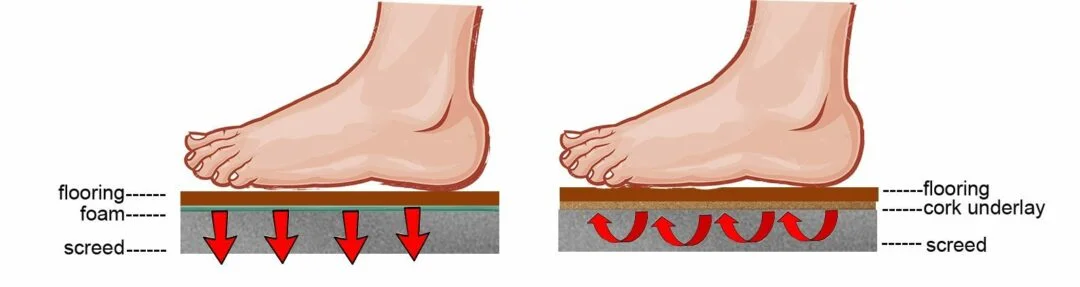
Plan cork underlayment before installation
Underlayment research should turn into a product choice only after thickness, floor type, subfloor, moisture, finished height, and acoustic goals are clear.
Confirm the finished floor before underlayment samples
Installation readers should choose cork underlay only after the finished floor type, thickness, subfloor, acoustic goal, and height limits are confirmed.
Frequently asked questions
How do you install cork underlayment?
Install cork underlayment over a clean, flat, dry substrate using the method approved for the finished floor. Confirm moisture limits, seams, adhesive or floating-floor instructions, and finished height before work starts.
What cork underlayment thickness should I use?
Choose 3mm for low-profile projects, 6mm for balanced acoustic support, and 12mm or half-inch cork when higher impact sound control or thermal support is the priority.
Can cork underlayment go under hardwood, laminate, vinyl, tile, and cork?
Often yes, when the finished floor manufacturer allows an underlay layer and the substrate, moisture conditions, adhesive requirements, and finished height are confirmed first.
Should I order cork underlayment samples before installing?
iCorkfloor recommends samples so buyers can compare cork thickness, density, finished height, feel, and project fit before ordering full underlayment boxes.
 Flooring
 Wall & Ceiling Tiles
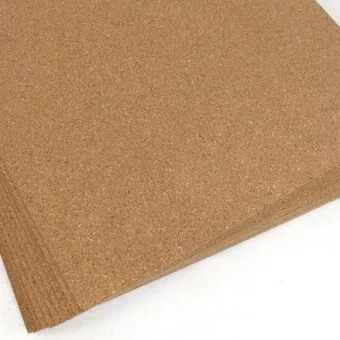 Cork Underlayment
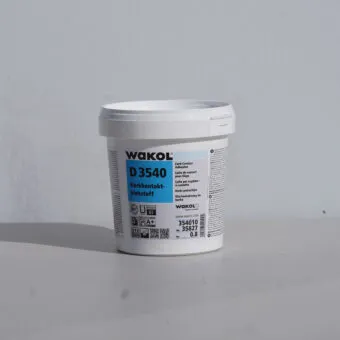 Supplies & Guides