


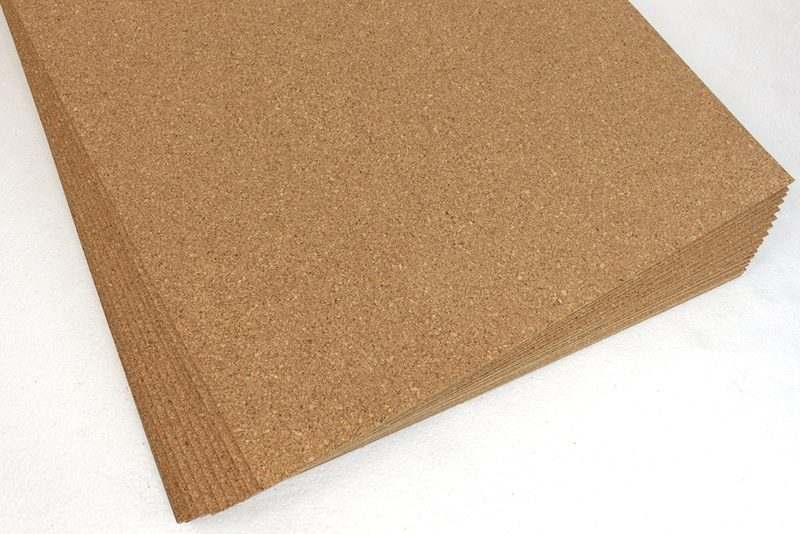
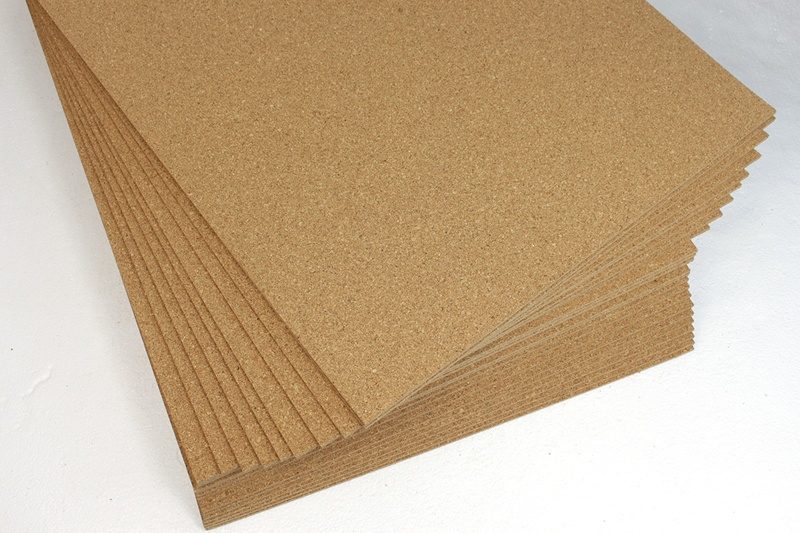
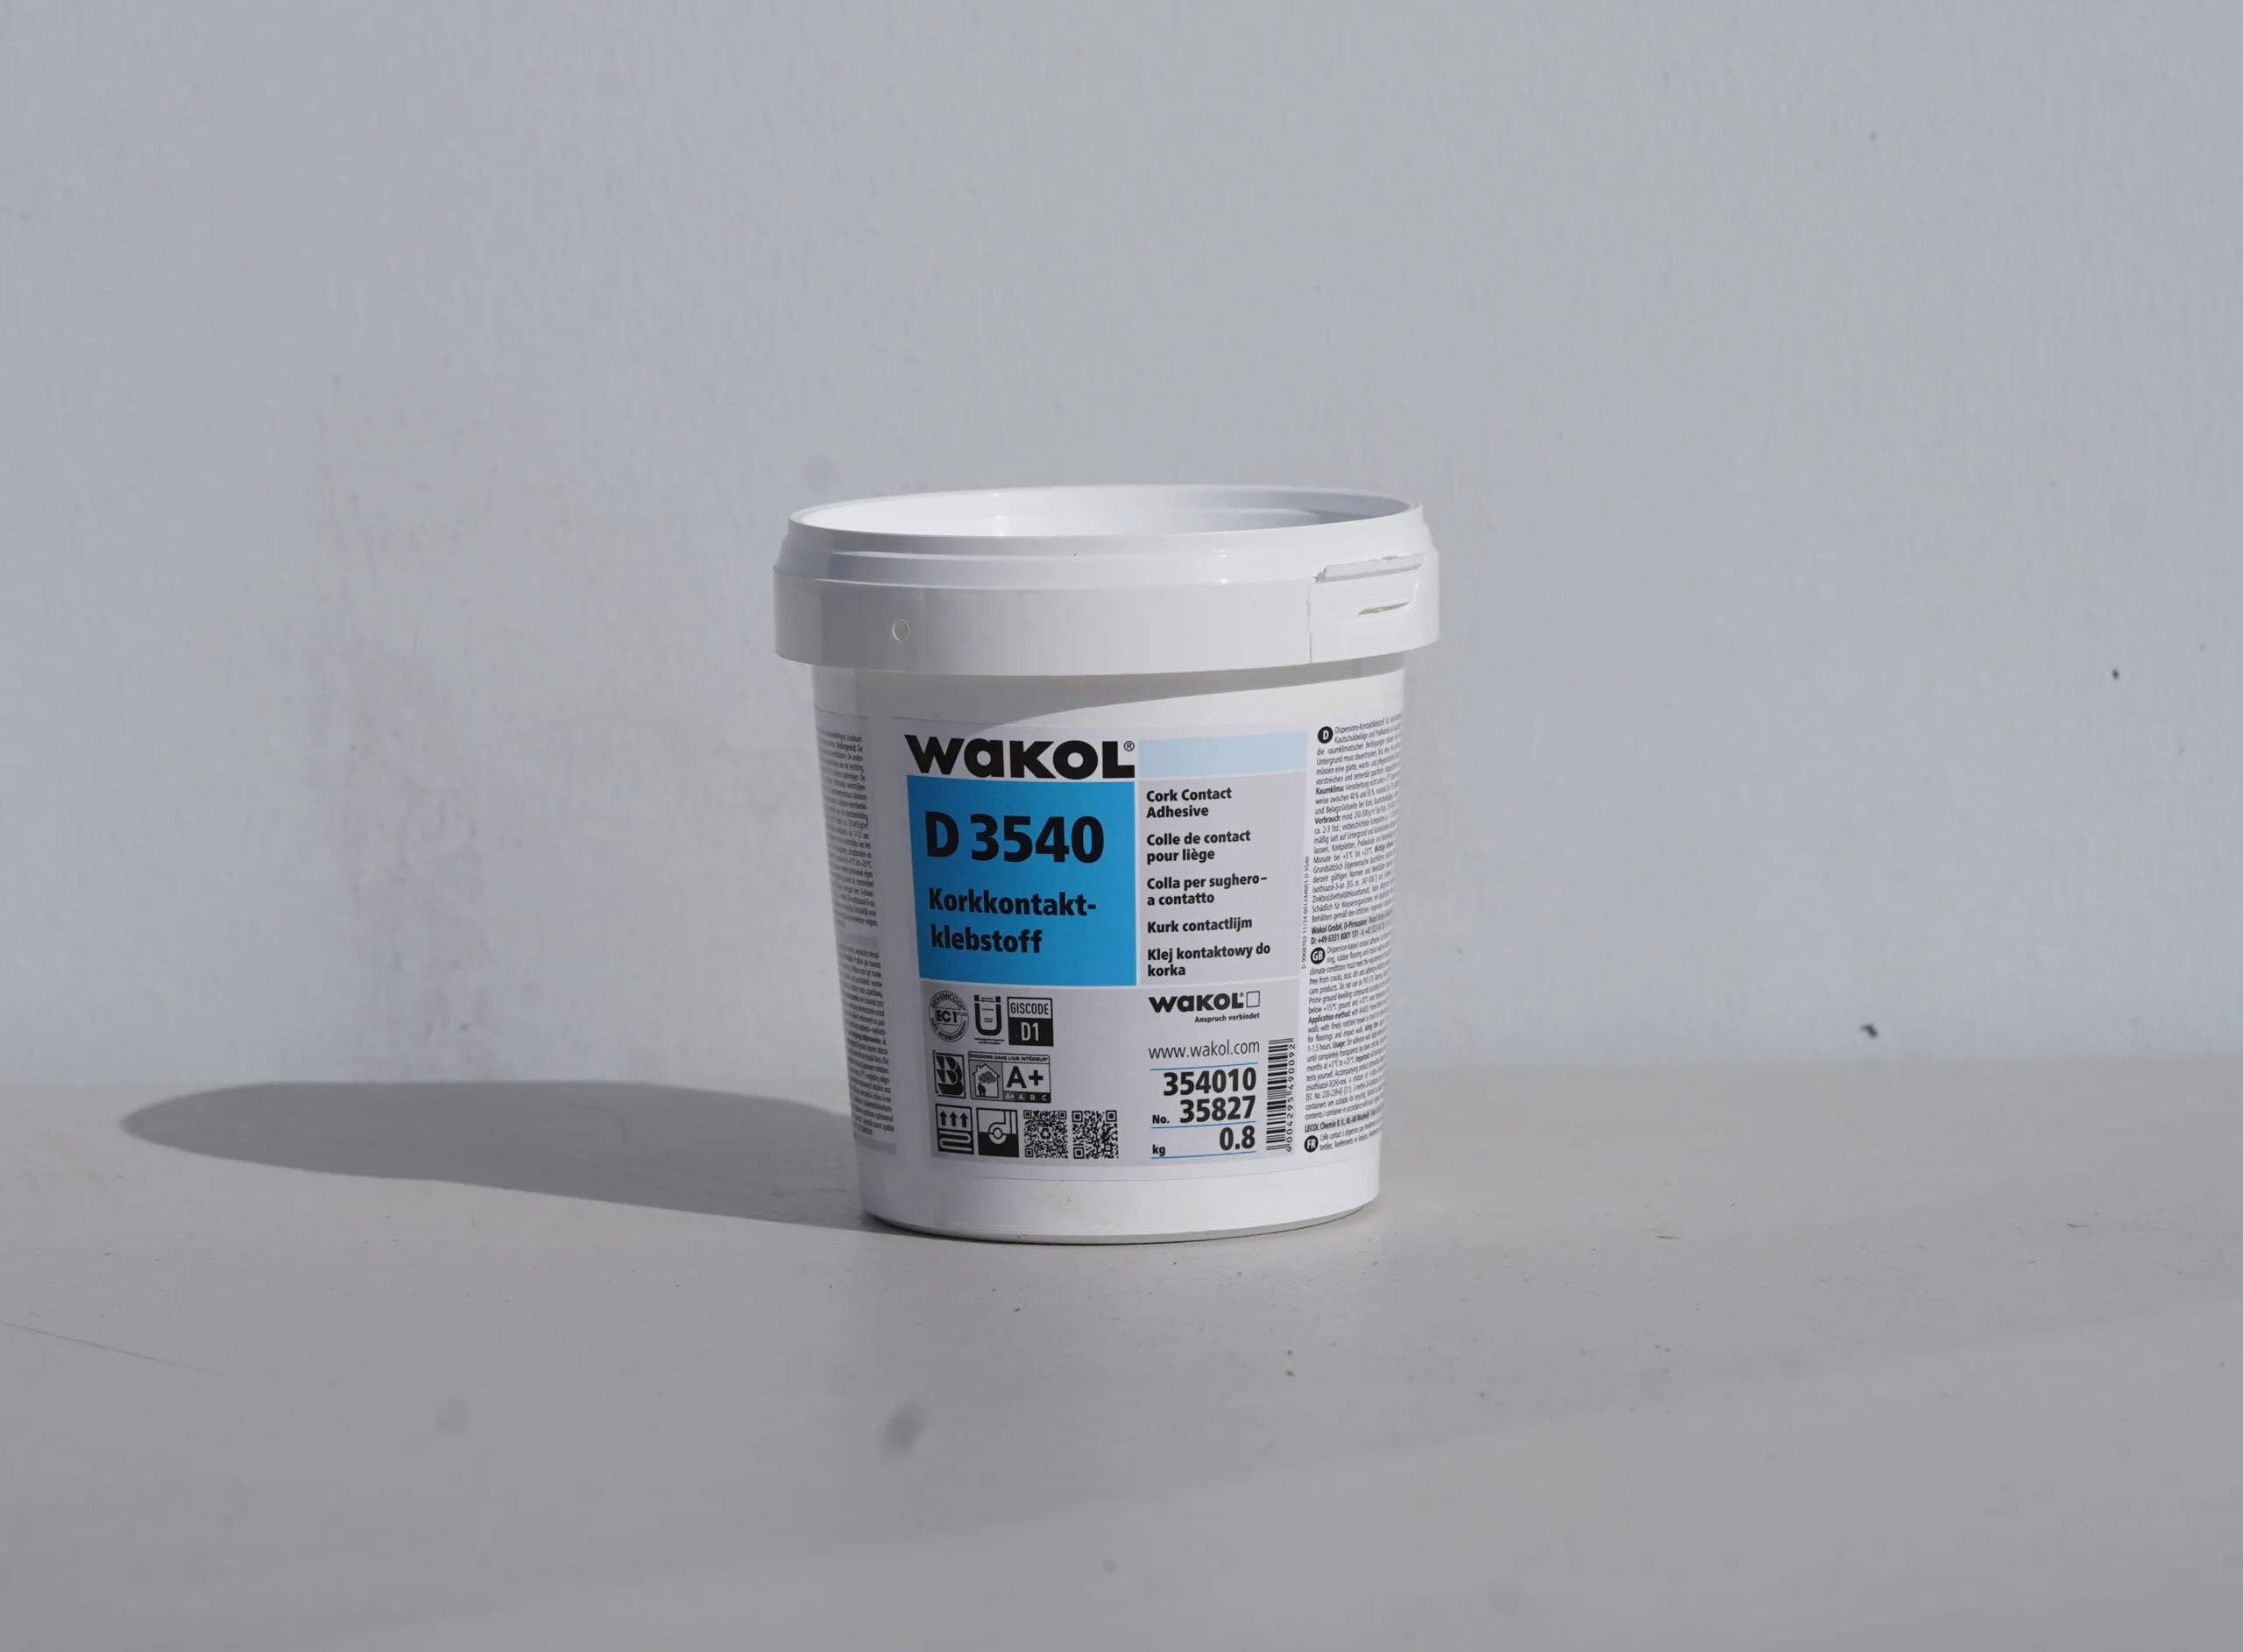
Shop cork adhesive
Match adhesive to the cork tile and substrate before installation day.

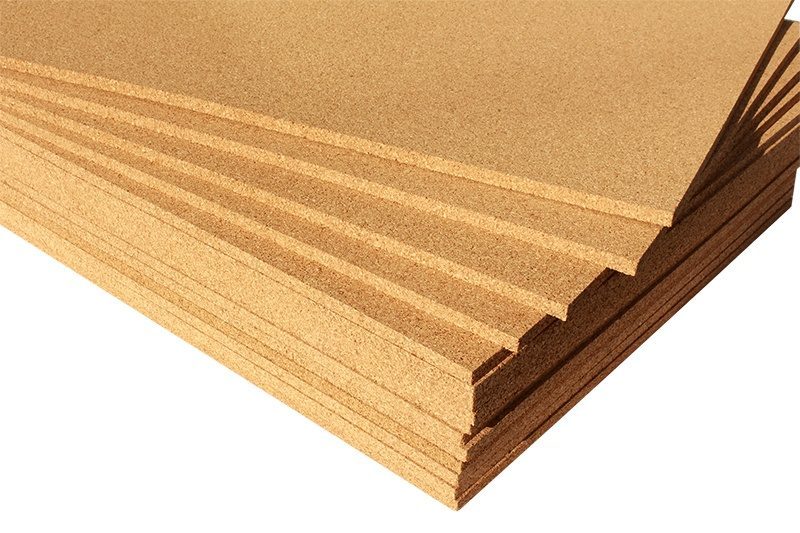
Installation guide
Use this guide for cork tiles bonded to the subfloor with the correct contact cement, rolling pressure, layout, and finish plan.
Match adhesive to the cork tile and substrate before installation day.
Confirm finish requirements before installing glue-down cork tiles.
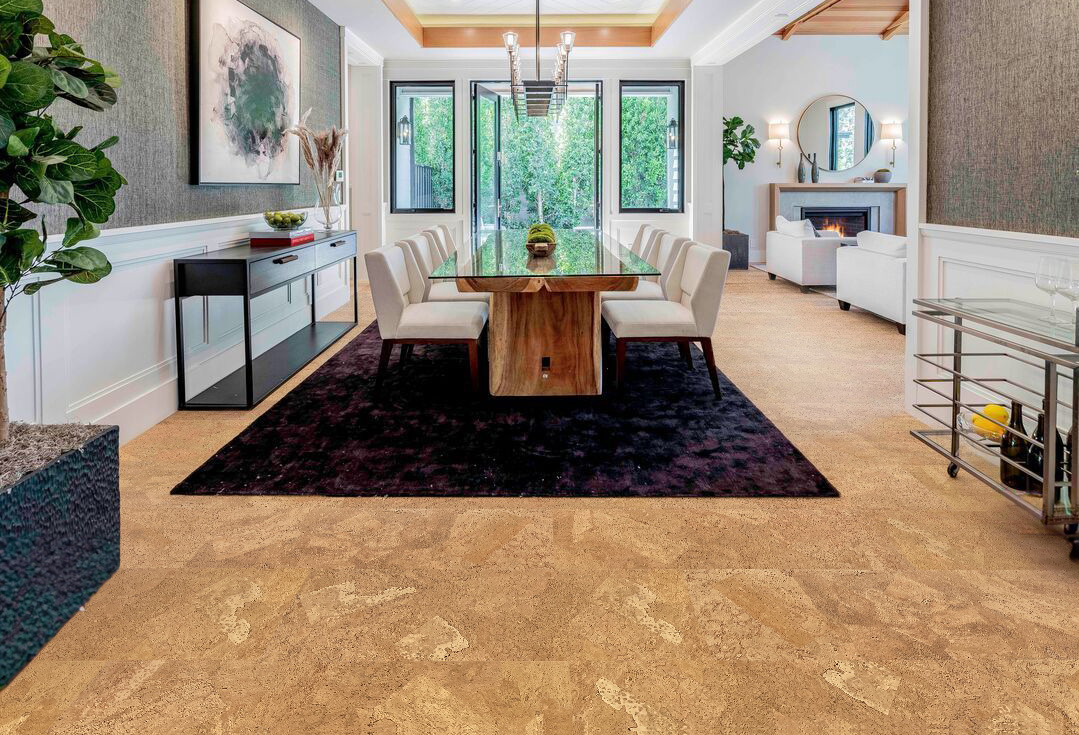
Browse floors that use bonded installation.
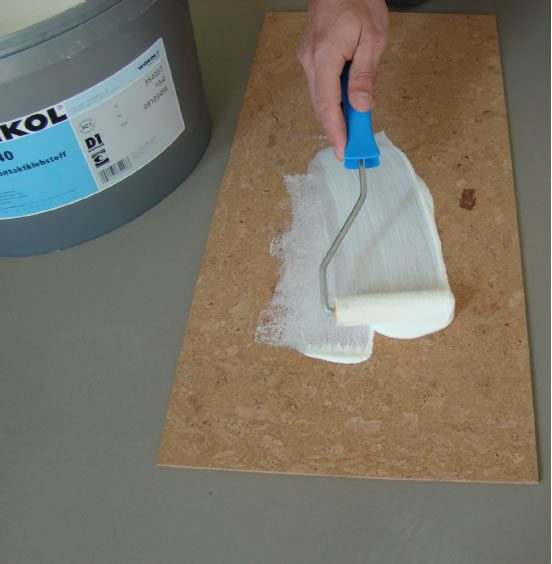
WARNING: For a Proper installation of Glue Down Cork tiles, use a roll-on CONTACT CEMENT application method (use a roller to apply the contact cement to surface area). ** DO NOT USE a Trowel**
** DO NOT USE Trowel**
Do NOT use DAP “Non – Flammable” Contact Cement with Forna products. This product is non-compatible with Forna cork flooring and has caused expensive fails! **Use only Forna approved adhesive and polyurethane.**
Do not install Forna cork glue-down tiles over old flooring or unapproved subfloor materials! Fail rate is 100%.
Tools and Materials Needed (Some optional)
Please adhere to iCork Floor directions and instructions regarding “liquids”. The material provided by Loba is for “general” use and does not specifically pertain to use with Forna Flooring Products. Failure to follow iCork Floor procedures will result in voiding the manufacturer’s warranty. If you have any questions or concerns contact iCork Floor or a Forna representative BEFORE you install.

Prior to the day of installation, all Forna flooring cartons should be opened (the outer box/shell, not the plastic packaging directly protecting the cork tiles) and be kept at room temperature (in the space where the floor will be laid) for 48-72 hours to allow for acclimation. DO NOT remove cork tiles from the inside/plastic packaging. On the day of the installation, packages can be opened and the contents from all packages “shuffled” or pre-laid around the room/floor to achieve the most pleasing effect. Once the packages are opened, the cork tiles should be installed within 1-2 days. A minimal amount of curling of the cork tiles is expected, especially if the cork tiles have been removed from their packages for too long. DO NOT ATTEMPT TO INSTALL cork tiles that have a severe curl. Contact iCork Floor or a Forna representative immediately if you feel the product is defective in any way.
Make sure the subfloor the new cork floor is going over is level, otherwise imperfections will telegraph thru to the cork surface. Surfaces to be tiled must be sound (hard, no carpeting), clean and dry. Do not attempt to install cork glue-down tiles over old flooring of any kind. For best results install over clean FLOORING-GRADE plywood or cement. Any cement surface that you install a glue-down tile floor on MUST BE at or above grade to garner best results. Never install glue down tiles in a basement. We recommend installation of our cork flooring on Above-grade concrete as it is protected from most sources of moisture, therefore any cement pads that rates below this level can and often will cause cork flooring failure. The cork adhesive, Wakol D3540 Cork Adhesive, like all water-based contact cement adhesives, is sensitive to ground or alkali salts that can be present in most cement pads. Any salts surfacing through the pad will deposit themselves onto the underside of the cork tiles and cause the cork to lift. All concrete substrates must be tested for moisture – even if they are at or above grade. During testing, moisture content should stay below 3lbs. per 1, 000 sq-ft area over a 24-hour period to be acceptable. Please see our DIY moisture test located in another article for help with doing this test. Surface alkalinity must be below pH 10. If cement grade does not meet regulations, moisture remediation must be completed before application of cork tiles.
Concrete flooring must incorporate damp-proof membranes. New cement must be allowed to dry out fully before the cork tiles can be laid. The recommended time is 1mm/day (1 inch/ month), with adequate ventilation, up to 50mm pad thickness. The rule of thumb is 60 days for the cement pad to dry. Cement pads that are thicker then 50mm take much longer to dry. Cold or wet weather slows the drying process. Always allow extra time for these circumstances.
Cork glue-down tiles are not meant to be installed in or recommended for basements or below grade areas. Installation in these areas will void the manufacturer’s warranty.
Concrete flooring must incorporate damp-proof membranes, meaning you must utilize a vapor barrier (approved primer) over the concrete subfloor. New cement must be allowed to dry out fully before the cork tiles can be laid. The recommended time is 1mm/day (1 inch/ month), with adequate ventilation, up to 50mm pad thickness. The rule of thumb is 60 days for the cement pad to dry. Cement pads that are thicker then 50mm take much longer to dry. Cold or wet weather slows the drying process. Always allow extra time for these circumstances.
Cork glue down tiles CANNOT be installed over old flooring. The installer MUST REMOVE all old flooring. Sanding is required when working with old adhesives or paints that are attached to the existing subfloor.
Do not attempt to glue directly to chip board or OSB board. Luan board is not considered an acceptable substrate for flooring. Do not fix directly on to asphalt.
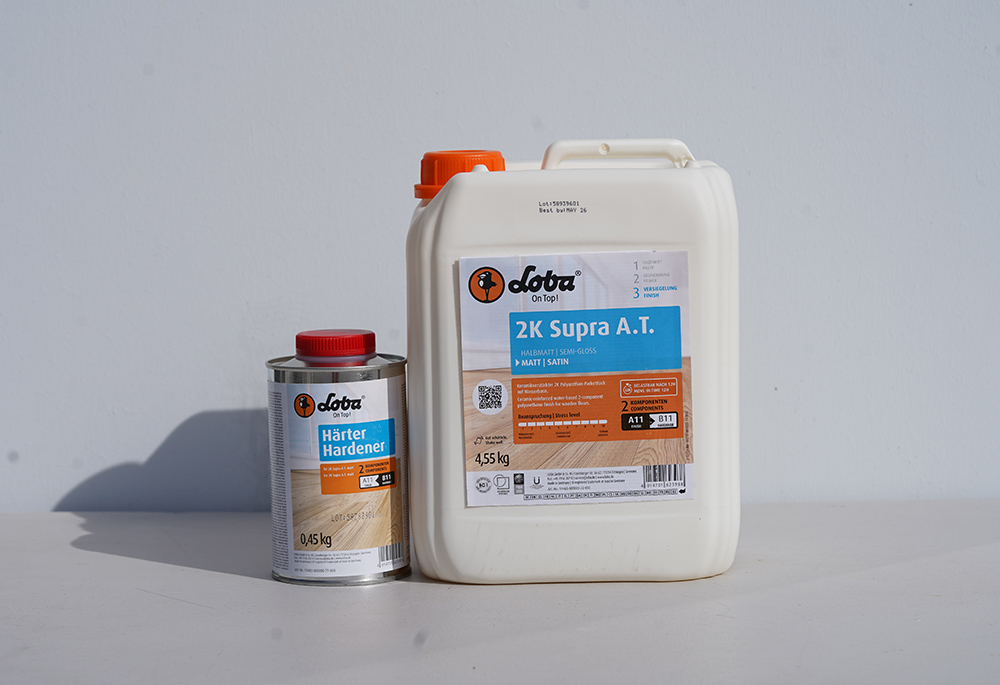
Once a cork tile floor is installed you must finish or seal the floor with no less than 2 coats of Loba 2K Supra AT polyurethane. This is a water-based finish. The factory finish cannot be refinished with any solvent-based varnishes as this will cause delamination of your floor (the polyurethane will bubble and peal; the veneer will delaminate from the cork pad), or to put it plainly, any solvent-based varnish will cause the floor to melt and fall apart. Do not walk or place any furniture over the new cork floor at this time. The first coat of Loba 2K Supra AT must be applied at 24 hours after the tiles are laid. This time frame allows for the cork floor to set then be ready for the polyurethane. Follow time-line for the second coat of polyurethane no more than 12 hours and then allow the floor to cure.
Why does iCork Floor stress 2 coats of Loba 2K Supra AT polyurethane? Because it’s about saving you money and headaches in the long run. Protect your investment by doing it right at the start. Loba will seal your new cork tile floor from liquid invasion, dents and scratches, and in the long run keep your floor looking and performing great.
Step 1:
Find the center of the room by using a chalk line: use tape measure to determine the middle of wall A. Draw a line from the middle of wall A to the middle of wall B. Do this for the opposite wall. The center of the floor can be used as the end point or straight-line measure for the first row and the rest of the install. This will also help you divide the floor into quadrants (4 equal spaces) so you can work by sections. Lay out the cork tiles (dry lay) as it will be installed on the floor. Adjust the cork tiles until you are pleased with the layout and visual appeal of the floor. Use chalk to mark every 3rd or 4th row. The chalk lines will help guide you in keeping everything straight during the install of individual cork tiles. Now is the time to also lay out any tiles that will fit along the outer walls. Determine what needs to be cut, but DO NOT cut yet. (Once you lay each tile, adjustments will need to be made, pre-cutting may cause incorrect sizing.)
Step 2:
Apply adhesive with a short nap painter’s roller (3/8” microfiber or less) to the back of the cork tiles and to the first quadrant on your floor. Start at the wall and move towards the center of the room.
Allow the glue to “flash” or dry. Drying takes 45 – 60 minutes depending on room conditions. Wakol D3540 dries clear and shiny. Once the subfloor and the cork tiles have reached this stage, the application (placing the cork tiles) can begin.
.

Step 3:
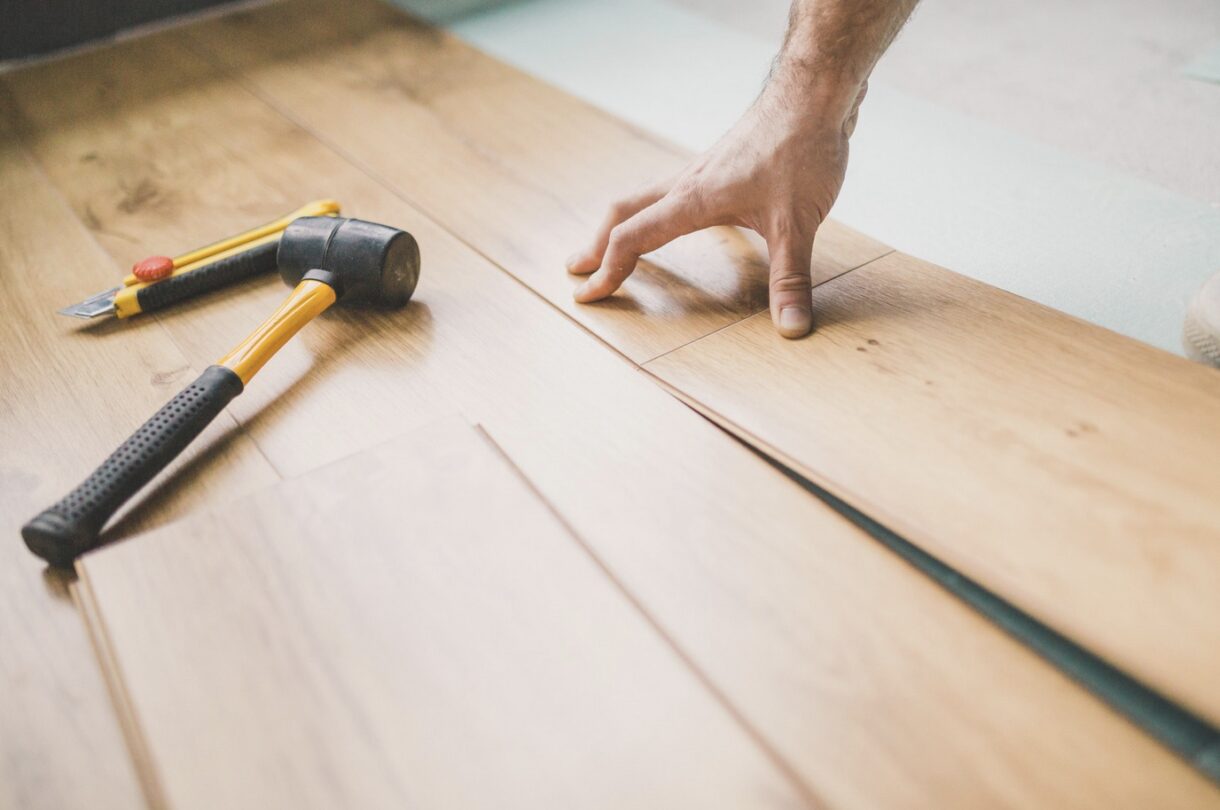
Starting at the chalk-line work towards the wall/outer perimeter of the room, begin laying the first row of cork tiles. Set the cork tiles into place on the floor using your chalk lines as a guide. Be very careful as you lay each piece. The adhesive will bind once it comes into contact with itself, making it difficult for precision adjustments. Try laying the tile as if you were rolling out a dough ball. Start at one end and slowly a line and adjust it as you move to the other end. Pat the cork tiles down firmly with a rubber mallet to set into place. Continue until you have laid the first row. Repeat this process with successive rows, making sure that each consecutive tile is flush to its neighbors until you have installed all of the uncut cork glue down tiles. Please take note that rows should not have and full common long end seems.

Keep a slightly damp cloth (water) nearby to wipe away any extra adhesive that may find its way onto the finished side of the tile. Gently wipe away excess adhesive as you lay the glue down cork tiles.
Step 4: Setting half or cut cork glue down tiles
Mark along the back of each tile where they need to be cut. Use a T-square to measure and cut, this helps keep the lines straight. Slice/score the tile with a big sharp utility knife and remove the unwanted portion of the tile (remove the cut-out). Press the cut tile in place on the floor. Allow the glue to set.
Step 5:
Install cork tiles for the rest of the room/space following steps 1-4.
Step 6:
Be gentle. Vacuum or sweep the floor to remove girt or other small particles. Clean and remove all traces of excess adhesive and other marks using a clean, slightly damp cloth (water). Light use of the floor (1 person in cotton stocking feet) is allowed after installing cork tiles.
Allow the adhesive to cure for 24 hours, then apply the first coat of polyurethane. Do not wait longer than 24 hours after installation to apply first coat of polyurethane.
*Before applying Loba polyurethane the factory finish must be lightly abraded (by hand; no machines). This can be done using a high grit sand paper (180 grit or higher) to very gently wipe the surface of the cork floor (like wiping a child’s face).
Step 7:
Mixing the Polyurethane: https://www.icorkfloor.com/water-based-polyurethane-apply/
Pour a small amount of the polyurethane onto the floor beginning at a wall or farthest point of the floor. The amount should be the thickness of a bead of toothpaste and about 2-3 ft in length. If this method seems too difficult or you are not comfortable, it’s best to use a paint tray. Roll the Loba water-based polyurethane onto the cork glue down tiles with a 3/8” microfiber roller. Roll in one direction only, no back and forth. Wait for the first coat to dry (6-12 hours depending on product purchased) before applying the second coat.
This process seals the tile joints against possible water and dirt penetration. It also allows the floor to react as a single sheet of cork rather than individual tiles. After 24 hours the floor is available for light use – one person in cotton stocking feet for 5 minutes at a time.
Do not install furniture, area rugs, pet beds, floor length drapery or any soft material over the floor for 5-10 days (depending on product and room conditions). Do not wear shoes or allow pets or children access to the floor until the floor has reached its final cure.
*The floor is still vulnerable to indentations that could become permanently imbedded into the polyurethane. If this happens, there is no cure – it is permanent!
Step 8:
The first “damp” cleaning is allowed after the finish has been allowed to cure for 14 days. By damp we mean a cloth that is only slightly wet, not completely wet or soaked and dripping; and done gently by hand. No wet mops, no Swifter products of any type or chemical compositions. Applying damp products to the floor before it is fully cured (the polyurethane is completely hardened) will cause hazing of the finish that may be permanent. iCork Floor recommends a wait period of 30 days before attempting to ‘mop’ the floor to ensure best results.
You need only to sweep or vacuum your floor to remove surface grit and dust. The wonderful thing about a polyurethane-sealed floor is that it only needs to be wiped with a damp cloth or mop (water) periodically. Deeper cleaning can be done, but with specific cleaning products to ensure the longevity of the floor. Be aware that some footwear, such as stiletto heels, can cause temporary indentations in the cork.
Appropriate Cleaning Products:
A cork floor requires “refreshing” every 3-7 years; depending on traffic levels and personal taste. This means putting on a new coat of polyurethane. A professional light buff or “screening” of the floor will remove any residue left over from cleaning products as well as provide a prepared surface ready to take the new coat of water-based polyurethane.