


Installation supply answer
Cork adhesive and polyurethane finish
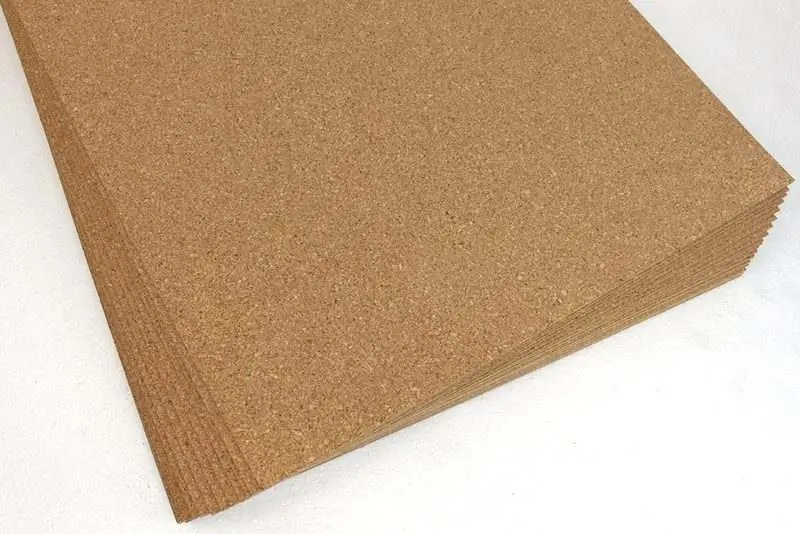
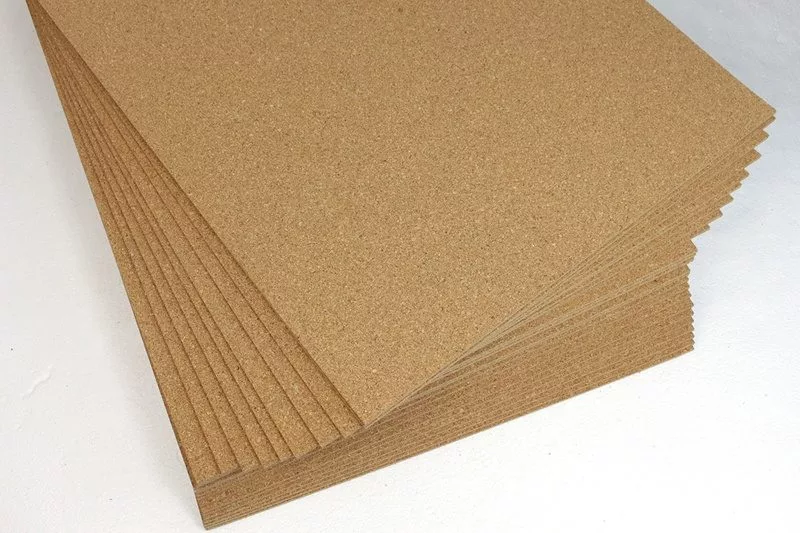
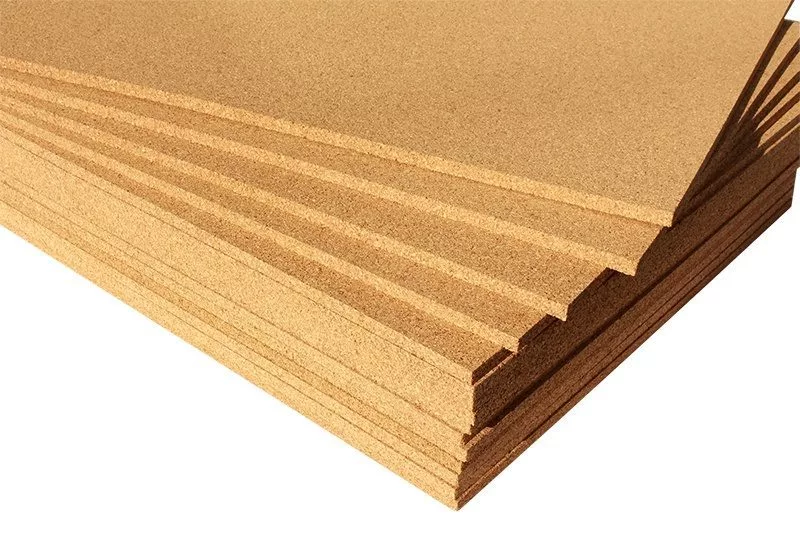
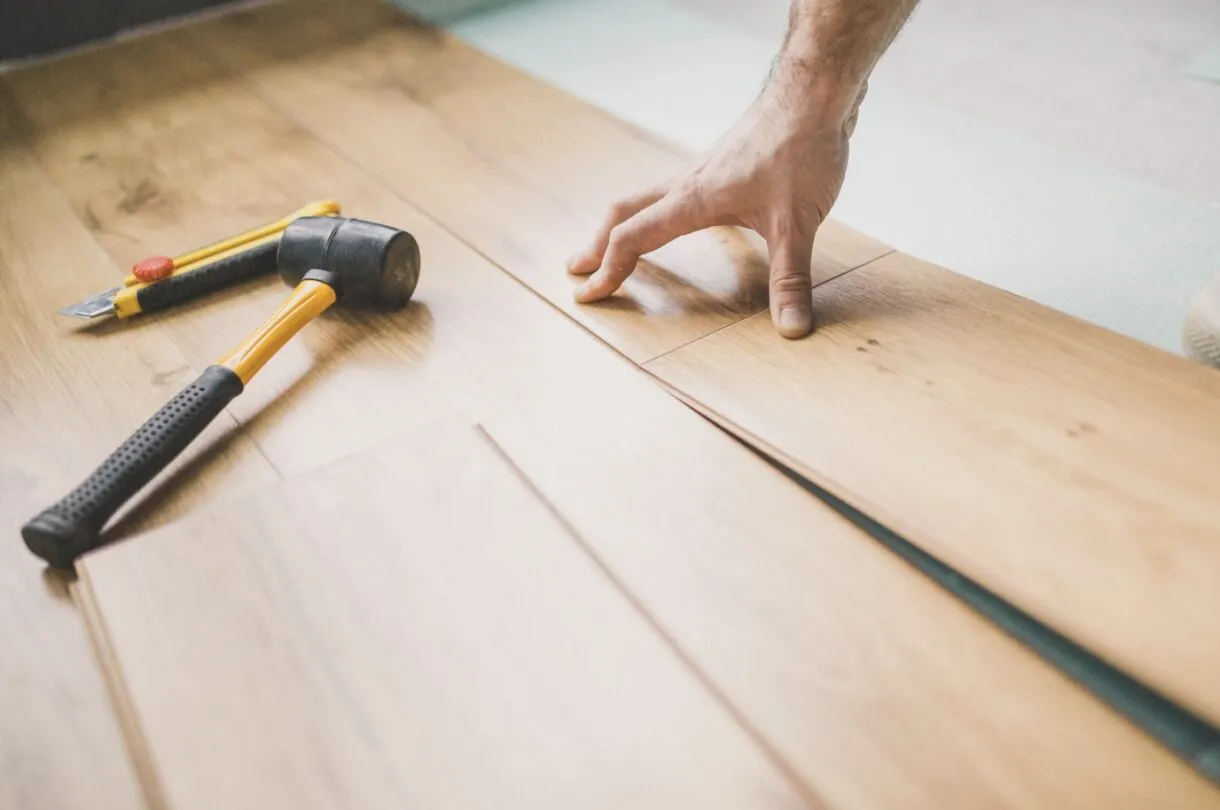
Glue-down cork tile projects need compatible adhesive, clean substrate prep, rolling pressure, and the specified finish or top coat. Match supplies to the cork product before installation day.
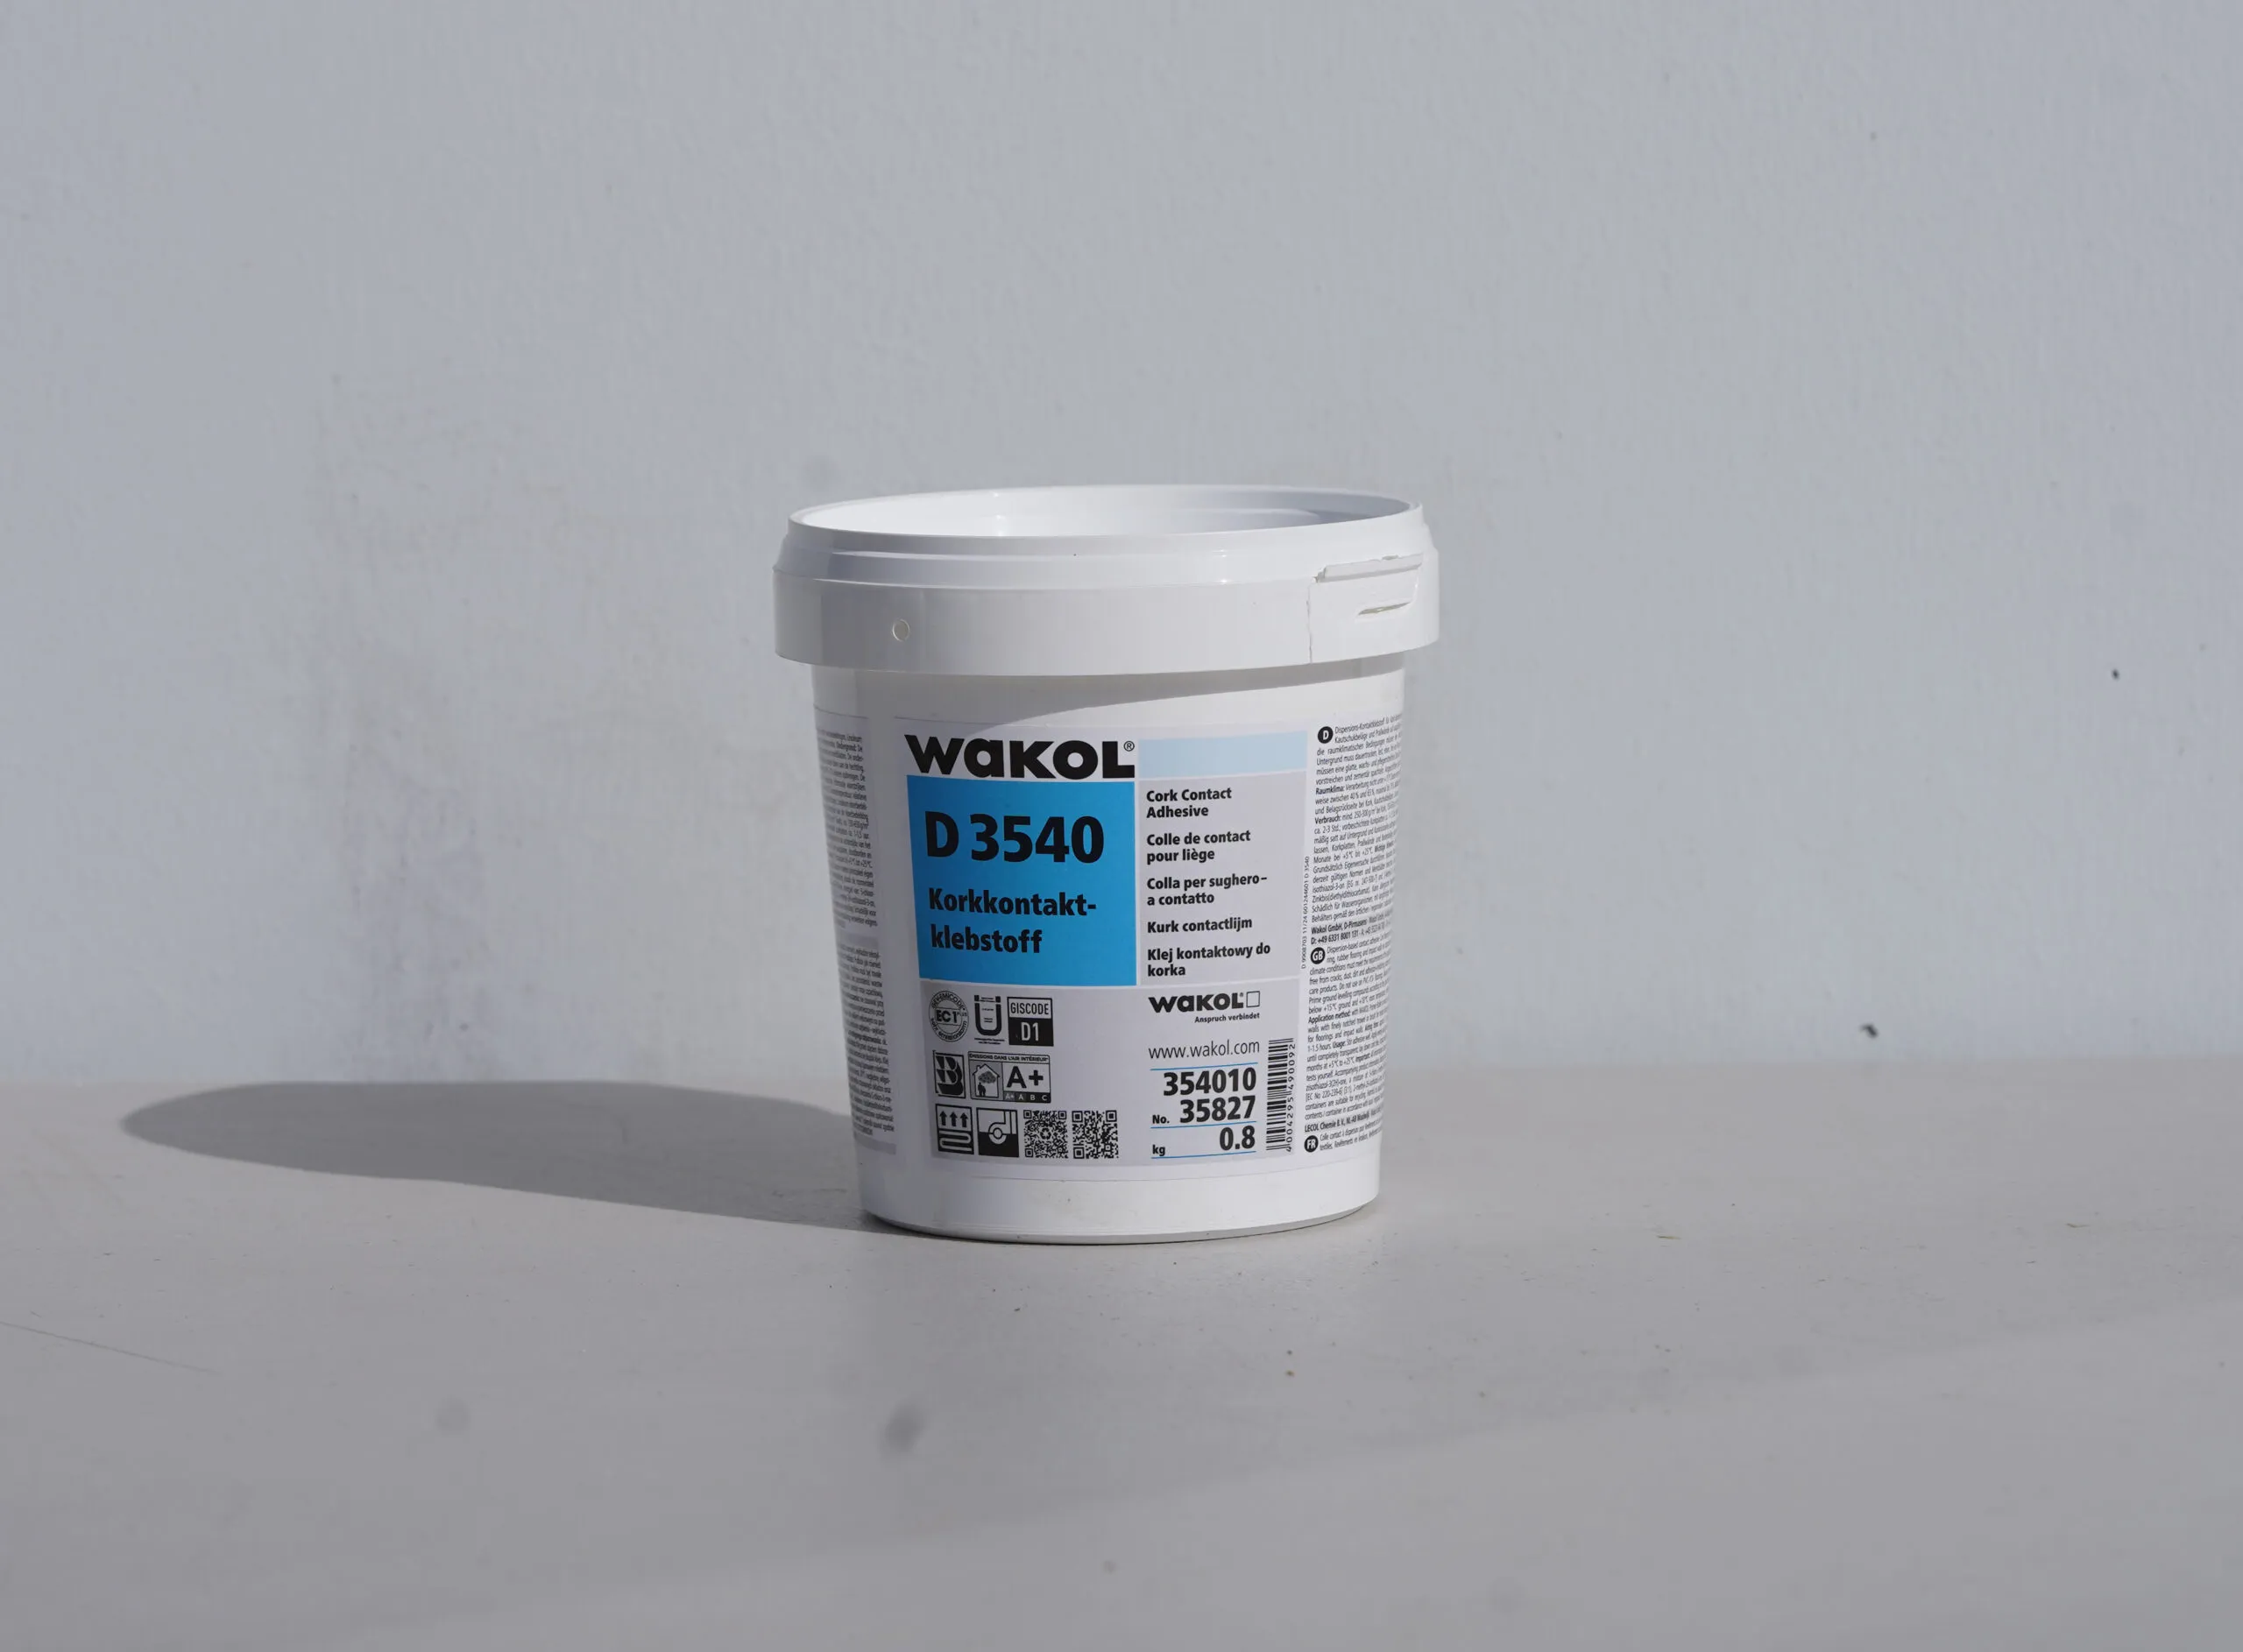
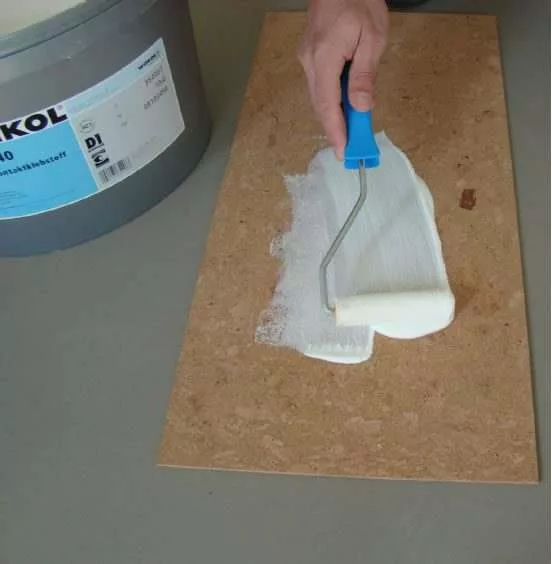
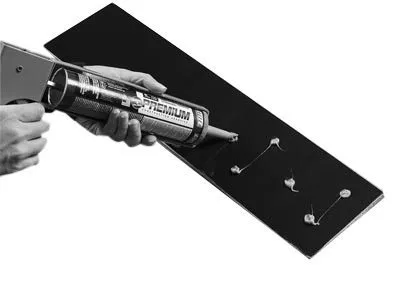
- Choose adhesive based on the cork tile, substrate, spread method, and room conditions.
- Choose polyurethane or top coat based on product instructions and room use.
- Ask a specialist before combining products from different systems.
Cork Adhesive and Polyurethane Finish
*PROPER STORAGE FOR PRODUCT*
Protect from Freezing: Keep Loba Supra 2k AT products between 5-28 degrees Celsius or 42 – 85 degrees Fahrenheit. Products must be stored indoors at appropriate temperatures. Failure to do so will render product unusable
READ ALL INSTRUCTIONS CAREFULLY BEFORE BEGINNING APPLICATION. CALL YOUR FORNA CORK REPRESENTATIVE PRIOR TO APPLICATION IF YOU HAVE ANY QUESTIONS.
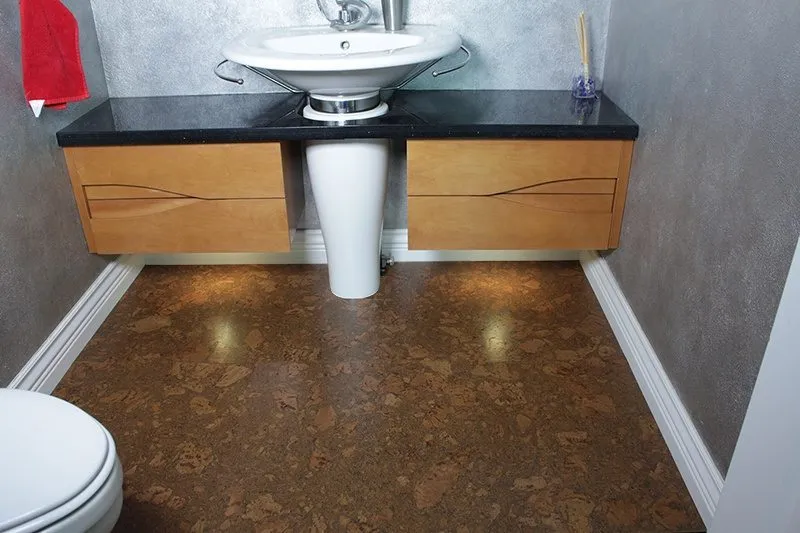
Cork is a natural, eco-friendly and soft flooring material, to protect your new cork flooring we require that our floors be sealed in place after installation. This further protects the edges of the cork planks and the locking system to ensure your floors will last for decades. While our cork floors are factory finished already by further sealing in place this will protect the cork when it expands, and contracts as all-natural flooring materials will do. When unfinished floors expand and contract it exposes the seams and locking systems to damage, and this is why we have made this a part of our warranty. Sealing a cork floor is a straightforward task that homeowners can accomplish themselves.
Tools You Will Need
-
- Flathead Broom or Vacuum
- Soft Flat Mop
- “Household Cleaning Strength” TSP (trisodium phosphate)
- Bucket
- Painter’s tape
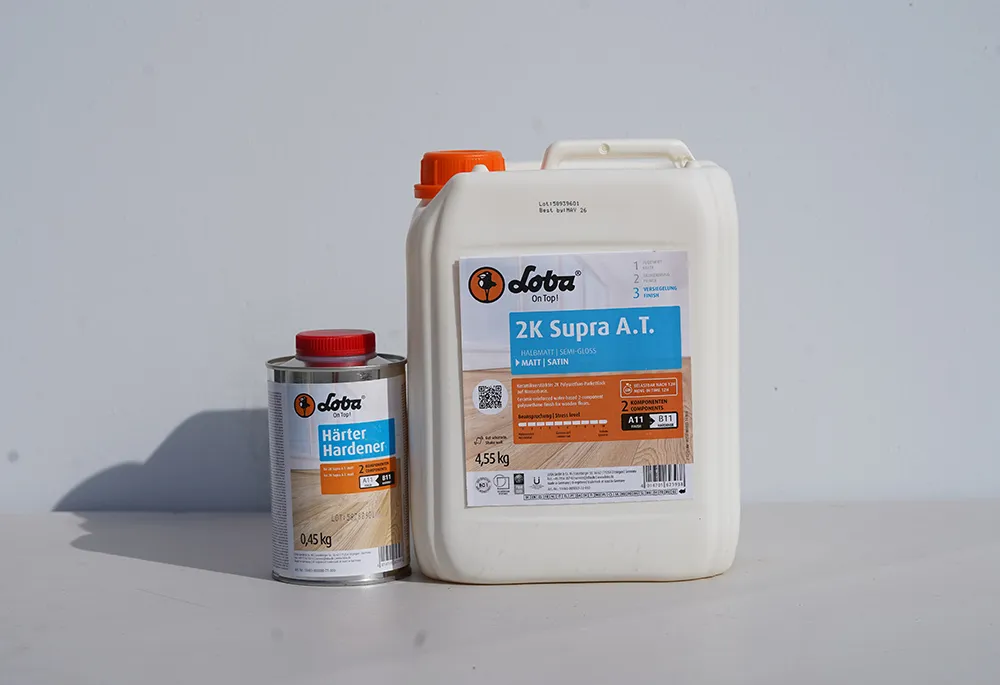
- Loba 2K Supra AT polyurethane and hardener
- New Paint tray
- Appropriate Roller: New 3/8” or thinner Microfiber roller or a high-density foam roller.
Step 1 – Pre-application
Loba Supra 2k AT Polyurethane
Room temperature:(18 – 23 degrees Celsius/64 – 73 degrees Fahrenheit) and with stable humidity of 35% – 65%. Make sure any HVAC systems are inspected and up and running before, during and after installation of flooring products, as per NWFAC guidelines. Always ensure that the flooring product you are working with has been stored at appropriate temperatures, with no less than 2-3 days of acclimation time to the area of install before application.
Floor Preparation:
***Glue down cork tiles: Allow this type of cork flooring to “set” or cure no less than 24 hours before application of sealant/finish.
***Floating floor cork floor: Can be finished once the floor is installed, but iCork Floor recommends that the floor should be allowed to “rest” for 1-3 days prior to application of finish. This allows the floor to get any “extra” expansion/contraction out of the way before the sealant is applied. It is during this “resting” time that any “installation errors” will be caught! Correct all installation errors BEFORE applying finish.
***If your floating floor looks like it is buckling or “lipping” around the edges of any of the planks DO NOT apply polyurethane. These problems are a good indication that the floor was laid incorrectly. Application of polyurethane will only make the problem worse and make the “lipping” permanent – there is no cure for a cork floor that is showing signs of buckling and has been coated in polyurethane. Let the floor settle or remove the planks and re-install.
Application
- Sanding or Abrading the Factory Finish: To achieve the best results and to maintain warranty, Forna requires the factory finish be LIGHTLY abraded before application of the polyurethane product. Abrade the finish Manually (no machines). Gently sweep a “high grit” sandpaper (400 grit paper or a very fine grit that causes no visible scratches to surface) lightly over the floor to create micro-abrasions. This light abrasion SHOULD NOT CHANGE the appearance of the factory finish nor the pattern/stain of the cork below.
- Vacuum the floor to remove surface debris, also clean dust and dirt from the joints and along the baseboards.
- Damp clean your cork floor with a new microfiber mop head and “Household Cleaning Strength” TSP (trisodium phosphate). DO NOT USE OTHER HARSH OR DISHSOAP-BASED CLEANING CHEMICALS. DO NOT SOAK CORK FLOOR WITH LIQUIDS.
- Follow with a water-rinse. Lightly mop the floor with slightly damp mop. Water only. Repeat this step a few times.
- Allow floor to dry thoroughly. Open windows or activate HVAC systems for ventilation.
**Allow the floor 2 hours to dry Completely once the final damp-rinse (water only) has been completed
Apply painter’s tape to baseboards and trim to protect them from possible splatter or spills.
Step 2 – How to Apply Polyurethane
Microfiber Roller be certain to vacuum or remove any hairs or lint left on the roller from manufacturing as this may transfer to your finish. You may need multiple rollers as the product will dry on the roller and you will need to change the roller every 10 – 15 mins while applying.
Loba Supra 2k AT polyurethane
Water based Polyurethanes have very short “working edges” of 10 – 15 minutes!
If you find you are running into “lap marks” then STOP APPLICATION. You are either working too slow OR YOU ARE WORKING THE POLYURETHANE TO THIN!
***If you are able do contact your Forna Flooring representative while you are waiting for the floor to dry.
Once the floor has been coated once, allow floor to dry. Lightly sand the lap marks (400 grit paper or a very fine grit that causes no visible scratches to surface) When you are satisfied with the look of the sanded lap marks you can apply second coat of polyurethane. The best “cure” for lap marks is sanding + re-application.
Using a Painter’s Tray:
Only mix the amount you will immediately use as product will only be good for 30 minutes once the two parts are combined in the paint tray.
Prepare the polyurethane as per container instructions – paying careful attention to “shake” or “stir” instructions.
Mixing Small Batches: To mix “less than a gallon” of product use the “coverage” amount of 550-600sf/gallon as a guide. Once the product has been shaken (in the two separate containers) pour the “Supra”: “Hardener” to a ratio of 10:1. Shake contents of the container for 1 minute (60 seconds). Product is ready to apply.
Mixing the Product: Shake both the large container and the small container for 1 minute (60 seconds). Mixing a full gallon (600sf of product) or full 1 Liter (150sf of product) container requires the smaller “hardener” to be poured into the larger “plastic jug” of finish. Shake combined contents for 1 minute (60 seconds). The Loba 2K Supra AT is now ready for use and must be applied inside of 2 hrs. after combining the two parts.
Example of mixing small Batch: 200sf of flooring = 1/3 of 600sf. Mix 1/3 of the large container together with 1/3 of the small container into a mixing tub. Remembering the 10 to 1 ratio.
Application
- Pour enough polyurethane into the tray to finish the amount of flooring you have (use the “square feet per gallon” as the measure; for example, 300sf of space requires ½ gallon of high-end polyurethane) into the painter’s tray.
- Saturate the entire roller with polyurethane making sure to squeeze out the “extra”. Your roller should be saturated but not dripping. When working with a roller, you will roll on the product in one direction.
- Begin in the corner of the room that is farthest from the entrance and apply water-based urethane using the roller. Roll the floor, moving in one direction, working back from the corner toward the entrance/ exit of the room.
- Moving quickly back to the starting point, cut in the “starting” edge (another 3 -4 feet) with the brush and immediately begin to roll on the next row.
- Continue in this way until the floor is completely covered. Resist the urge to “go back over” spots that are older than 15 minutes! If you go over a partially dried area, you will create “Lap marks” that will require sanding before the finishing coat can be applied.
*REMINDER: YOU HAVE 10-15 MINUTES TO GET BACK TO YOUR “START WALL”
- Leave the first coat of urethane to dry before applying second coating. 5 hours minimum is the recommended dry time. Maximum coats per day: 2
- You can walk on the cork floor in stocking feet after 5 hours. Be careful and gentle.
NO RUGS, NO FURNITURE, NO PETS are allowed onto the floor until the floor has achieved a full cure. Even if the floor looks cured, it may not be. Err on the side of caution and allow extra time before allowing animals on the finished floor. If you have any questions, please contact your Forna Flooring expert before continuing with your project. The urethane will require 5 days to fully cure. During this time, it is recommended that only socks be worn to walk on floor to prevent damage to the finish while it cures.
If you have any questions, please contact your Forna Flooring expert before continuing with your project and they will explain help you to understand the process before you start.
Match cork adhesive, finish, and tile supplies
Installation supply visitors need compatible cork adhesive, finish or top coat, glue-down tile options, and project help before installation day.
Match cork adhesive and finish before installation
Installation supply visitors should match adhesive, polyurethane, cork tile, substrate preparation, finish timing, samples, and project help before starting.
Frequently asked questions
What adhesive is used for glue-down cork tiles?
Glue-down cork tile projects need the adhesive specified for the product and substrate. Confirm spread method, open time, rolling, and room conditions before installation.
Do glue-down cork tiles need polyurethane?
Many glue-down cork tile installations need the specified finish or top coat after installation. Follow the product instructions and match the finish to room use.
Should I buy adhesive and finish before choosing cork tiles?
Choose the cork tile first, then confirm compatible adhesive, finish, substrate preparation, and installation timing before ordering supplies.