Installation guide
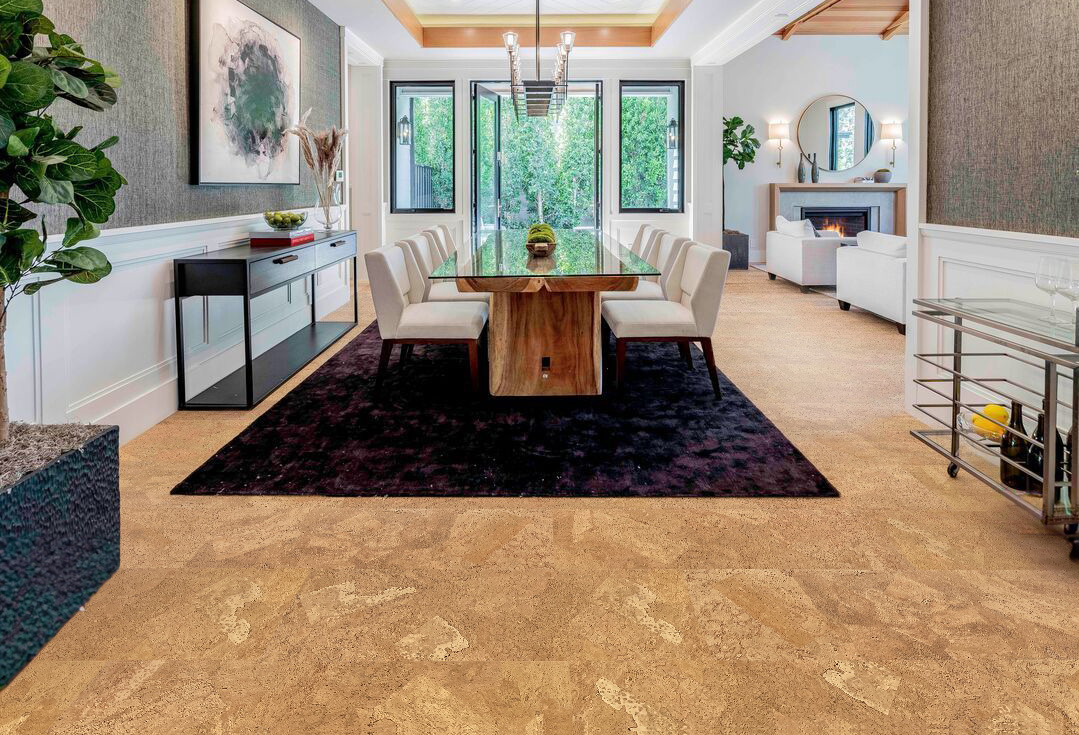
Cork Wall Tile Installation
Use this guide for cork wall tiles and panels without an MDF core, including layout, adhesive planning, cutting, and surface preparation.
Use this page when
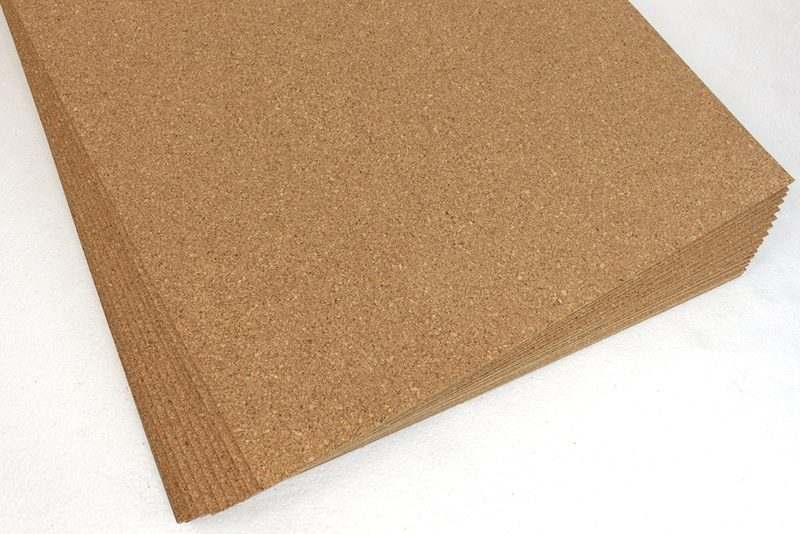
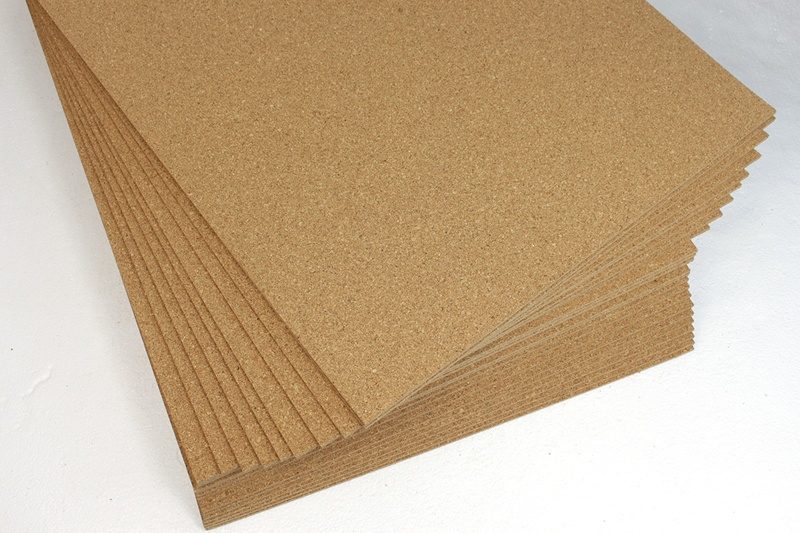
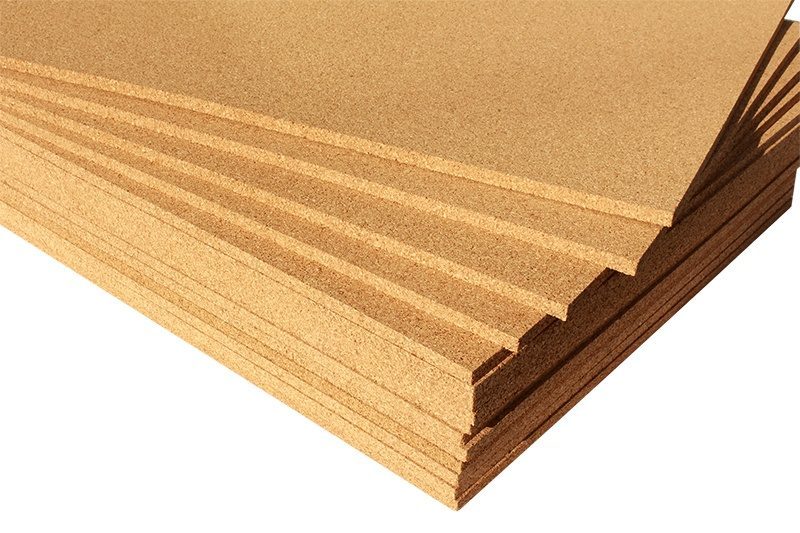
- The product is a cork wall tile or wall panel without MDF backing.
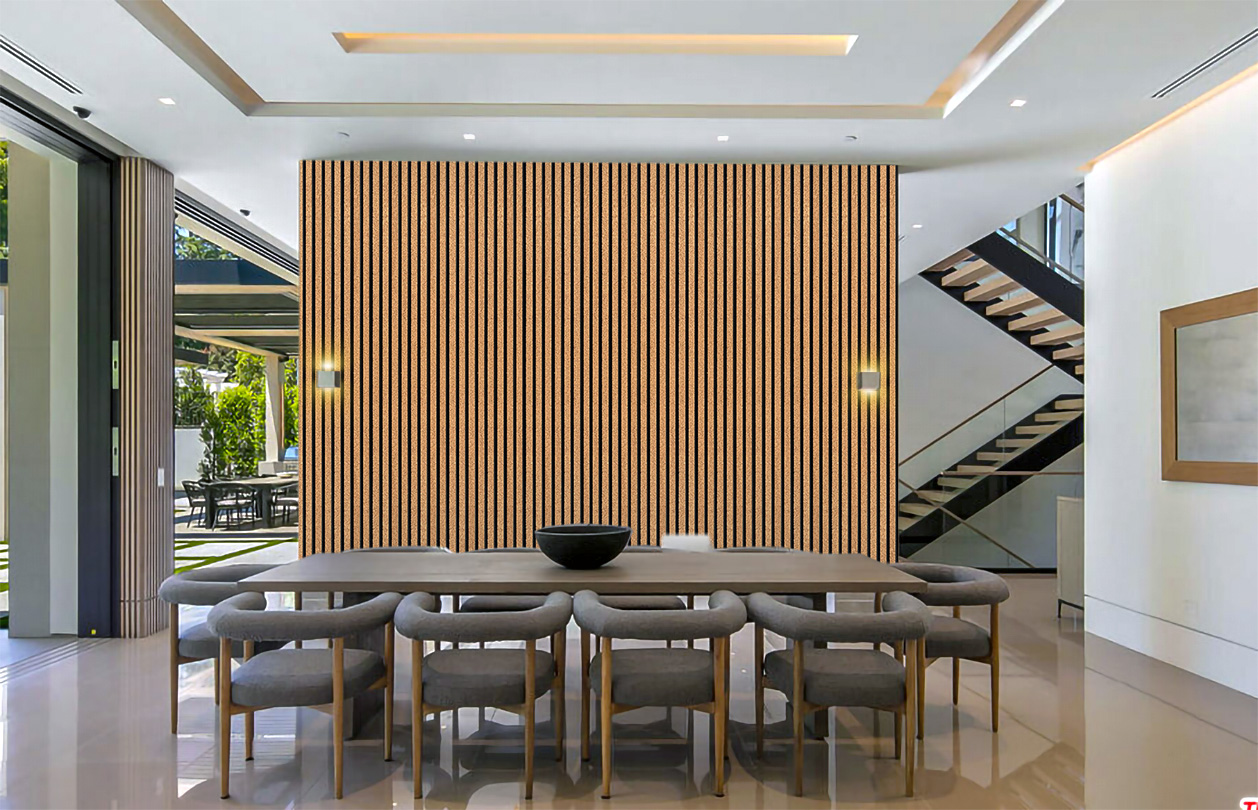
- You are installing on a wall, ceiling, feature wall, or acoustic surface.
- You need layout, adhesive, cutting, and substrate preparation guidance.
Before you start
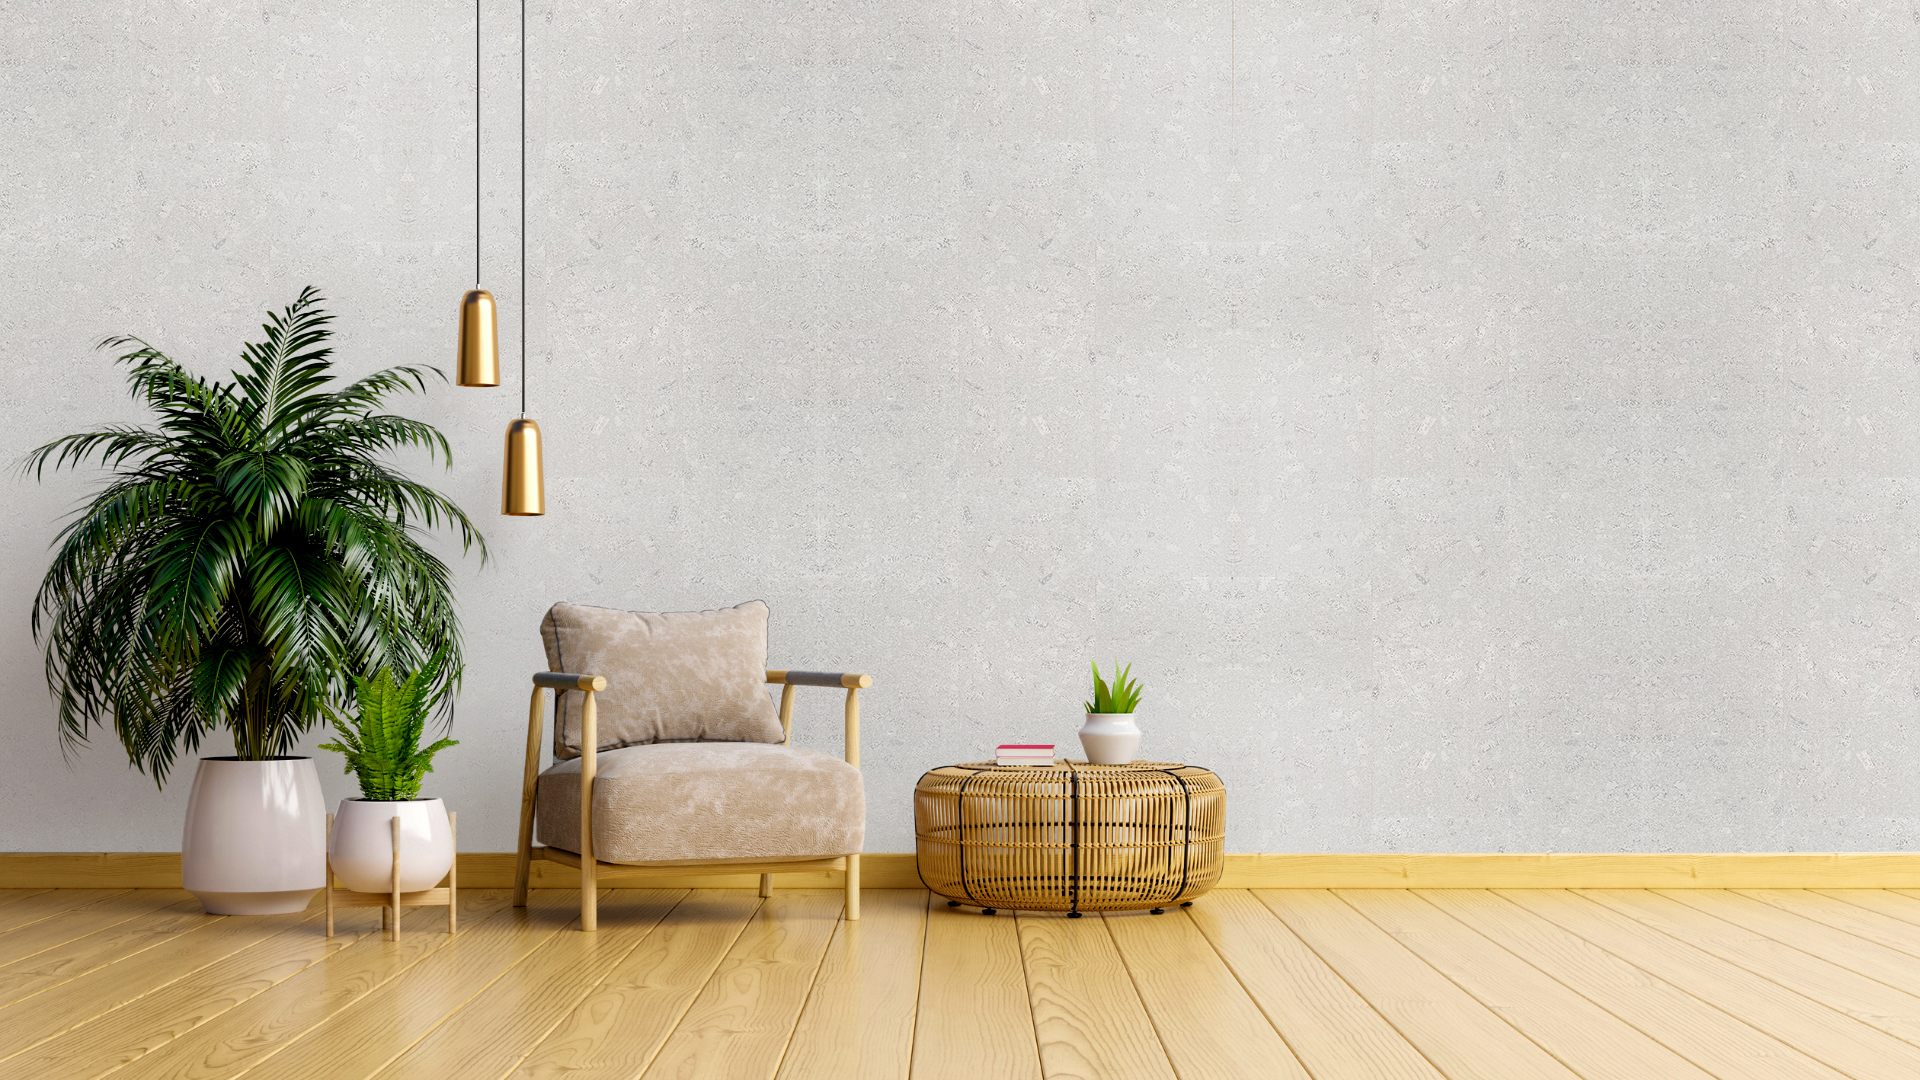
- Confirm the wall is clean, dry, stable, and suitable for adhesive.
- Plan layout, pattern direction, cuts, outlets, and edges before applying adhesive.
- Order samples when color, texture, depth, or lighting matters.
Tools and materials to confirm
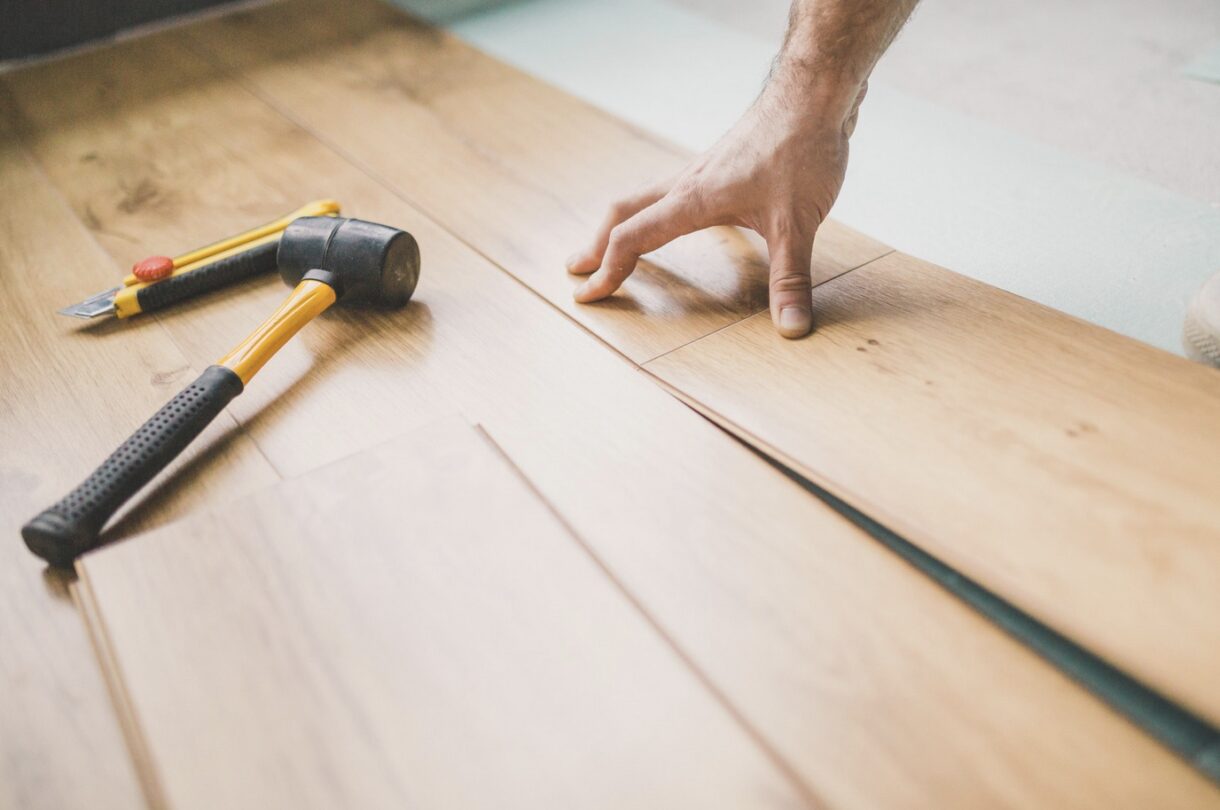
- Measuring tape, level, pencil, straightedge, utility knife, and cutting tools.
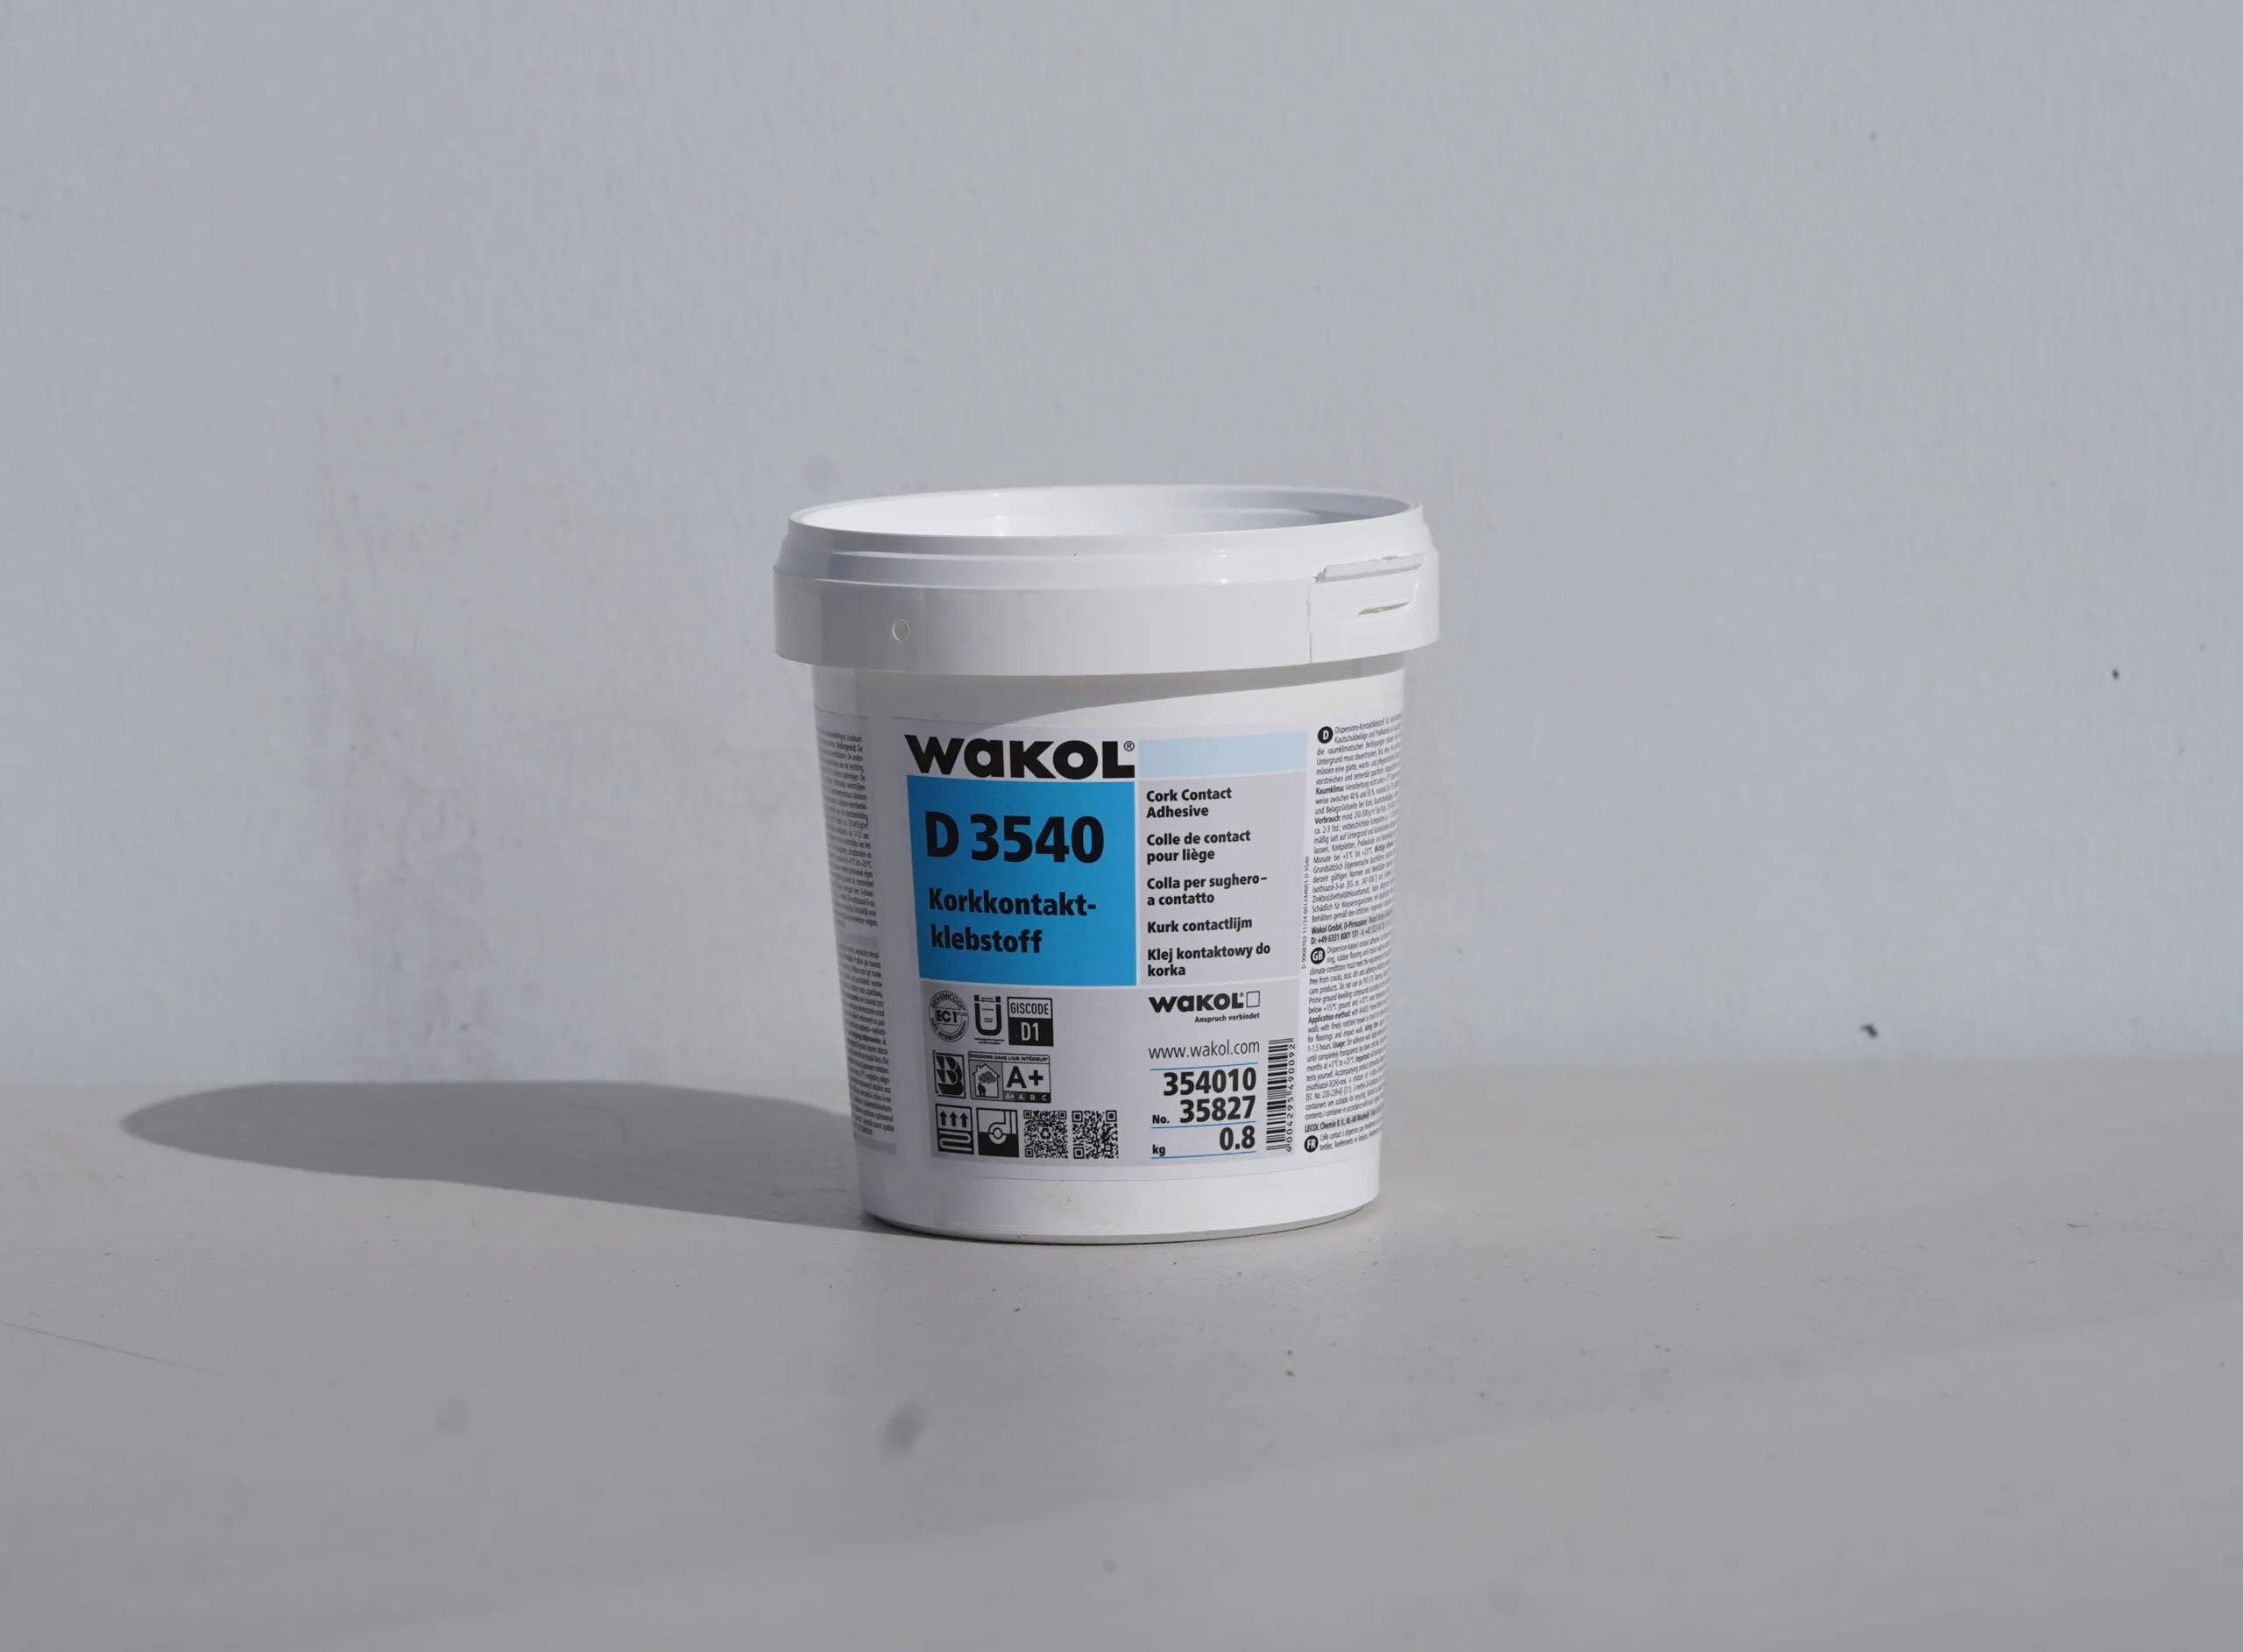
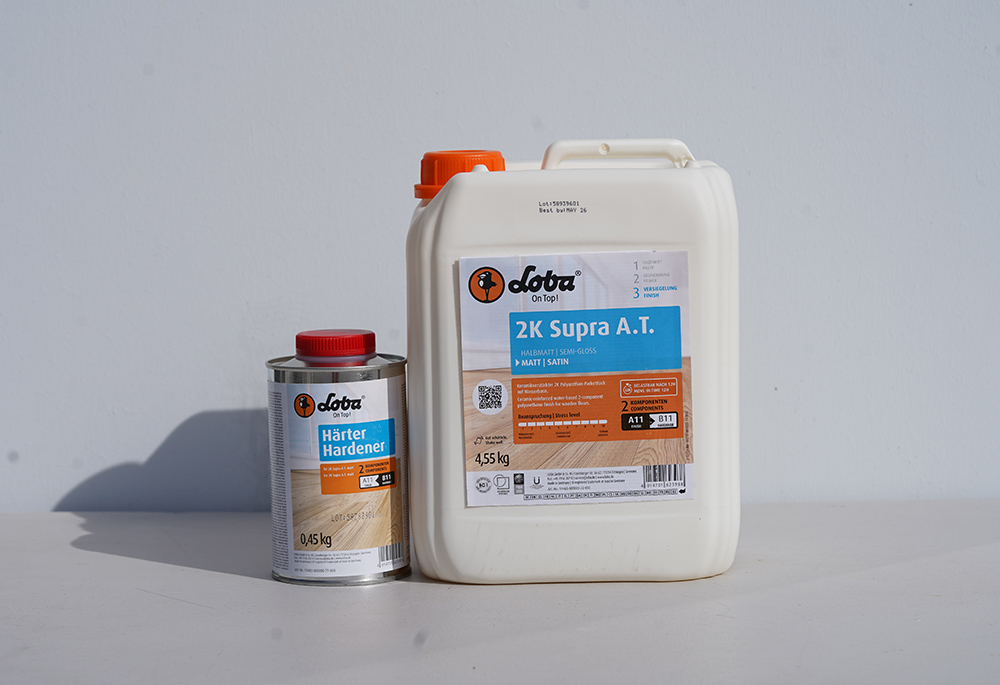
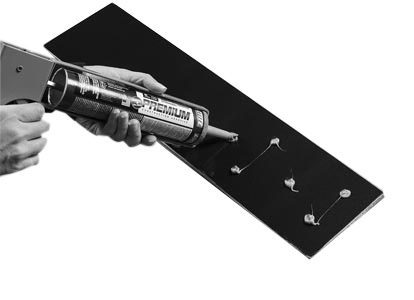
- Approved wall adhesive for the product and substrate.
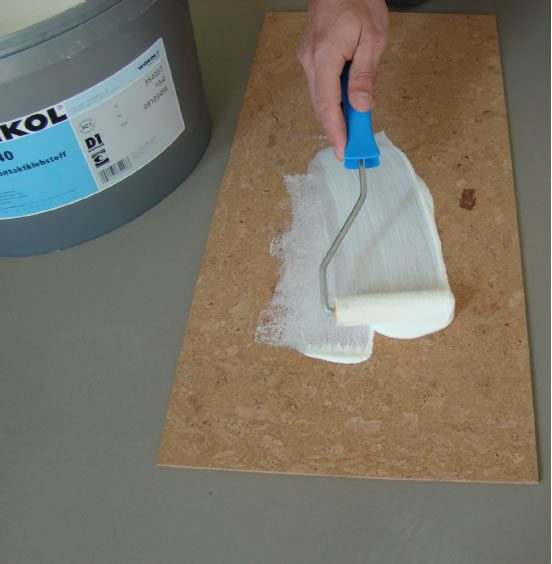
- Roller or pressure tools recommended by the adhesive guide.
Installation workflow
- Clean and prepare the wall surface.
- Mark level reference lines and dry-fit the layout.
- Cut panels or tiles before adhesive is applied when possible.
- Apply adhesive and set pieces in sequence.
- Check alignment, pressure, edges, and cleanup as the wall progresses.
Important mistakes to avoid
- Do not install over loose paint, dust, damp walls, or unstable substrates.
- Do not start without confirming adhesive compatibility.
- Do not begin from an unlevel reference line.
After installation
- Allow adhesive to cure before adding shelves, fixtures, or impact loads.
- Clean only with approved methods.
- Keep extra tiles for future repairs.
Related resources
Compare cork wall products before ordering full boxes.
Check texture, depth, color, and lighting before installation.
Compare wall, MDF, 3D, and peel-and-stick instructions.