

View wall and ceiling products
Compare wall products before selecting the installation method.

Installation guide
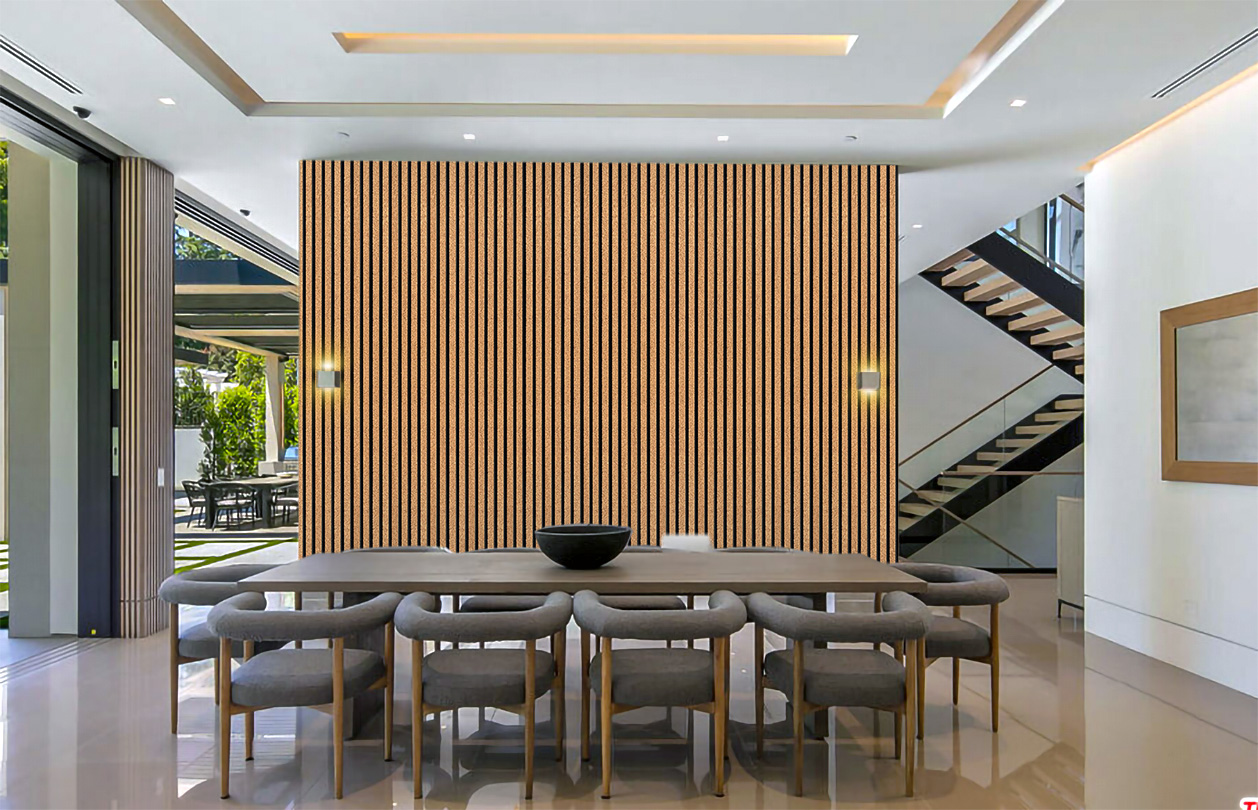
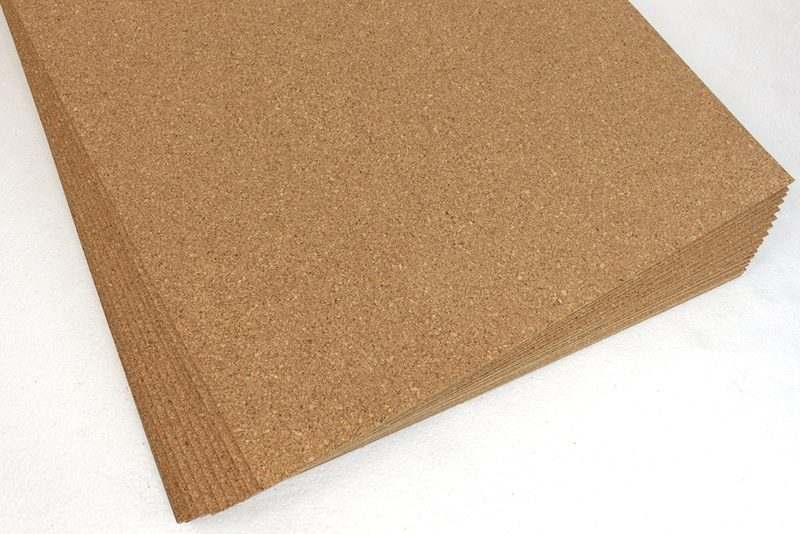
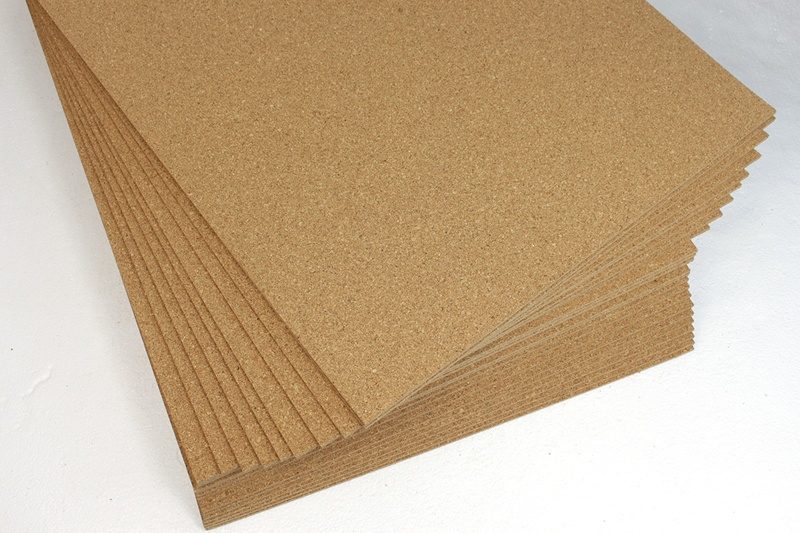
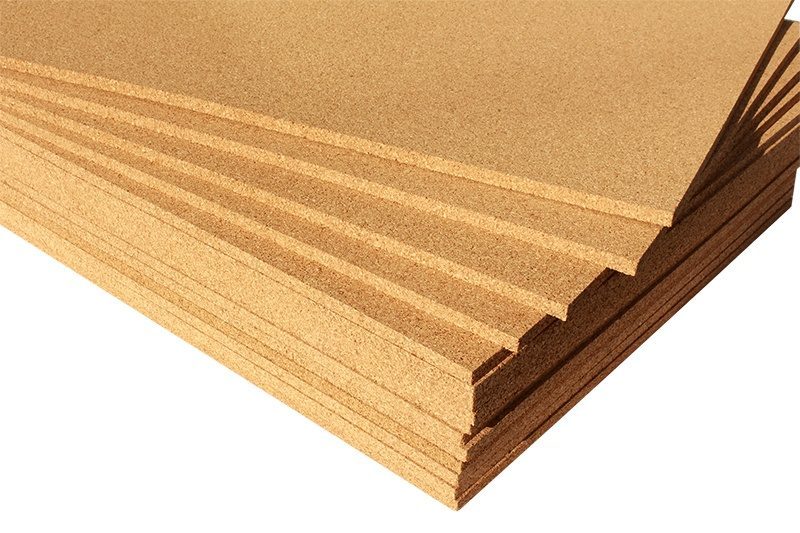
Use this guide for cork wall panels with an MDF core, including acclimation, cutting, adhesive or fastening, and alignment.
Compare wall products before selecting the installation method.
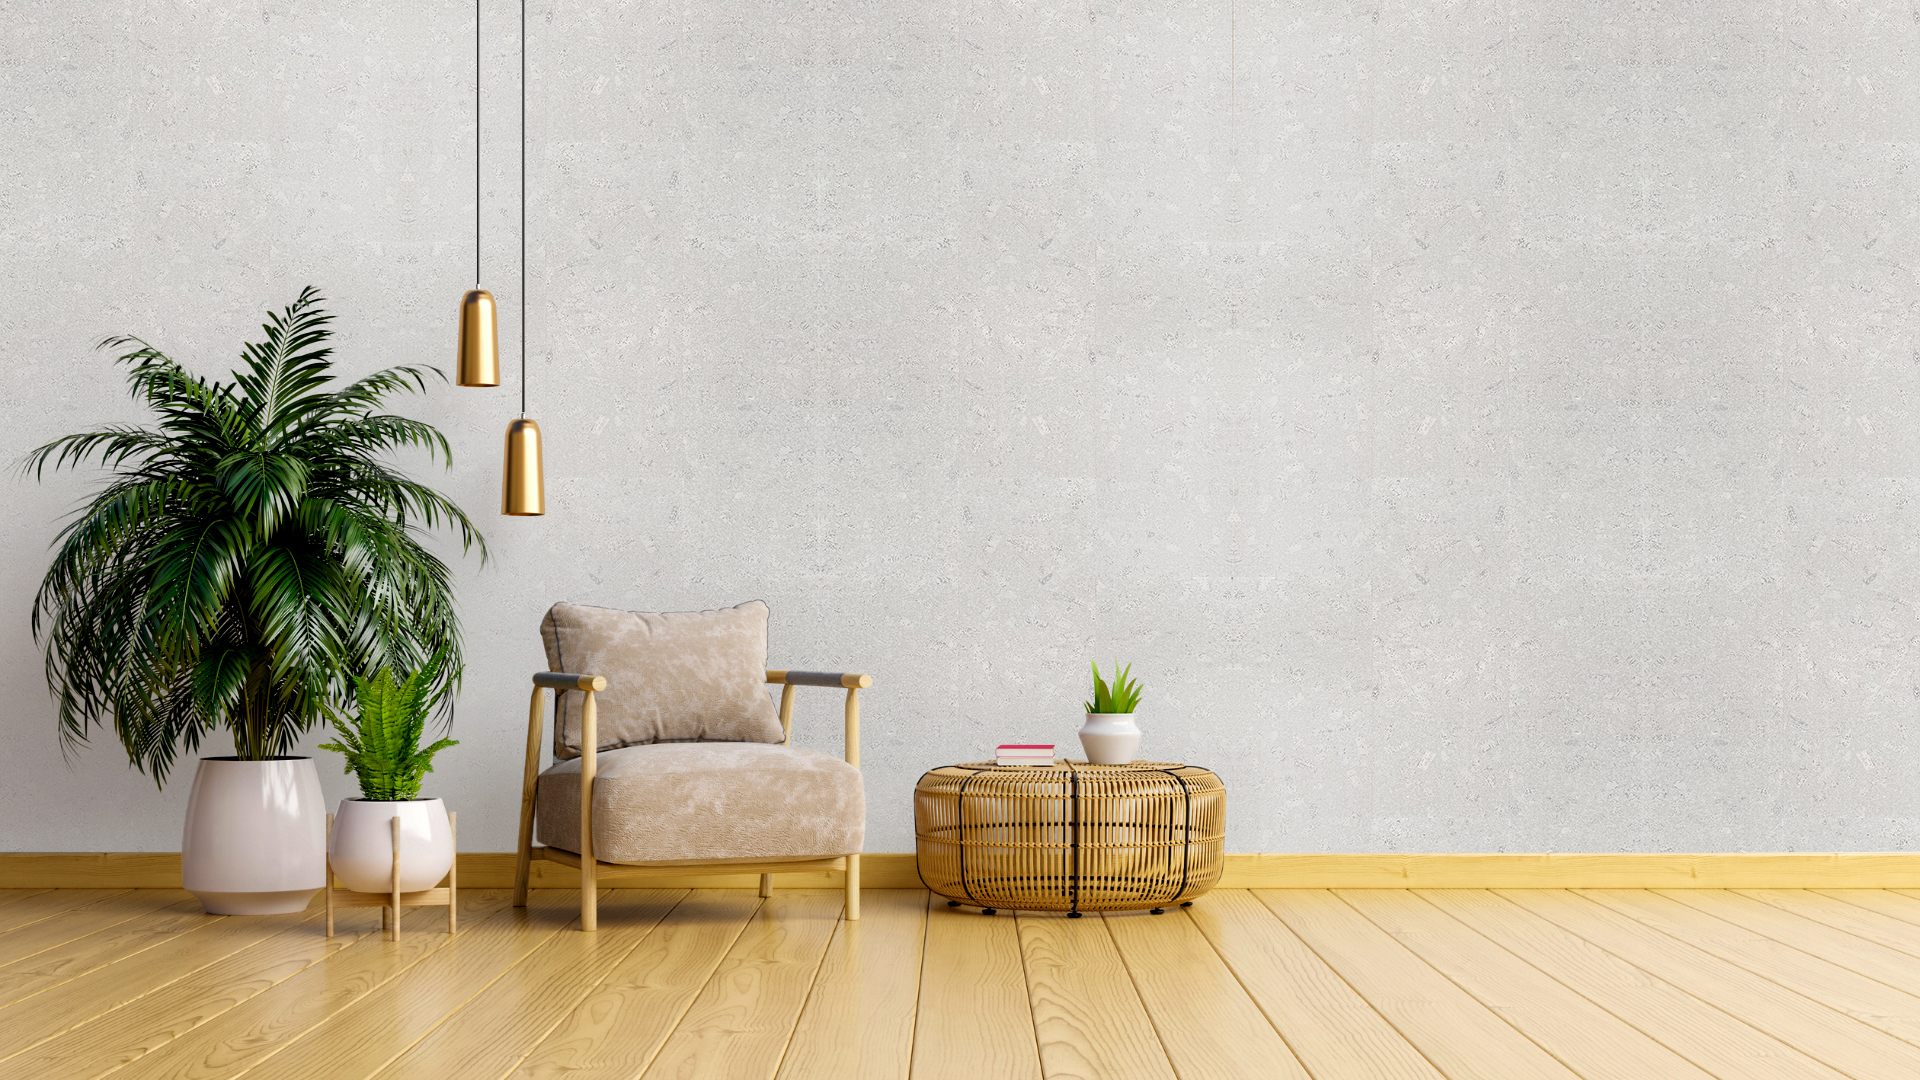
Use the non-MDF wall guide when the panel has no MDF core.
Ask for help when wall substrate or fastening method is unclear.
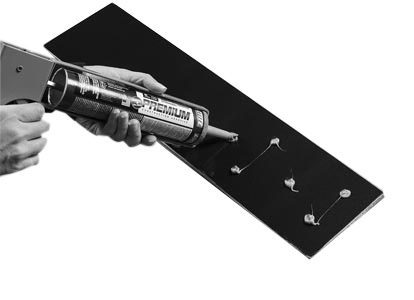
Required Tools:
Step 1: Acclimatization and Cutting
Allow the cork wall panels to acclimate to the room’s conditions for a minimum of 72 hours. Open the boxes in the room where they will be installed. It’s not necessary to remove the panels from the boxes during this period. If necessary, measure and cut the panels to fit your wall dimensions using a table saw or circular saw.
Step 2: Surface Preparation
Ensure the installation surface is flat and completely dry before beginning the installation process.
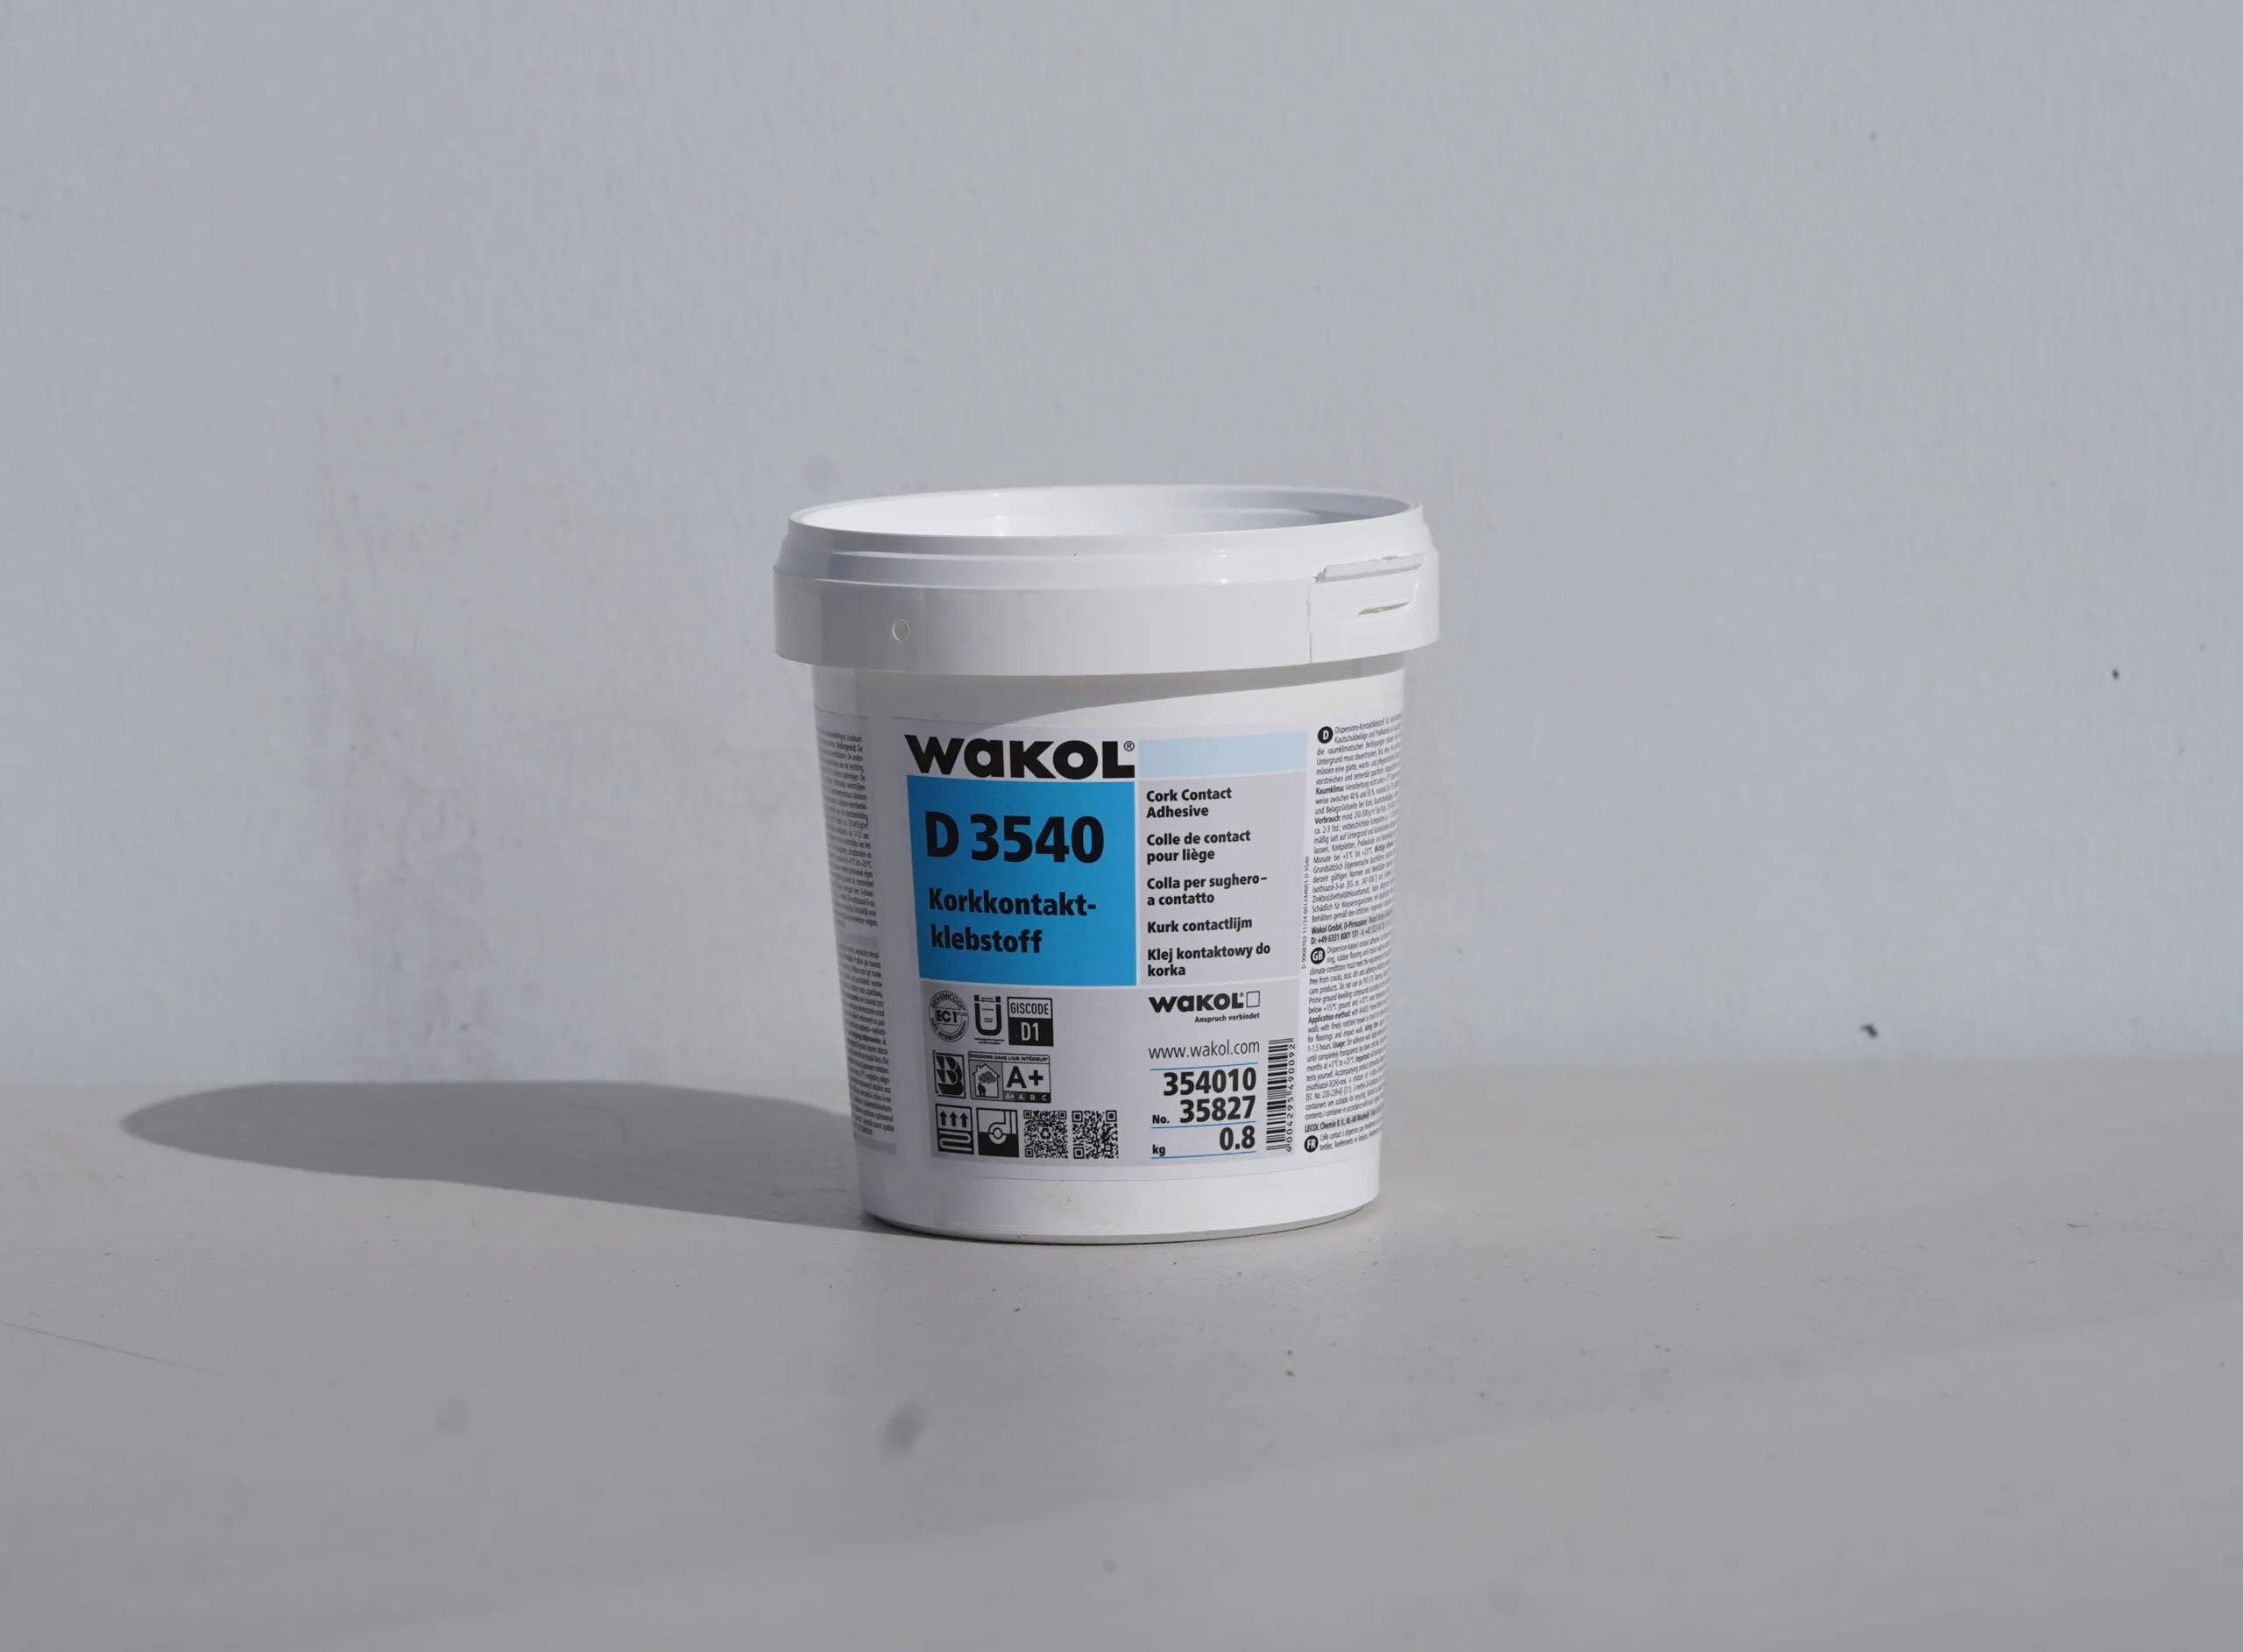
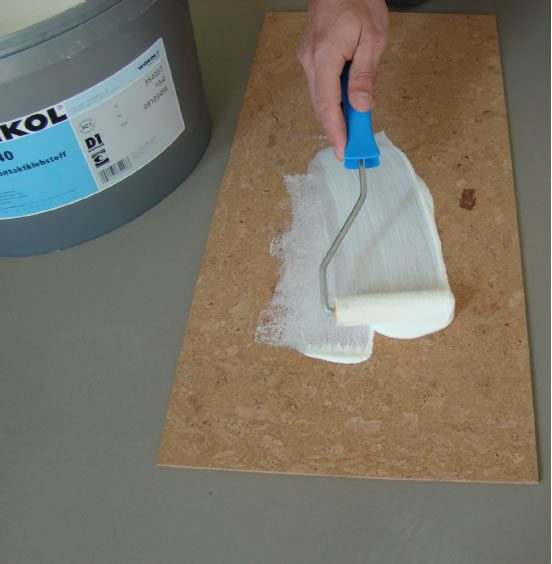
Step 3: Adhesive and Nailing
For optimal installation, use both adhesive and nails. Apply adhesive as illustrated in the accompanying picture. When possible, insert brads or nails into wall studs for added stability. 

Step 4: Panel Installation
Begin by identifying the center of the wall and marking this point on the floor. Use the level to ensure the first panel is perfectly plumb. Install this panel using the recommended adhesive, and secure it in place with a brad gun. Continue by installing additional panels to the left and right of the first panel, working your way towards the corners of the wall.
