Start with the product you are installing
Most installation mistakes happen when a floating plank guide, glue-down tile guide, wall panel guide, or finish guide is used for the wrong product. Start here, then follow the matching checklist.
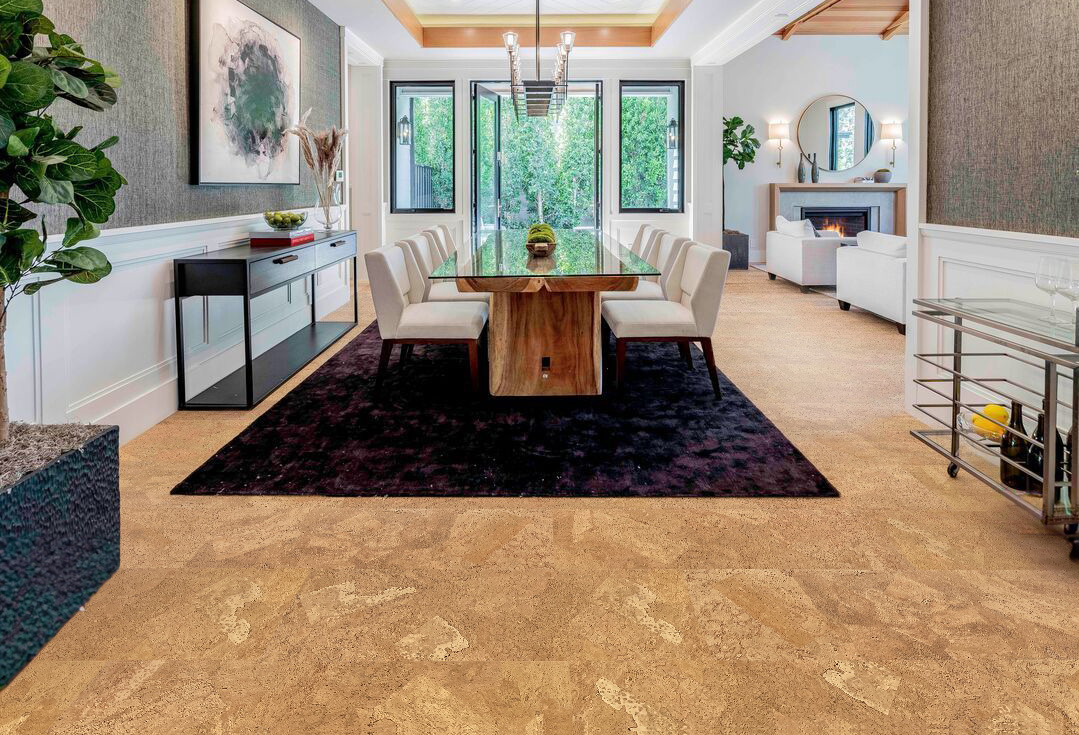
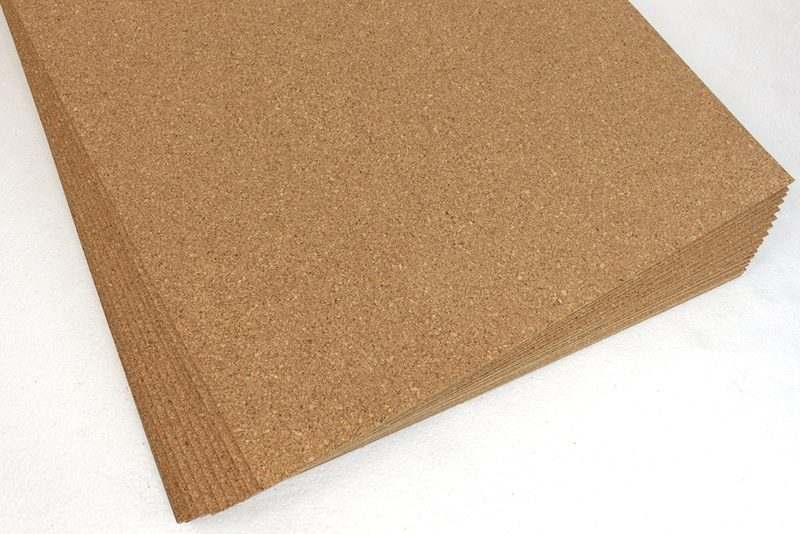
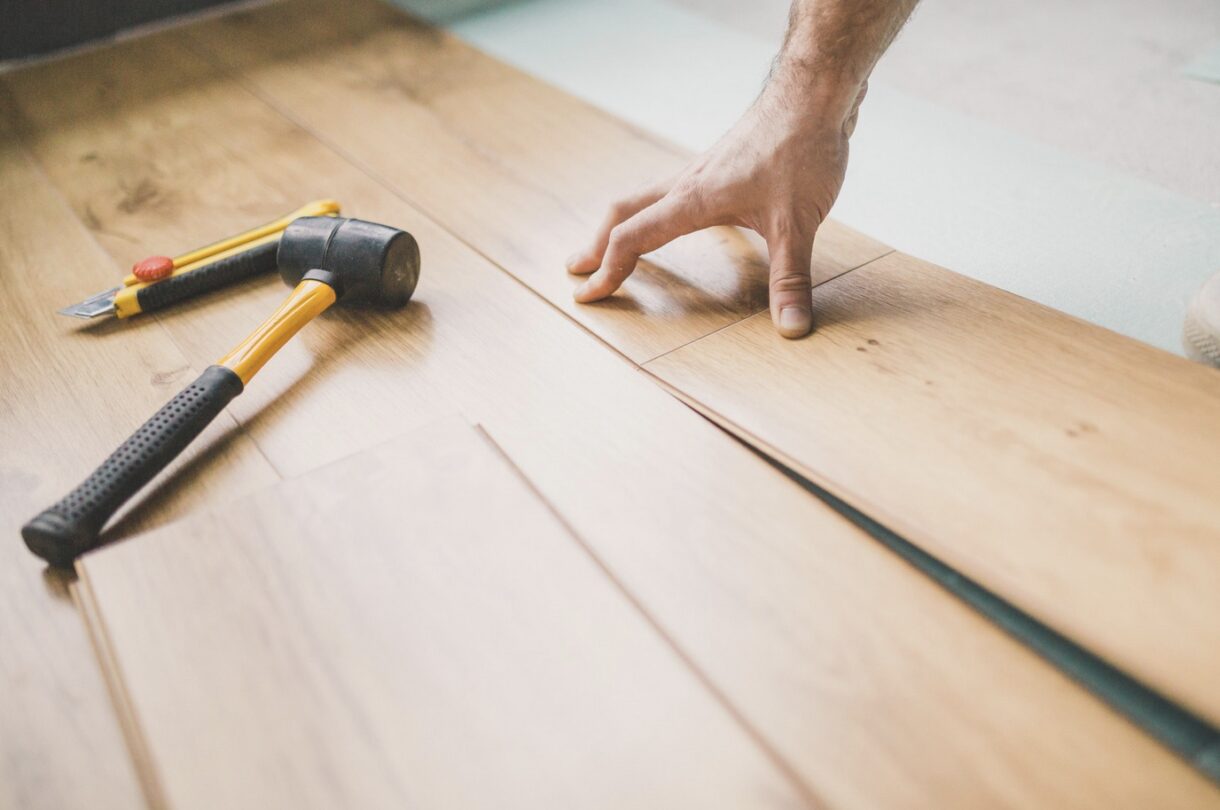
Floating / Click-Lock Floors
For cork planks and floating floors that lock together over an approved underlayment.
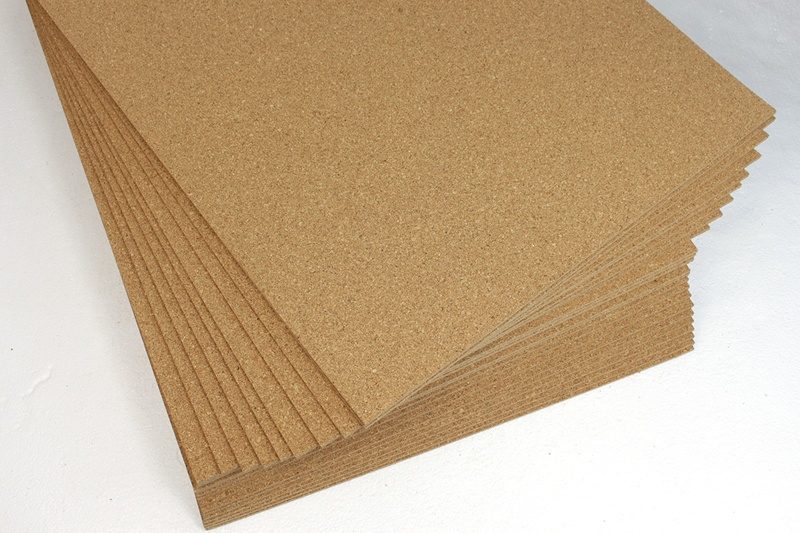
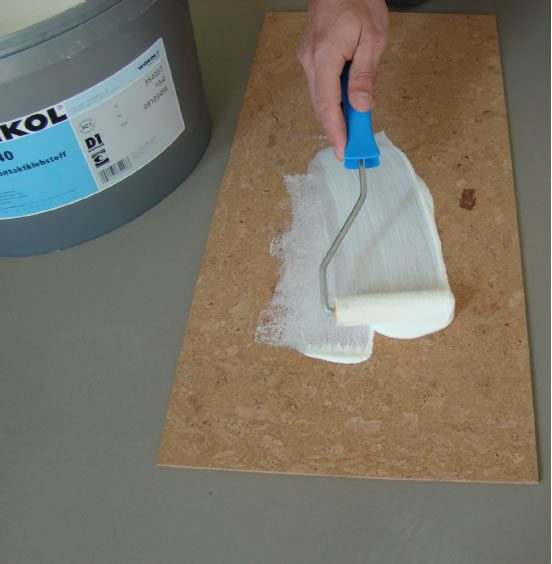
Glue-Down Cork Tiles
For cork tiles bonded to the subfloor, including bathrooms and other spaces where floating floors may not be the right choice.
Critical Before Any Floor
Use this checklist before acclimation, layout, adhesive, or finish work begins.
- Match the guide to the exact product type.
Floating, glue-down, wall, and coating instructions are not interchangeable. - Confirm the room and subfloor conditions.
Kitchen, bathroom, flood-risk, radiant heat, and concrete conditions can change the correct method. - Confirm supplies before starting.
Use the correct adhesive, transitions, stair nosing, underlayment, and finish. - Ask before installation if anything is unclear.
It is easier to correct a product or method before adhesive or finish is applied.
Swiss specialty flooring guides
Use these when the floor is leather, TechSlate, LinoDesign, or another Swiss performance floor. These products can require different installers, adhesives, and site preparation than standard cork planks.
Floating specialty floors
Glue-down specialty floors
Wall, ceiling, and acoustic panel guides
Wall products are installed differently from flooring. Choose the guide that matches the panel core and surface.
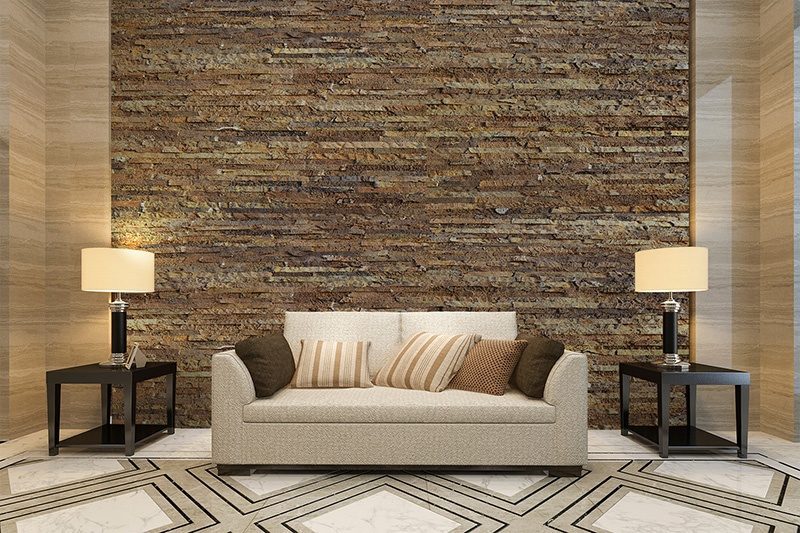
Cork wall tiles
MDF core wall panels
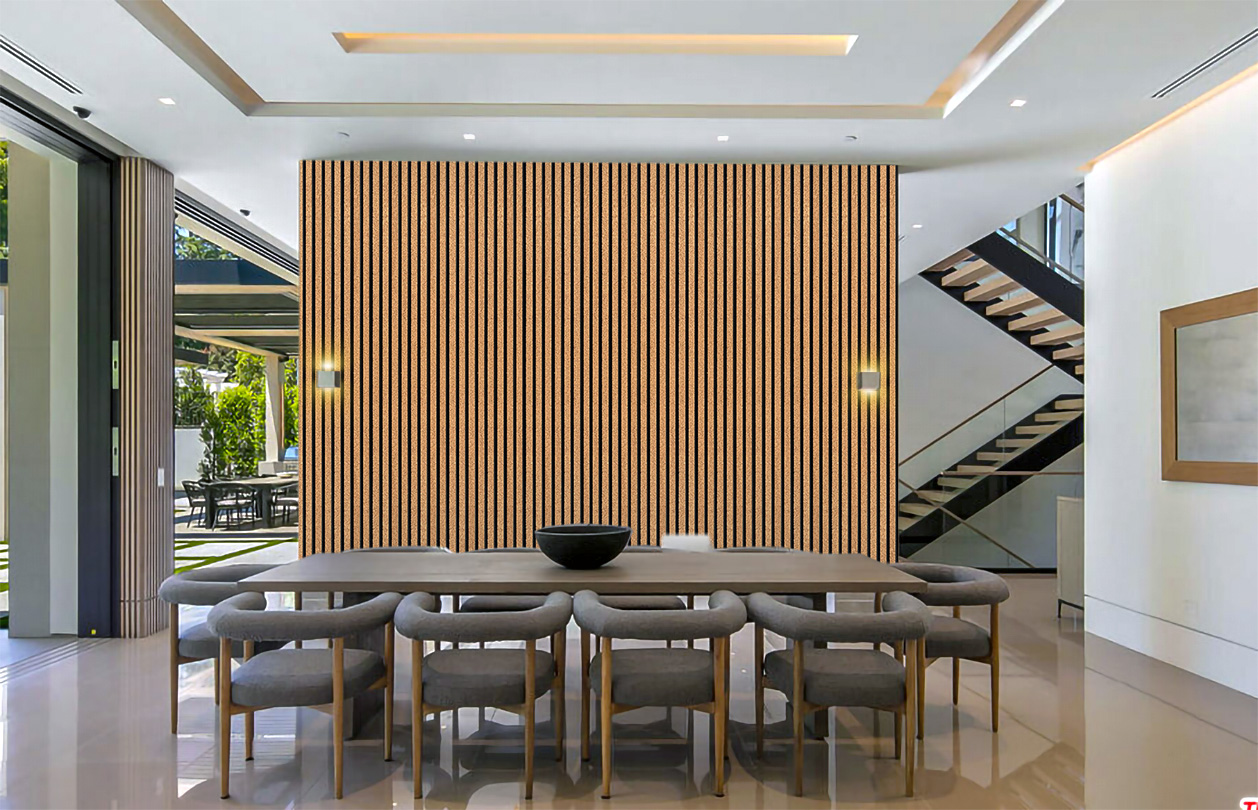
3D acoustic panels
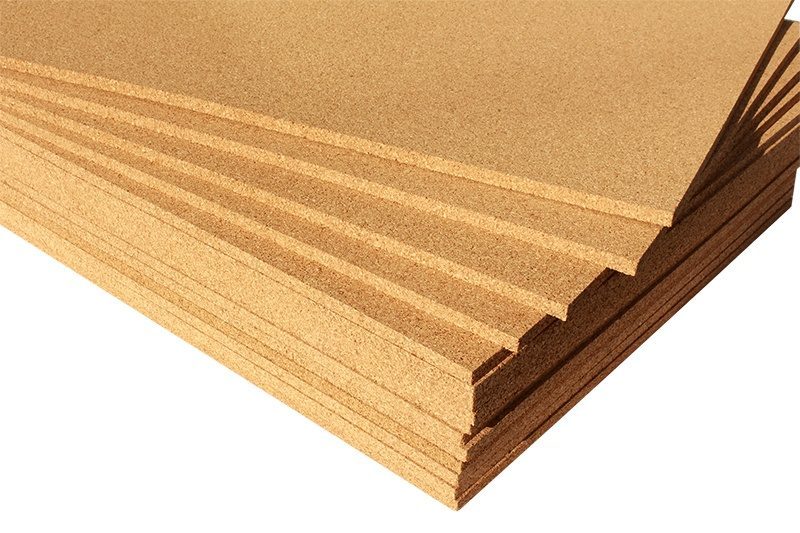
Preparation, underlayment, and installation supplies
Before the installer arrives, confirm the underlayment, adhesive, transition profile, and stair nosing that match the floor.
Underlayment and prep
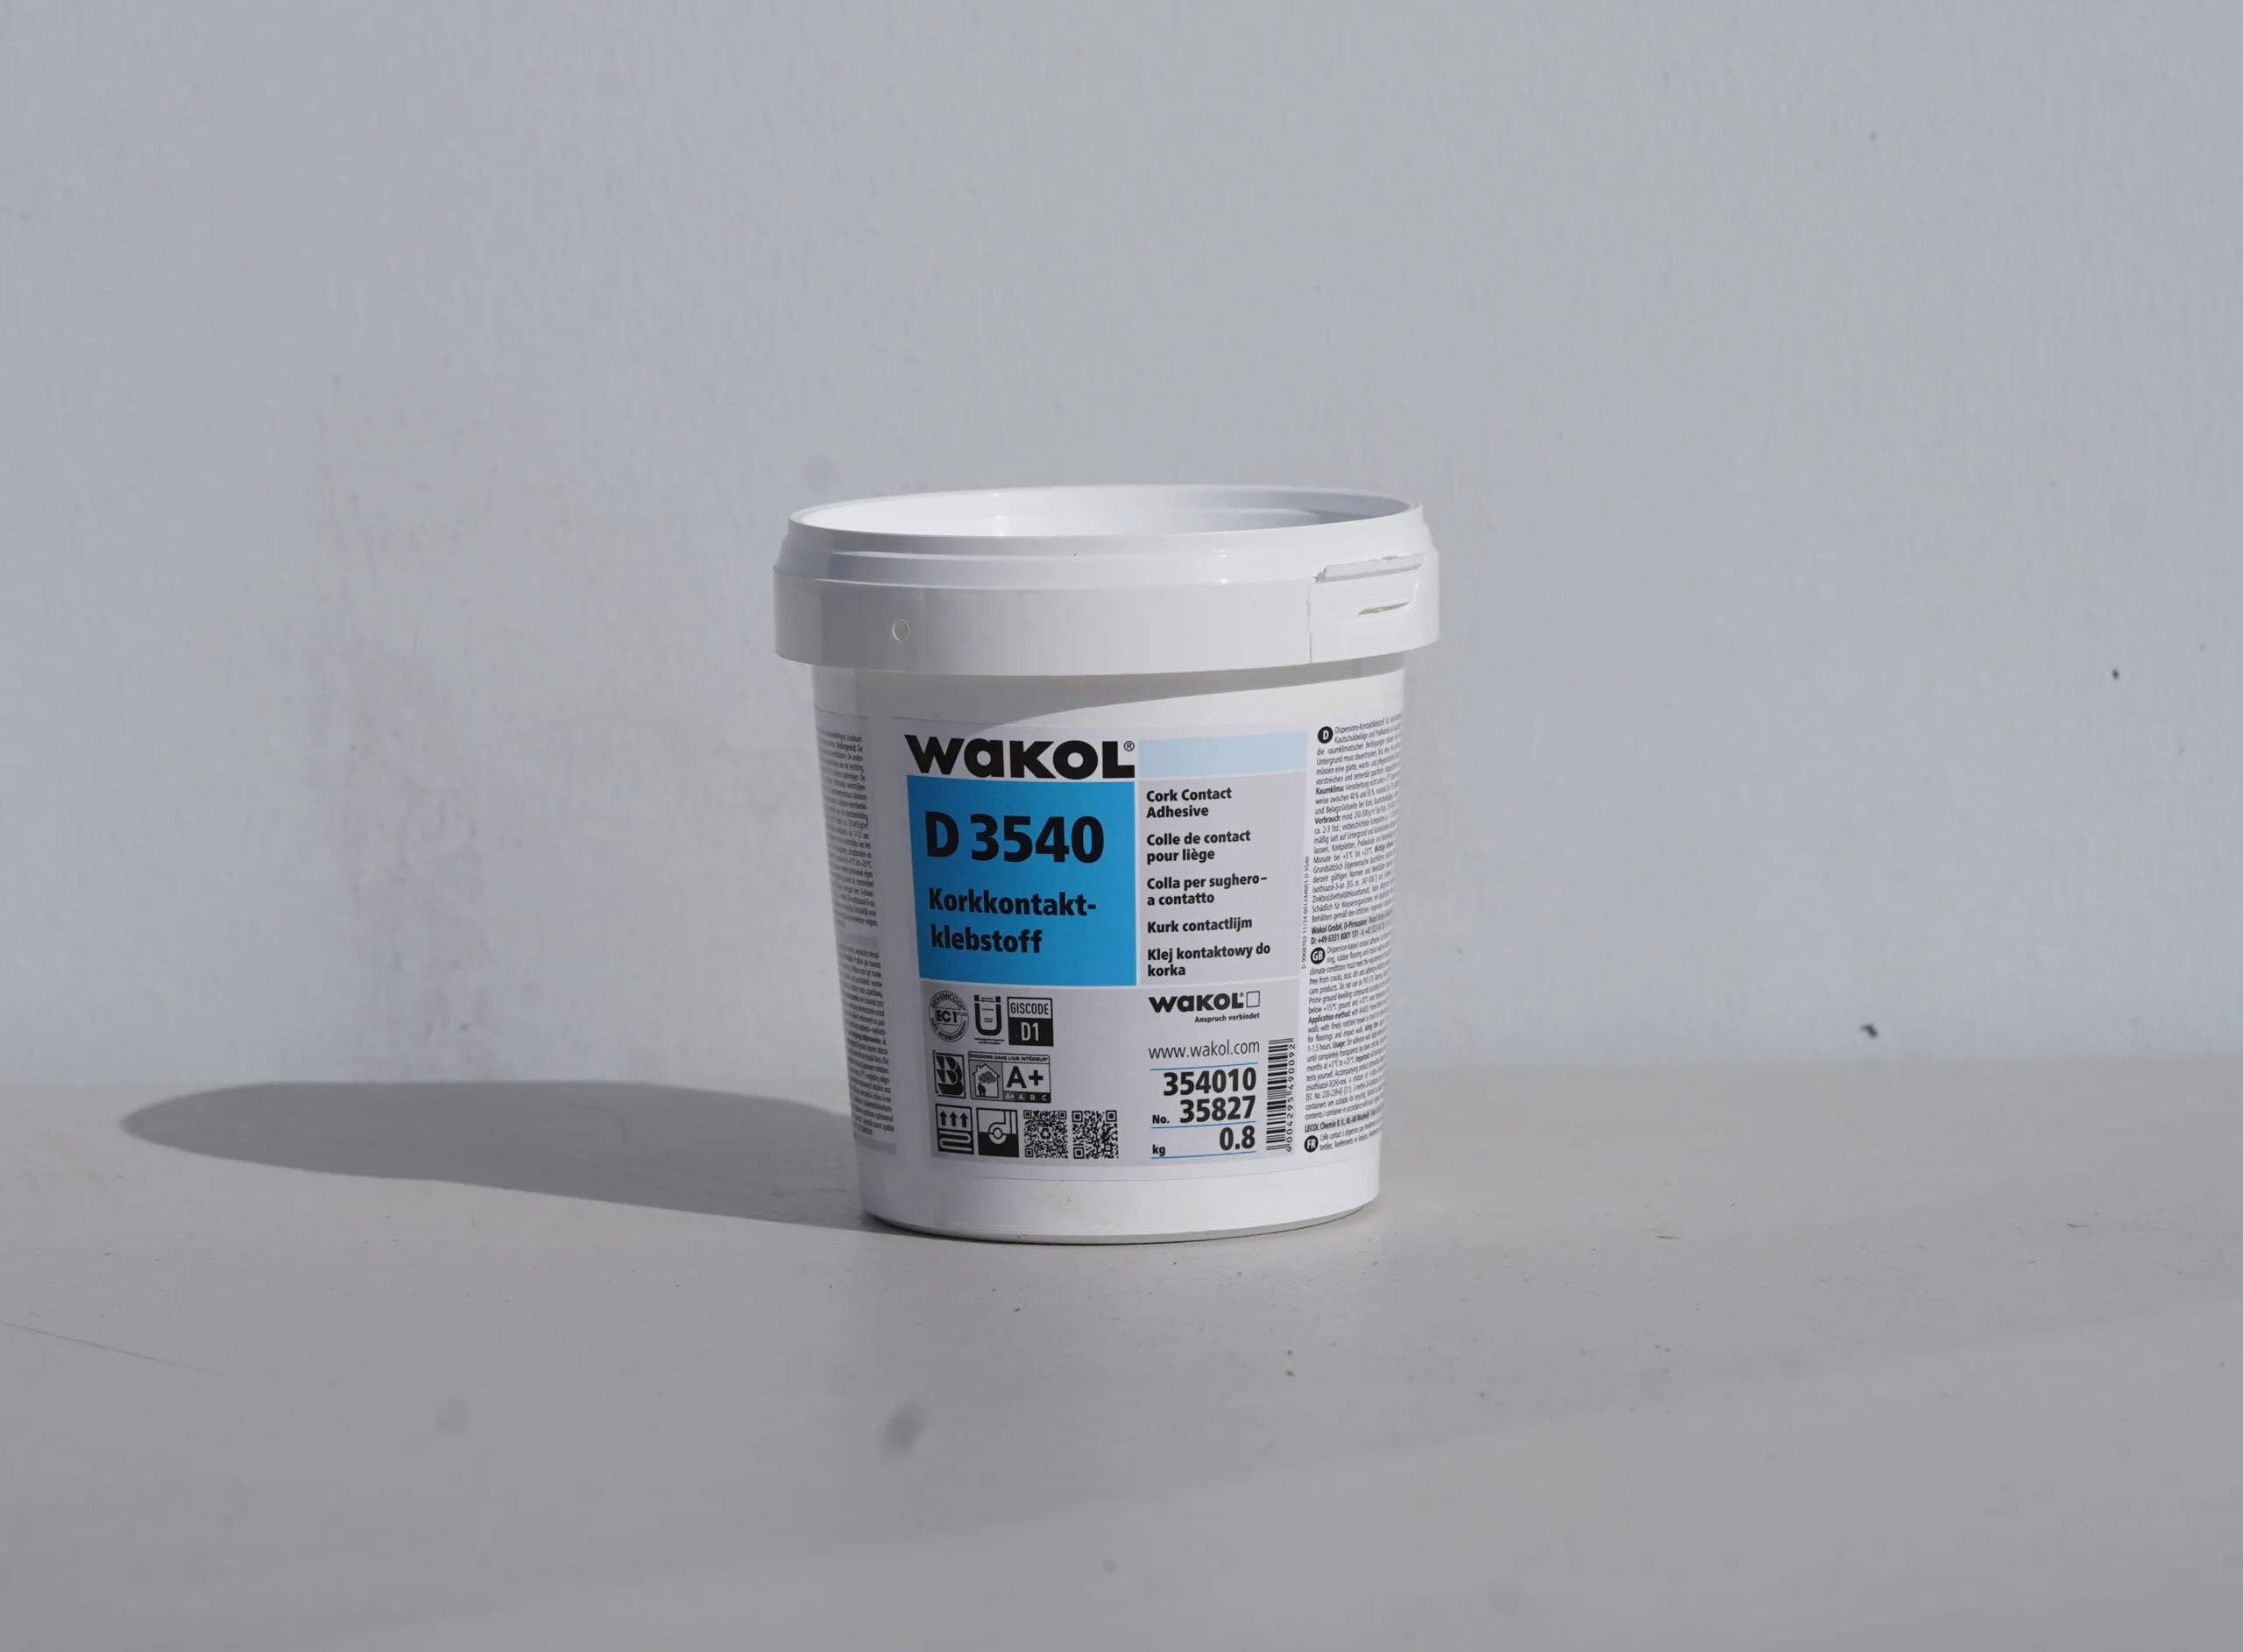
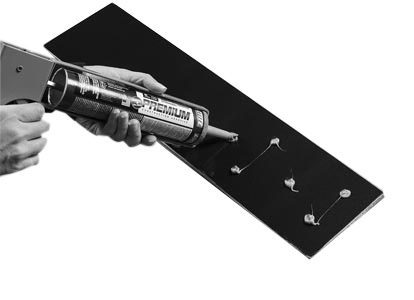
Adhesives and tools
Transitions and stairs
Finishes, protection, and care
Finish and maintenance instructions matter most for glue-down cork tiles, site-finished floors, and floors that need extra protection after installation.
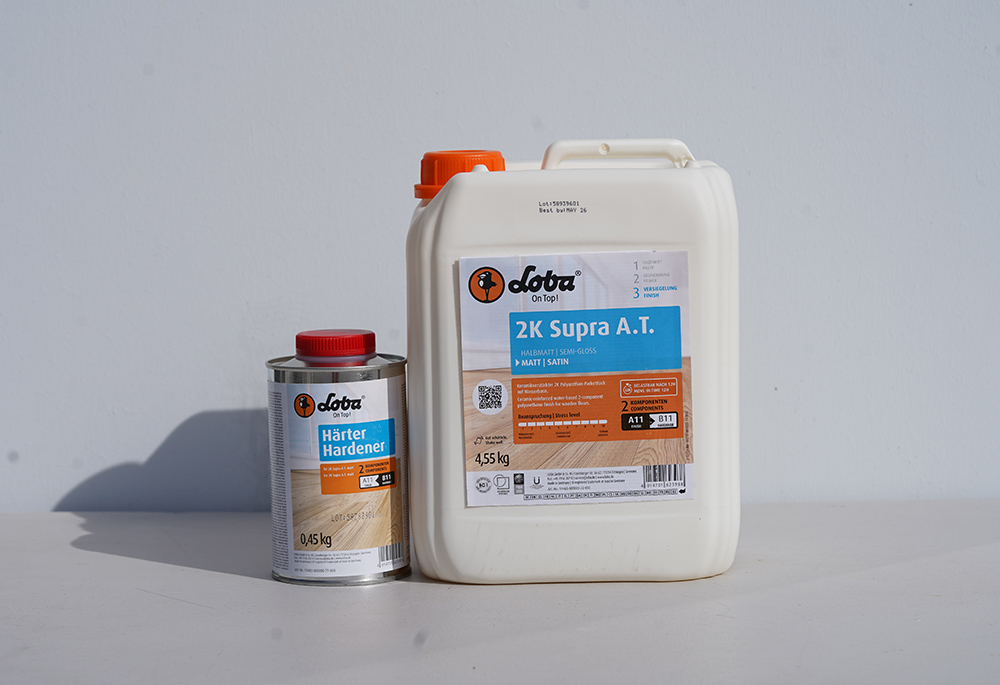
Polyurethane and LOBA
Care after installation
Do not tape cork floors
Tape can permanently damage cork flooring and natural wood flooring finishes. Tape paper-to-paper or paper-to-trim only.
Need help before installation?
Send the product name, room type, subfloor, and whether the project is floating or glue-down. The team can point you to the correct guide before the installer starts.